Diane's Vintage Zest!: tip

Spicy Chorizo Cornbread Stuffing

A spicy spin on my Cornbread Stuffing that EVERYONE loves!

Sweet Potato Souffle for Thanksgiving

One of my most popular recipes EVER, and just in time for Thanksgiving!

DIY Painted Photo Backdrops

Super easy backdrops for your photo, plus a few tips!

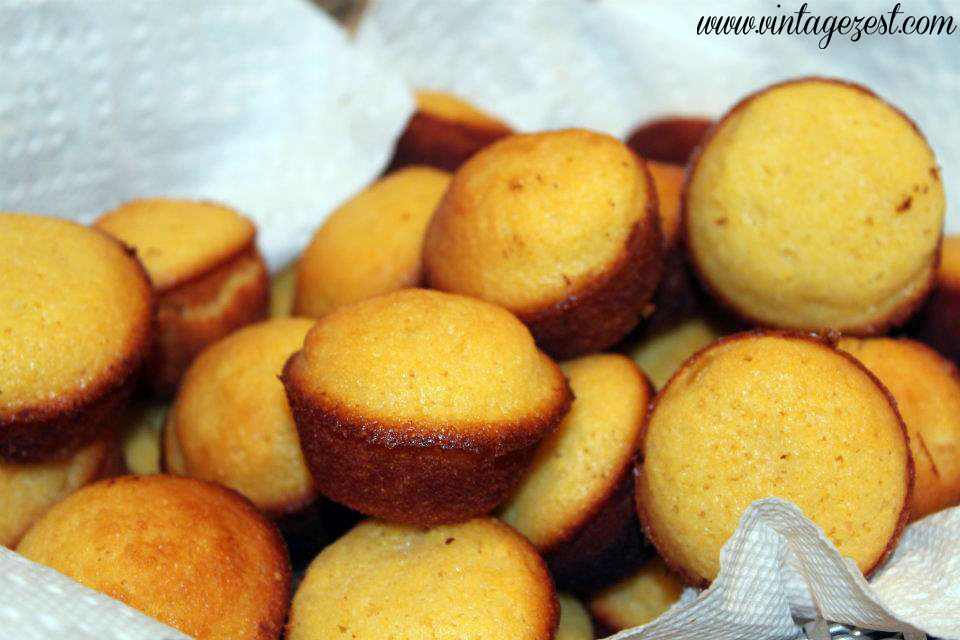
Golden Sweet Corn Bread Mini Muffins

A sweet spin on traditional cornbread!

Easy Sweet Potato Pie (without a crust!)

The easiest (and healthiest) pumpkin pie recipe ever!

Showing posts with label tip. Show all posts

(Budget-Friendly) DIY No-Slip Hangers!


For the past few Fridays, I have been sharing some pretty awesome crafty DIYs (if I don't say so myself), but this week is a combination organizational tip with a DIY solution.  Yay!

Well, you know how much I like to keep my closet tidybelts organized, and jewelry nice and orderly.  One thing that all of my organizational systems have in common is that they don't cost an arm and a leg and I usually try to upcycle something that I already have.  This one costs nothing, and definitely makes use of something that would end up being recycled anyways.

Now, you may wonder why I wanted to DIY no-slip hangers in the first place.  Let's take a look!


DIY No-Slip Hangers on Diane's Vintage Zest!  #free #organization #tip


You know when you try to hang a piece of clothing with small straps, and it starts to shimmy down the hanger?  Well, that happens to me all the time!  Since I have a small closet, I need to use skinny hangers for as many items as I can.  Of course, coats go on sturdy wood hangers, but this SoCal girl doesn't have that many anyways!


DIY No-Slip Hangers on Diane's Vintage Zest!  #free #organization #tip


So don't cringe... but instead of buying however many fancy, no-slip skinny hangers, I ended up using free wire hangers from the dry cleaners.  They are perfect for light blouses and summer sundresses, except for the tendency for spaghetti straps to slip off.

By the way, I actually did not have that many hangers on my own.  However, my parents had a huge stash of them, which they were happy to give to me!


DIY No-Slip Hangers on Diane's Vintage Zest!  #free #organization #tip


First up, the failed methods:  Rubber bands didn't work at all.  I had no pipe cleaners on hand, and I would have needed a lot.  Besides, I heard garments slip off when moving them in and out of the closet anyways.  The best solution I could find was this ugly, and only semi-reliable method below.


DIY No-Slip Hangers on Diane's Vintage Zest!  #free #organization #tip


That's right, I used Q-tips.  Ugly, time-consuming, and it actually didn't work that well.  *Sigh*

Fortunately, this new method came to me and it works so much better!  Not one slip yet!!!  Let's see how it works!


DIY No-Slip Hangers

Kitchen Basics: How to Pick & Prep Plantains


Remember my last Kitchen Basics post where I showed you how to pick and prep some common (but sometimes tricky) tropical fruit?  Well, it was so popular that I wanted to share another of my favorite tropical fruits for you, the incredible plantain!

Why do I love the plantain?  First of all, it is so versatile!  You can use them for both savory and sweet dishes, which are completely different.  If you're unsure how to use them, well lucky for you that I'll be sharing two different recipes over the next couple weeks: one savory and and one sweet!


Kitchen Basics: How to Pick & Prep Plantains on Diane's Vintage Zest! #cooking #tip


The second reason is that I grew up in a household where these were used quite often, so it reminds me of my childhood.  However, if you have never eaten plantains, they are a very familiar flavor, most closely resembling a banana.  Unlike bananas, they are more starchy and tough, so they are not as good when eaten raw.  But once you cook them, they are about a million times better than a banana!


Kitchen Basics: How to Pick & Prep Plantains on Diane's Vintage Zest! #cooking #tip


Now, let's get to the important info!


Things to look for:

Woodworking Tip: How to Make a Easy Drill Bit Guide!


Woodworking Tip: How to Make a Easy Drill Bit Guide! on Diane's Vintage Zest!


Remember how a year ago I started woodworking, and it was so fun and exciting, and I was making progress on some really fun projects?  And then nothing showed up on the blog?  Well, please forgive the slight delay, but over the the next few weeks I will actually share a few of the woodworking items I made!

This week, I wanted to share a quick tip that was super helpful while putting together my last project. It is useful for just about any time you need to use a drill, even if you are not working with wood.

Basically, this helps with the question, "what do you do when you have to drill a lot of holes at a very specific depth?"


Woodworking Tip: How to Make a Easy Drill Bit Guide! on Diane's Vintage Zest!


During my last project, I wanted to drill some holes not through the piece of wood, but only about 3/4 of the way through.  That meant lots of checking and rechecking while I was drilling to make sure I was going deep enough without breaking through to the other side.


Woodworking Tip: How to Make a Easy Drill Bit Guide! on Diane's Vintage Zest!


But here's the quick tip that made it so much easier...

How to: Mend a Ripped Seam

Today, I have a super easy tutorial for sewing newbies on how to mend a ripped seam.  Why is this necessary?  If you have an over-excitable man in your life who lunges during World Cup matches with pants that don't stretch... well, this will save you a trip to the tailor or from tossing your favorite garment in the trash.  :)

You can use the same technique with or without a sewing machine, so if you are handy but not skilled with a machine, you can still fix those pants yourself.


How to: Mend a Ripped Seam on Diane's Vintage Zest!


How to Mend a Ripped Seam
What You Will Need

  • Item to be fixed
  • Thread that matches your garment
  • Sewing machine OR needle
  • Pins (optional, but useful depending on size of rip)


Directions

  1. Turn your item inside out and examine the rip.


Tip: How to Squeeze a Toothpaste Tube

Today, I'm bringing you a funny tip that I would like the world to know.  Do you share a toothpaste tube with any significant others, kids, siblings, or someone else who squeezes from the top?

Yep, it's a pet peeve of many, and there are all kinds of gadgets to help.  However, I have a quick tip on how to squeeze the toothpaste to the top in about 5 seconds without any special equipment.  Let's see how!


Tip: How to Squeeze a Toothpaste Tube on Diane's Vintage Zest!


First of all, it's never a problem when the tube is full or at least 50% full.  When the tube starts to empty, ideally it would end up looking like the tube at the bottom.


Tip: How to Squeeze a Toothpaste Tube on Diane's Vintage Zest!


However, it's usually squeezed from the top, with all of the toothpaste left at the bottom.  So annoying!


Tip: How to Squeeze a Toothpaste Tube on Diane's Vintage Zest!


Now, this is what you do.

Easy Painting Tip from Heather!

I have shared just a few painted DIYs on the blog so far, so I definitely consider myself a painting newbie.  However, I plan on doing more with the new house soon, so I am scrounging for tips everywhere that I can.

Luckily, Heather from Woods of Bell Trees, has a super useful tip to share with you today!  Let's get to it.  :)


********************


Easy Painting Tip on Diane's Vintage Zest!


If you're like me you paint and you paint a lot. Even if you don't paint all that often, if you've touched one drip of the stuff you know the woes that come with it. My most dreaded paint issue is when I reach the bottom of the project, whether it's a furniture piece or a craft, because other than throwing a piece of parchment paper underneath it you will absolutely get paint on the surface underneath your project! And then what about the inevitable paint pile up at the bottom of your paint endeavor?

Kitchen Basics: How to Pick & Prep Produce - Tropical Fruit Edition!

Disclosure: I am a member of the Collective Bias®  Social Fabric® Community.  This shop has been compensated as part of a social shopper amplification for Collective Bias and its advertiser.


Last week, I headed to the grand opening of the newest Walmart Neighborhood Market and I was really impressed with all of the amazing finds in the produce section!  The selection was fresh and surprisingly diverse, and since the prices were so low, I stocked up on a TON of fun items.  I have been wanting to start a series of posts introducing my readers to unusual produce, so I am delighted that I was able to find so many items in the store and buy them all up to share with you!
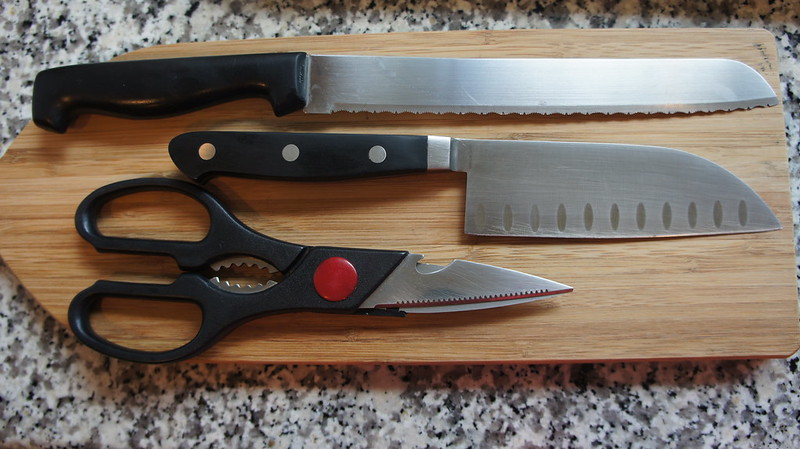
In this edition, I will talking about tropical fruit.  Yes, I will be sharing my tips on how to choose the produce, prep/cut it for use (including the correct knives & kitchen equipment needed), and then give you a couple of recipe ideas.  Also, there was so actually much to buy that this will be the first of two posts just for the tropical fruit!

Stay tuned because this will be an awesome series with lots of fruits and veggies that might stump you at the grocery store one day!


In this post (jump to):

Kitchen Basics - How to Pick and Prep Produce - Tropical Fruit Edition (Papaya, Jicama, Pineapple & Mango) on Diane's Vintage Zest! #shop #fruit #tips


Before I start, I have to mention that I was in the store picking out produce when I noticed the handy descriptions of each fruit and a few tips on how to pick them.  Awesome, right?  I took pictures of the tips in case you have a hard time spotting them on your next shopping trip, plus I added a few of my own.  :)

Also I told you in my last post that I spoke with a wonderful produce stocker who told me about the 100% Money Back Satisfaction Guarantee on Walmart Neighborhood Market's produce (and meat).  So even if you make a mistake with your picks, you can return it with the receipt and try again!


Kitchen Basics - How to Pick and Prep Produce - Tropical Fruit Edition (Papaya, Jicama, Pineapple & Mango) on Diane's Vintage Zest! #shop #fruit #tips
A peek at some of the upcoming produce posts: Bok Choy, Parsnips, Radishes, Tomatillo, Ginger, Rapini, Broccolini, Turnip Roots, Plantains, and Coconut!


Now, to the fruit!


Papaya

Things to look for:
  • 75% to 100% yellow;  Buy it with a bit of green if you plan on eating it later
  • Firm, with smooth skin
  • Heavy for its size


Avoid:
  • Fruit with bruises or soft spots

Kitchen Basics - How to Pick and Prep Produce - Tropical Fruit Edition (Papaya, Jicama, Pineapple & Mango) on Diane's Vintage Zest! #shop #fruit #tips
On the bottom right picture, the three papayas are (from L to R) unripe, nearly ripe, and ready to eat!


Prep (see picture below):
  1. With a large knife, cut off the bottom and top of the papaya.
  2. Split it in half lengthwise.
  3. Scoop out the seeds and the fibers and discard.
  4. Cut out the tough stem towards the bottom.
  5. Repeat for the second half.
  6. Cut into four equal sections for easier handling.
  7. Peel using a paring knife or peeler.
  8. Now that you are left with large sections, you can cut into strips, large chunks, or a smaller dice.

Kitchen Basics - How to Pick and Prep Produce - Tropical Fruit Edition (Papaya, Jicama, Pineapple & Mango) on Diane's Vintage Zest! #shop #fruit #tips
I just love eating it fresh, in cubes!


Jicama

Things to look for:
  • Firm texture
  • Smooth, "shiny," dry skin


Avoid:
  • Fruit with blemishes or dull skin

Tip Testing for Sweeter Pineapple!

Every so once in a while, I like to share a useful tip with you lovely readers!  For some reason, it usually involves fruit & veggies...  See my strawberry tip, melon tip, orange cleaner tip, can tip (featuring corn), tomato seed tip, and green onion tips for proof.  :)

Anyways, we tried this out this tip before a party to see if it would make our pineapple sweeter.  Check it out!


Tip Testing for Sweeter Pineapple


First of all, let me share with you the tip that I was testing out!

How to: Make Cute Pinterest Cover Boards!

Last week, I joined a Google Plus community for Pinterest and as soon as I joined, I had a few requests to share how I made my cute cover boards.  Well, thanks ladies!

Since there are a few steps, I thought it would be easier to put together a post for everyone, including you lovely readers, to see.  :)

First of all, as I mentioned on this post, I just reorganized my Pinterest boards so I could find items better.  I read that it was best to arrange boards alphabetically, but I decided to do it by popularity instead.  Then, I wanted to label the boards, but having just a title screen seemed boring, so I collaged text with a sample image!  Here's how I did it...


How to Make Cute Pinterest Board Covers on Diane's Vintage Zest!


Before we start, I used PicMonkey for this tutorial because it is really simple and free, but feel free to use whatever photo editing website/software you prefer.


Directions

1.  Click Edit.


How to Make Cute Pinterest Board Covers on Diane's Vintage Zest!


2.  On the default collage, click Remove cell on the left so you have two remaining cells.


How to Make Cute Pinterest Board Covers on Diane's Vintage Zest!


3.  On the bottom, click the lock button to Unlock proportions.

DIY Homemade Orange Cleaner: Easy & Chemical-Free!


As you may know by now, I am a huge proponent of recycling, upcycling, and reusing.  Also, I love anything that saves me a few pennies, and this is a DIY tip that is very budget-friendly and super-easy.  Besides, anything that keeps my home sparkling without chemicals is always a plus!


DIY Homemade Orange Cleaner - Easy and Chemical-Free on Vintage Zest


Yes, I had a sneak peek of this tip allllll the way back when I shared my upcycling Mason Jar tips, so this has been a long time coming.  You'll see why I needed to wait so long to share this with you!


DIY Homemade Orange Cleaner - Easy and Chemical-Free on Vintage Zest


What You Will Need:


DIY Homemade Orange Cleaner - Easy and Chemical-Free on Vintage Zest


Directions

Tip: How to Drain Cans Quicker!

A few weeks ago when I was making my Big Game Chili, I made twice the recipe so I had tons of cans to open, drain, and repeat.  Well, I was using my usual trick of draining them quicker and apparently it was something that my guy had never seen before and I thought that it would be a neat little tip to share with you!

Also, not only does this tip help with draining your cans quicker, it helps to cut down on the number of dishes you wash and cuts down on the amount of counter or sink space that a regular colander would take up.  Great!


In the old days, I would take the cans and dump the contents into a colander.  Then, it would sit there, taking up space in the sink or on the counter.  If I had lots of cans to drain, I would have to  dump half of them into another bowl just to be able to get them all done.  That meant even more dishes to wash, besides having to figure out where to store them until the recipe was ready!

With one little item, I figured out how to wash fewer dishes, take up less counter space, and drain all the cans really quickly!  Also, I didn't have to go out and buy another kitchen gadget to take up more drawer space.  :)  What is it?

It's a...

Kitchen Basics: How to Cut a Melon!

I have been eating melons, blending melonsbuying melons, and cutting melons like crazy!  I usually precut a whole melon and eat it over the next few days.  We were out of melon and I was busy, so my guy wanted instructions on how to cut a melon.

Well, he thought it was going to be hard, but when he found out it was so easy, he thought it would be a good idea to make a post for everyone who has never cracked into one of these on their own.  I have my own method, which is super fast and easy enough for a beginner to master.

Enjoy!


What You Will Need

  • Your melon
  • A cutting board or mat that will not slip
  • A large knife
  • Medium to large spoon
  • Optional: Garbage bowl, for easy clean-up


 photo HowtoCutaMelon1_zpsd41c7b17.jpg


1.  Try to position the melon on the cutting board so it is not too "wobbly" before you cut into it.

Tutorial & Helpful Tips for Sewing Velcro!

Hello again!

It has been forever since I shared a sewing tutorial, and I am so happy to share another mini one with you today!  I have some tips for you on how to sew with hook & loop tape, which most people recognize as Velcro, so the next time you have to replace something, it will be much easier.  :)

Here we go!


First of all, here are the items I had to repair from the gym.  I had a small hole in the glove, which I just pinched together and sewed shut.  Then, my knee brace for my bum knee just would not close anymore.  The fuzzy part of the tape just wasn't sticking anymore, so I broke out the Paisley (my sewing machine) for some repairs!


 photo VelcroTutorial9_zpse8a67d5f.jpg


What You Will Need

  • The item you want to sew
  • Hook & loop tape, matching the color AND length and width you want to apply
  • Pins
  • Sewing machine or needle & thread


Directions

1. First, simulate how you will be using the item.
  • For my knee brace, I put it on and moved around.  Do the same with any garments!
  • For a purse, close the flap with some items inside.

Tip: How to Prep Mason Jars for Upcycling!


I love Mason jars!  I mean, I only have a few crafty DIY tutorials on the blog and the majority of them are jar-related.  :)  After yesterday's post on the DIY coffee grounds scrub, I wanted to show you a simple way to package it up in an upcycled Mason jar!


********************


Growing up at home, we always recycled everything, mostly because my mom didn't like throwing things away destined for a landfill and the city picked up the recyclable items from our house.  Easy peasy!

However, when I moved to Nashville, recycling was so much harder because I would have to lug everything down to my car and bring it to the recycling center and heave it into huge bins.  I still did it, but sometimes it would be a month before I would drive over.  What ended up happening was that I would accumulate all kinds of jars (pasta sauce, peaches, sun-dried tomatoes, etc.) in the meantime.

It quickly occurred to me that I could reuse them and cut my trips to the recycling center!  I started storing candy, office supplies, and all kinds of things in them.  :)  Now, I'm a jar upcycling fool, and I would love to show you how I upcycle my jars!


First of all, you might be lucky to find a jar with a pretty lid and a label that peels right off.  However, I found that most of the time you end up with a jar that has a brand name all over it, glue all over it, and the manufacturer print.  I'll teach you how to remove all the ickiness and leave you with something pretty!


What You Will Need


Tips for Prepping Mason Jars for Upcycling on Diane's Vintage Zest!


Directions

Tip: Blend Green Smoothies without Green Leafy Bits (or an expensive blender!)

Ever since I started trying to eat healthy and promised to share my healthy recipes with you guys, I started making green smoothies!

*Update* Here is the link to my fave green smoothie recipe on this blog!

My sister likes juicing, but I prefer blending smoothies because they actually keep me full without a million trips to the restroom.  I mean, don't even get me started on the reasons why I prefer smoothies, but there was one instance in which juicing was better.  Whenever I made a smoothie with spinach, kale, or other leafy greens, I would always end chewing pieces of leaf while trying to drink my smoothie.  Ew!  I always assumed that because I don't have an expensive blender that I would have to avoid adding greens to my morning smoothie.  Boo!

However, I stumbled upon a tip that I had to share with you about how to blend a smoothie without leafy bits!


By the way, this is the difference between the two blending methods.  Pretty good, right?  Okay, so here is the tip!

How to: Back Up Your Blogger Posts & Template!


Hi again!

Between all of the awful customer service calls this week, I was making a few changes to my blog.  Just little tweaks here and there, including the floating social media bar when you scroll down and my header with built-in social media buttons!  Fancy!

Anyways, in between all of the changes, I needed to back up my template.  It always takes me a couple of minutes to remember how to do it, as well as how to back up my blog posts.  While doing it, I decided to take a few screencaps for anyone who wants to know how to do it, plain and simple!


One note about this tutorial, is that it is written for the Blogger platform, because that is what I use.  Sorry Wordpress, tumblr, etc. users!


By the way, there are two parts to this tutorial:

  1. Backing up your blog posts means saving the content that you publish every day.  I try to do this weekly, just in case.
  2. The Template refers to a bunch of items in your blog, including the font choices, widgets, and other customizations you may have made.  If you make a mistake while editing your template HTML, it can be a nightmare to repair.  I usually just save an HTML before making any changes, such as when I added the floating social media bar.

So without further ado, here is Part 1 of backing up your blog!


Backing Up Your Blog Posts

1.  Click on the name of the blog you want to back up to go do the dashboard.

Note:  I will include a red oval that shows where you need to click for each step.


How to: Back Up Your Blogger Posts and  Template on Diane's Vintage Zest!
Step 1


2.  On the left sidebar, click Settings.

Tips for Perfect Holiday Appetizers!

Disclosure


It seems like I am sooo short on time this holiday season with everything going on!  Weekdays are packed and weekends are EXTRA packed, but I always welcome friends and family when they pop by for an unexpected visit.  I thought we might have some time to ourselves on Sunday between the craft show in Santa Ana and the concert in L.A., but there was just enough time for my family to invite themselves over.  Ack!  Luckily, I always keep a few easy meal ideas in the freezer for just such an occasion.  Also, they double as perfect holiday appetizers or as a quick dinner party dish!


When I welcome last-minute guests into my home, I don't want to be rushing around trying to straighten up or throwing together a lackluster dish.  Instead, I focus on making my guests feel special and with a few little touches (and extra help from some great products like Rich's SeaPak Spring Rolls), they will definitely feel at home!

Here are a few of my fool-proof tips to making your holiday party appetizers looking as pretty as they are delicious!

-SeaPak Spring Rolls Quick Holiday Appetizers #PakTheParty #shop #ad 8
How do you slice your spring rolls?  I found the perfect tool!


Also, I need to mention that SeaPak's Spring Rolls have been mentioned by Ladies Home Journal as one of "The 15 Best Frozen Appetizers to Serve at a Party" and have been mentioned on NBC's The Today Show.  Convenient AND delicious?  Definitely perfect to keep on hand in your freezer!

SeaPak Spring Rolls Quick Holiday Appetizers #PakTheParty #shop #ad 2


Tip #1: Buy frozen appetizers because they are extra convenient.  Also, stock up on your regular shopping trip to save extra time!

Quick Tips for Refashioning Garments

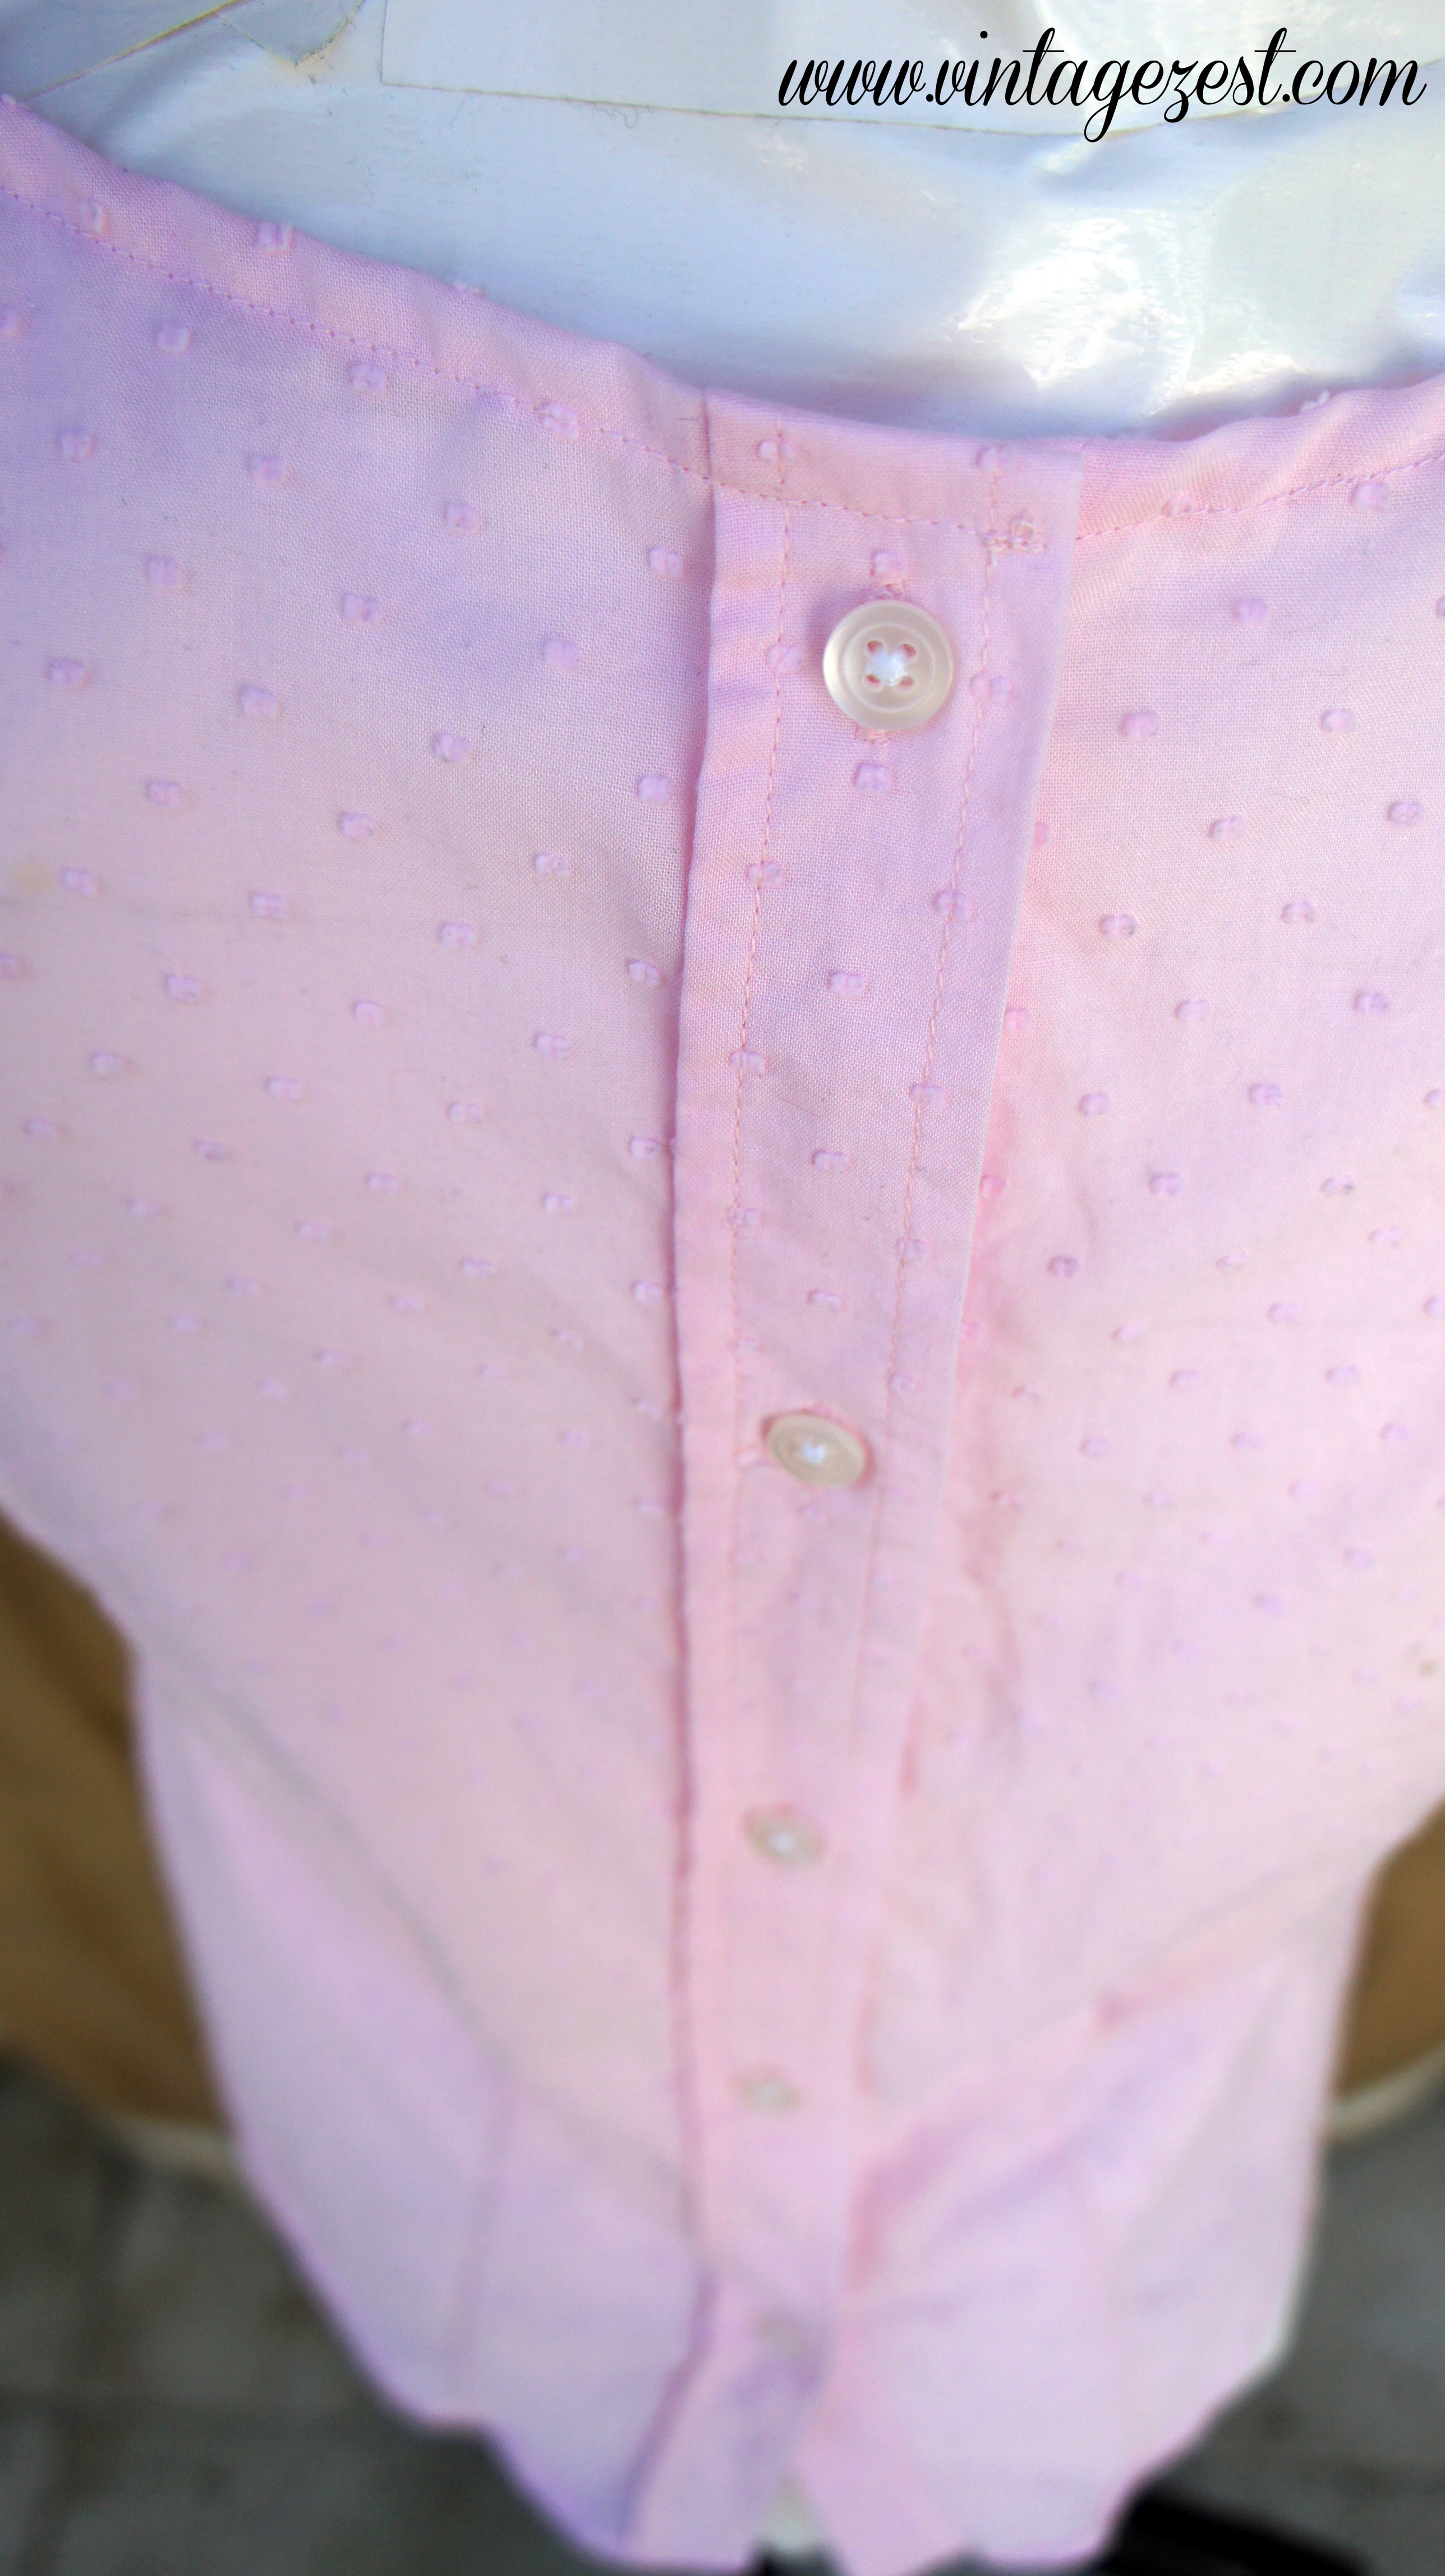
Although I'm not an expert, I have refashioned a few garments and I will definitely be refashioning more in the future.  Why?  There is a certain kind of satisfaction when you take something ugly or ill-fitting and turn it into something pretty to wear.  It is like a makeover scene in a cheesy chick flick: ugly duckling to beautiful swan!  I feel like that about my pretty Pink Portrait Blouse, which you will see in photos the below.

Anyways, in my short time refashioning garments, I have come up with a few tips to share that may make your next project a little easier.  :)


Tips for Refashioning Garments

Before I start, I know that a lot of you will have many more tips.  Feel free to leave them in the comments so everyone can learn from your wisdom!


Prep Work
  • Probably the most important thing to know is that if you are going to use a sewing pattern, you should err on the side of refashioning a garment MUCH larger than your current size.  Pattern pieces are large, so you don't want to end up short!
  • Pay attention to the things that are NOT working about the garment.  Is it too frumpy, too long, or just not right for your body type?  Think about how you can fix those issues, or even make it into a completely different garment type (i.e. - dress to top, pants to skirt, etc.)!
  • Figure out what kind of garment you would like to make.  If you don't have enough fabric, consider picking out a contrast or complementary fabric to go along with it.
  • Focus on the details that you like in the garment and preserve them!  I loved the buttons, so I kept it as a detail down the back of my top.  Sometimes the details are the thing that will get the creative juices flowing!


Cutting

Why a Waistband Matters: Gray & Yellow Maxi Dress - Round 2!

It's Tuesday, which means that it's time for a sewing post!  Yes, I am sandwiching this between a ton of Thanksgiving posts, but I want to make sure that all of my sewing buddies out there know that I am still doing the occasional project!

This is not a new garment (womp, womp) but it is definitely an improvement on one that I made before!  Remember from this post how I was disappointed at how the dress made me look pregnant?  Well, I took mimi g's advice (from when I attended her conference) and put it in the waistband that I was reluctant to add.  I am sooo glad I did!

Keep in mind this is the same dress with only the addition of a waistband.  Otherwise, this is the same bodice, same skirt, same dress form, and (almost) same angle.  Seriously, check out the difference.  :)


Remember, this is a wearable muslin that I intended to make using the Simplicity 2219 for the first time hence the so-so bodice fabric.  I do love how it fits like a glove everywhere now that I have added the waistband, except for the shirring on the side panels.

By the way, the waistband piece that I added was from the same pattern I used in orange maxi dress.  It was a perfect match!

Gray & Yellow Maxi 3

So once again, here are the before and after pictures.  Why should the addition of a relatively small strip of fabric make such a huge change?

Tutorial: How to Trace a Sewing Pattern


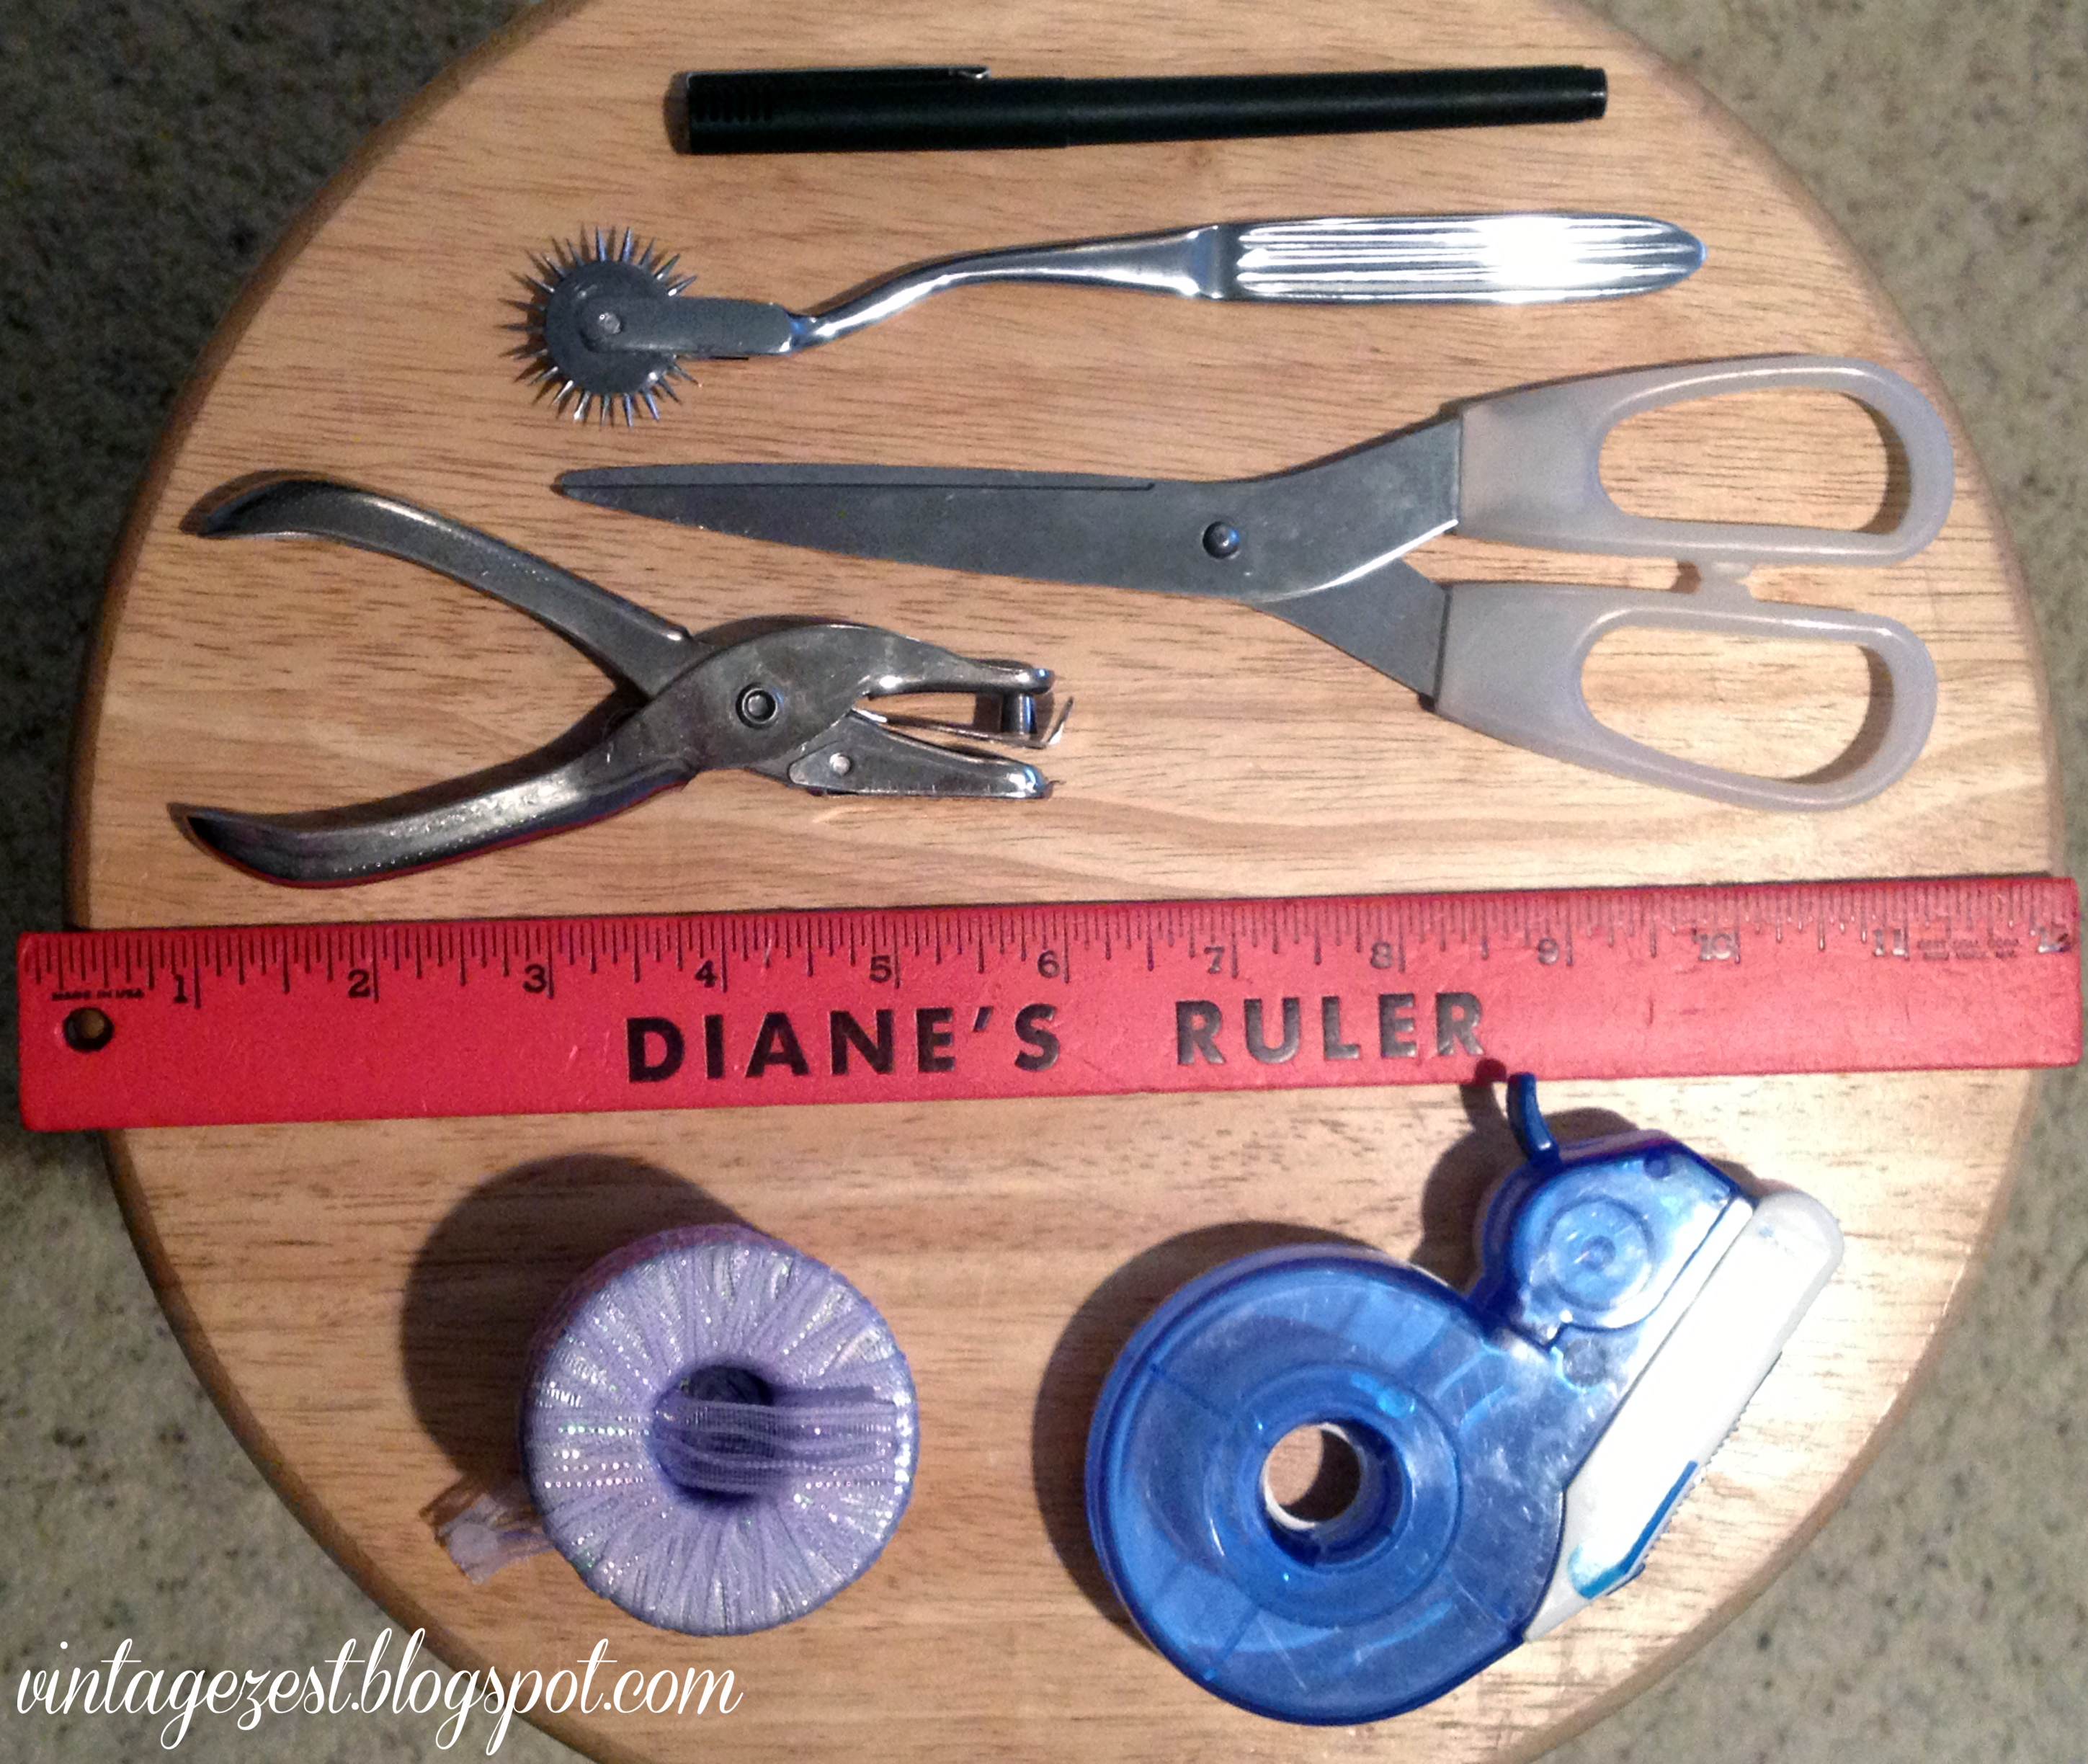
Two weeks ago, I shared a quick snapshot of the tools that I use to trace sewing patterns.  Today, I'm going to share a mini-tutorial on how I use them to make brand-spanking new copies of my patterns!


Tutorial: How to Trace a Sewing Pattern on Diane's Vintage Zest!


You may not understand why it's necessary to trace a sewing pattern.  Here a few reasons why it is very helpful to trace rather than cut!

  • You may want to keep your pattern intact for multiple sizes
  • If you plan on sewing the pattern multiple times, it is helpful to keep the pattern from deteriorating!
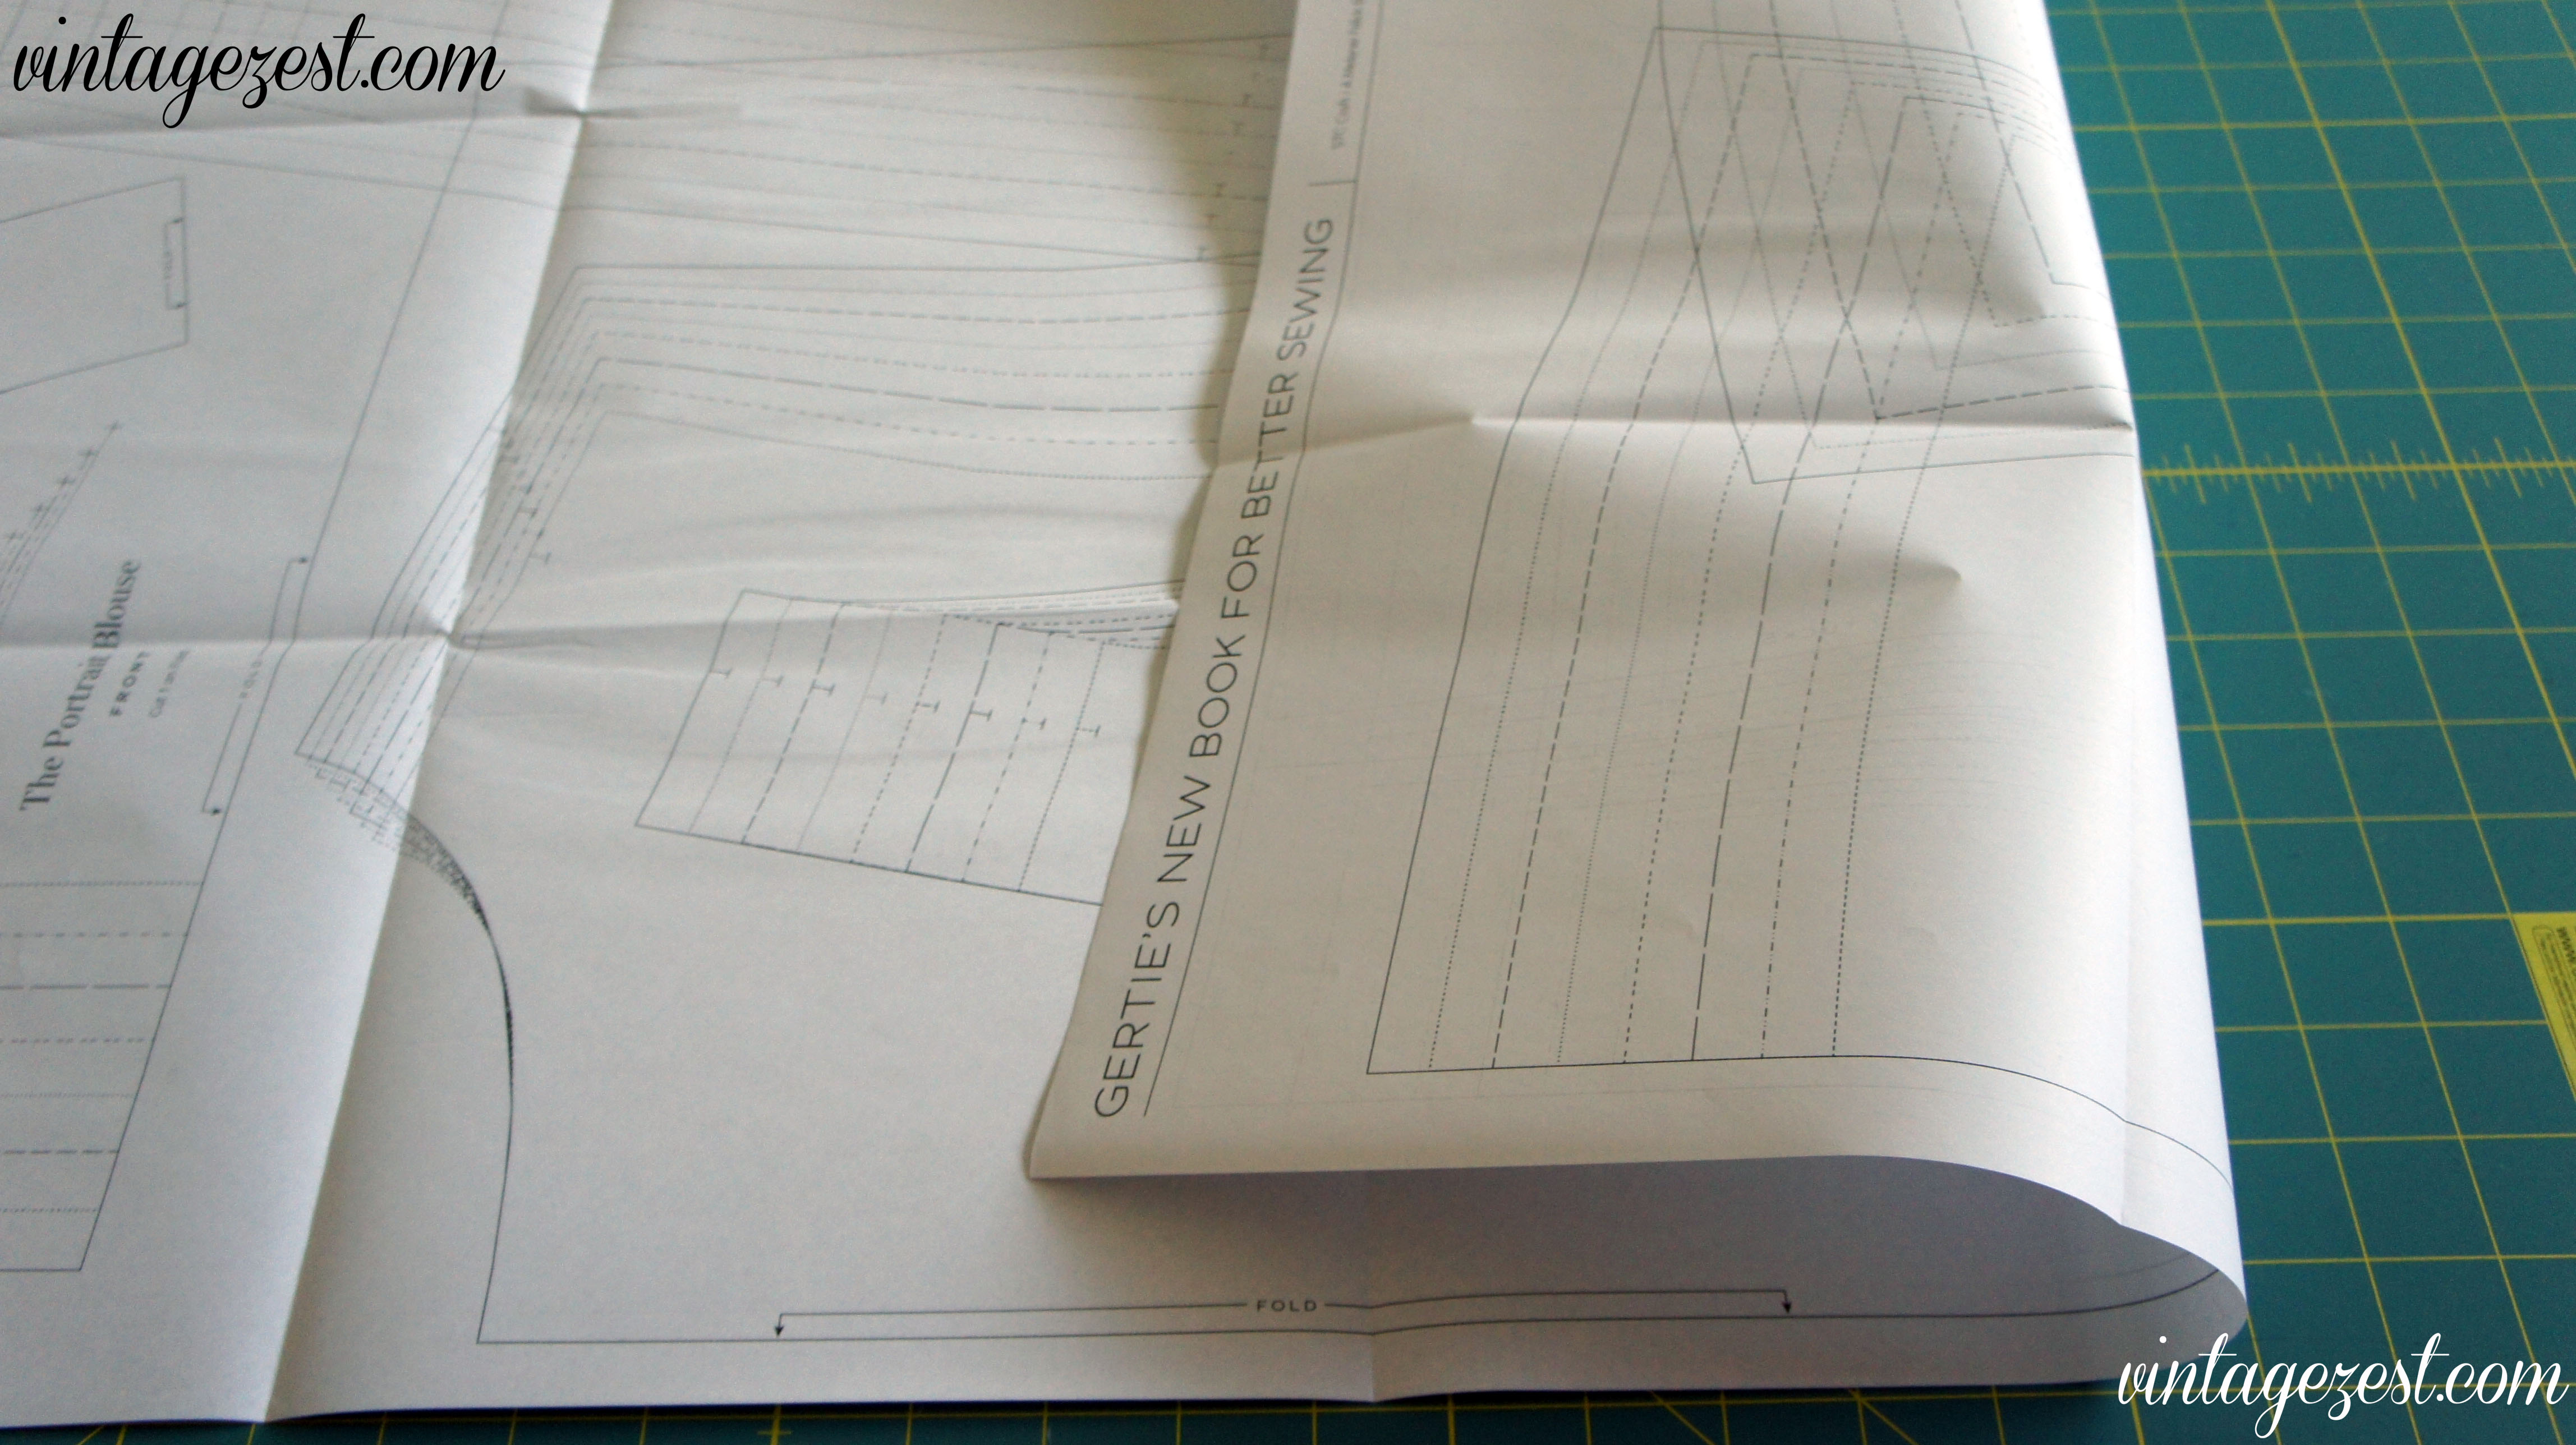
  • Some patterns are double-sided or have smaller pieces laid within large pieces, and you do not want to cut through them.


Tutorial: How to Trace a Sewing Pattern on Diane's Vintage Zest!
My first double-sided pattern!  I used this for the Refashioned Pink Portrait Blouse.


What You Will Need


Tutorial: How to Trace a Sewing Pattern on Diane's Vintage Zest!
This post contains affiliate links, meaning that if you make a purchase using one of the links, a small commission will go to support Vintage Zest.  I will only recommend sites with products that I think you will love and enjoy!


A few notes before starting...
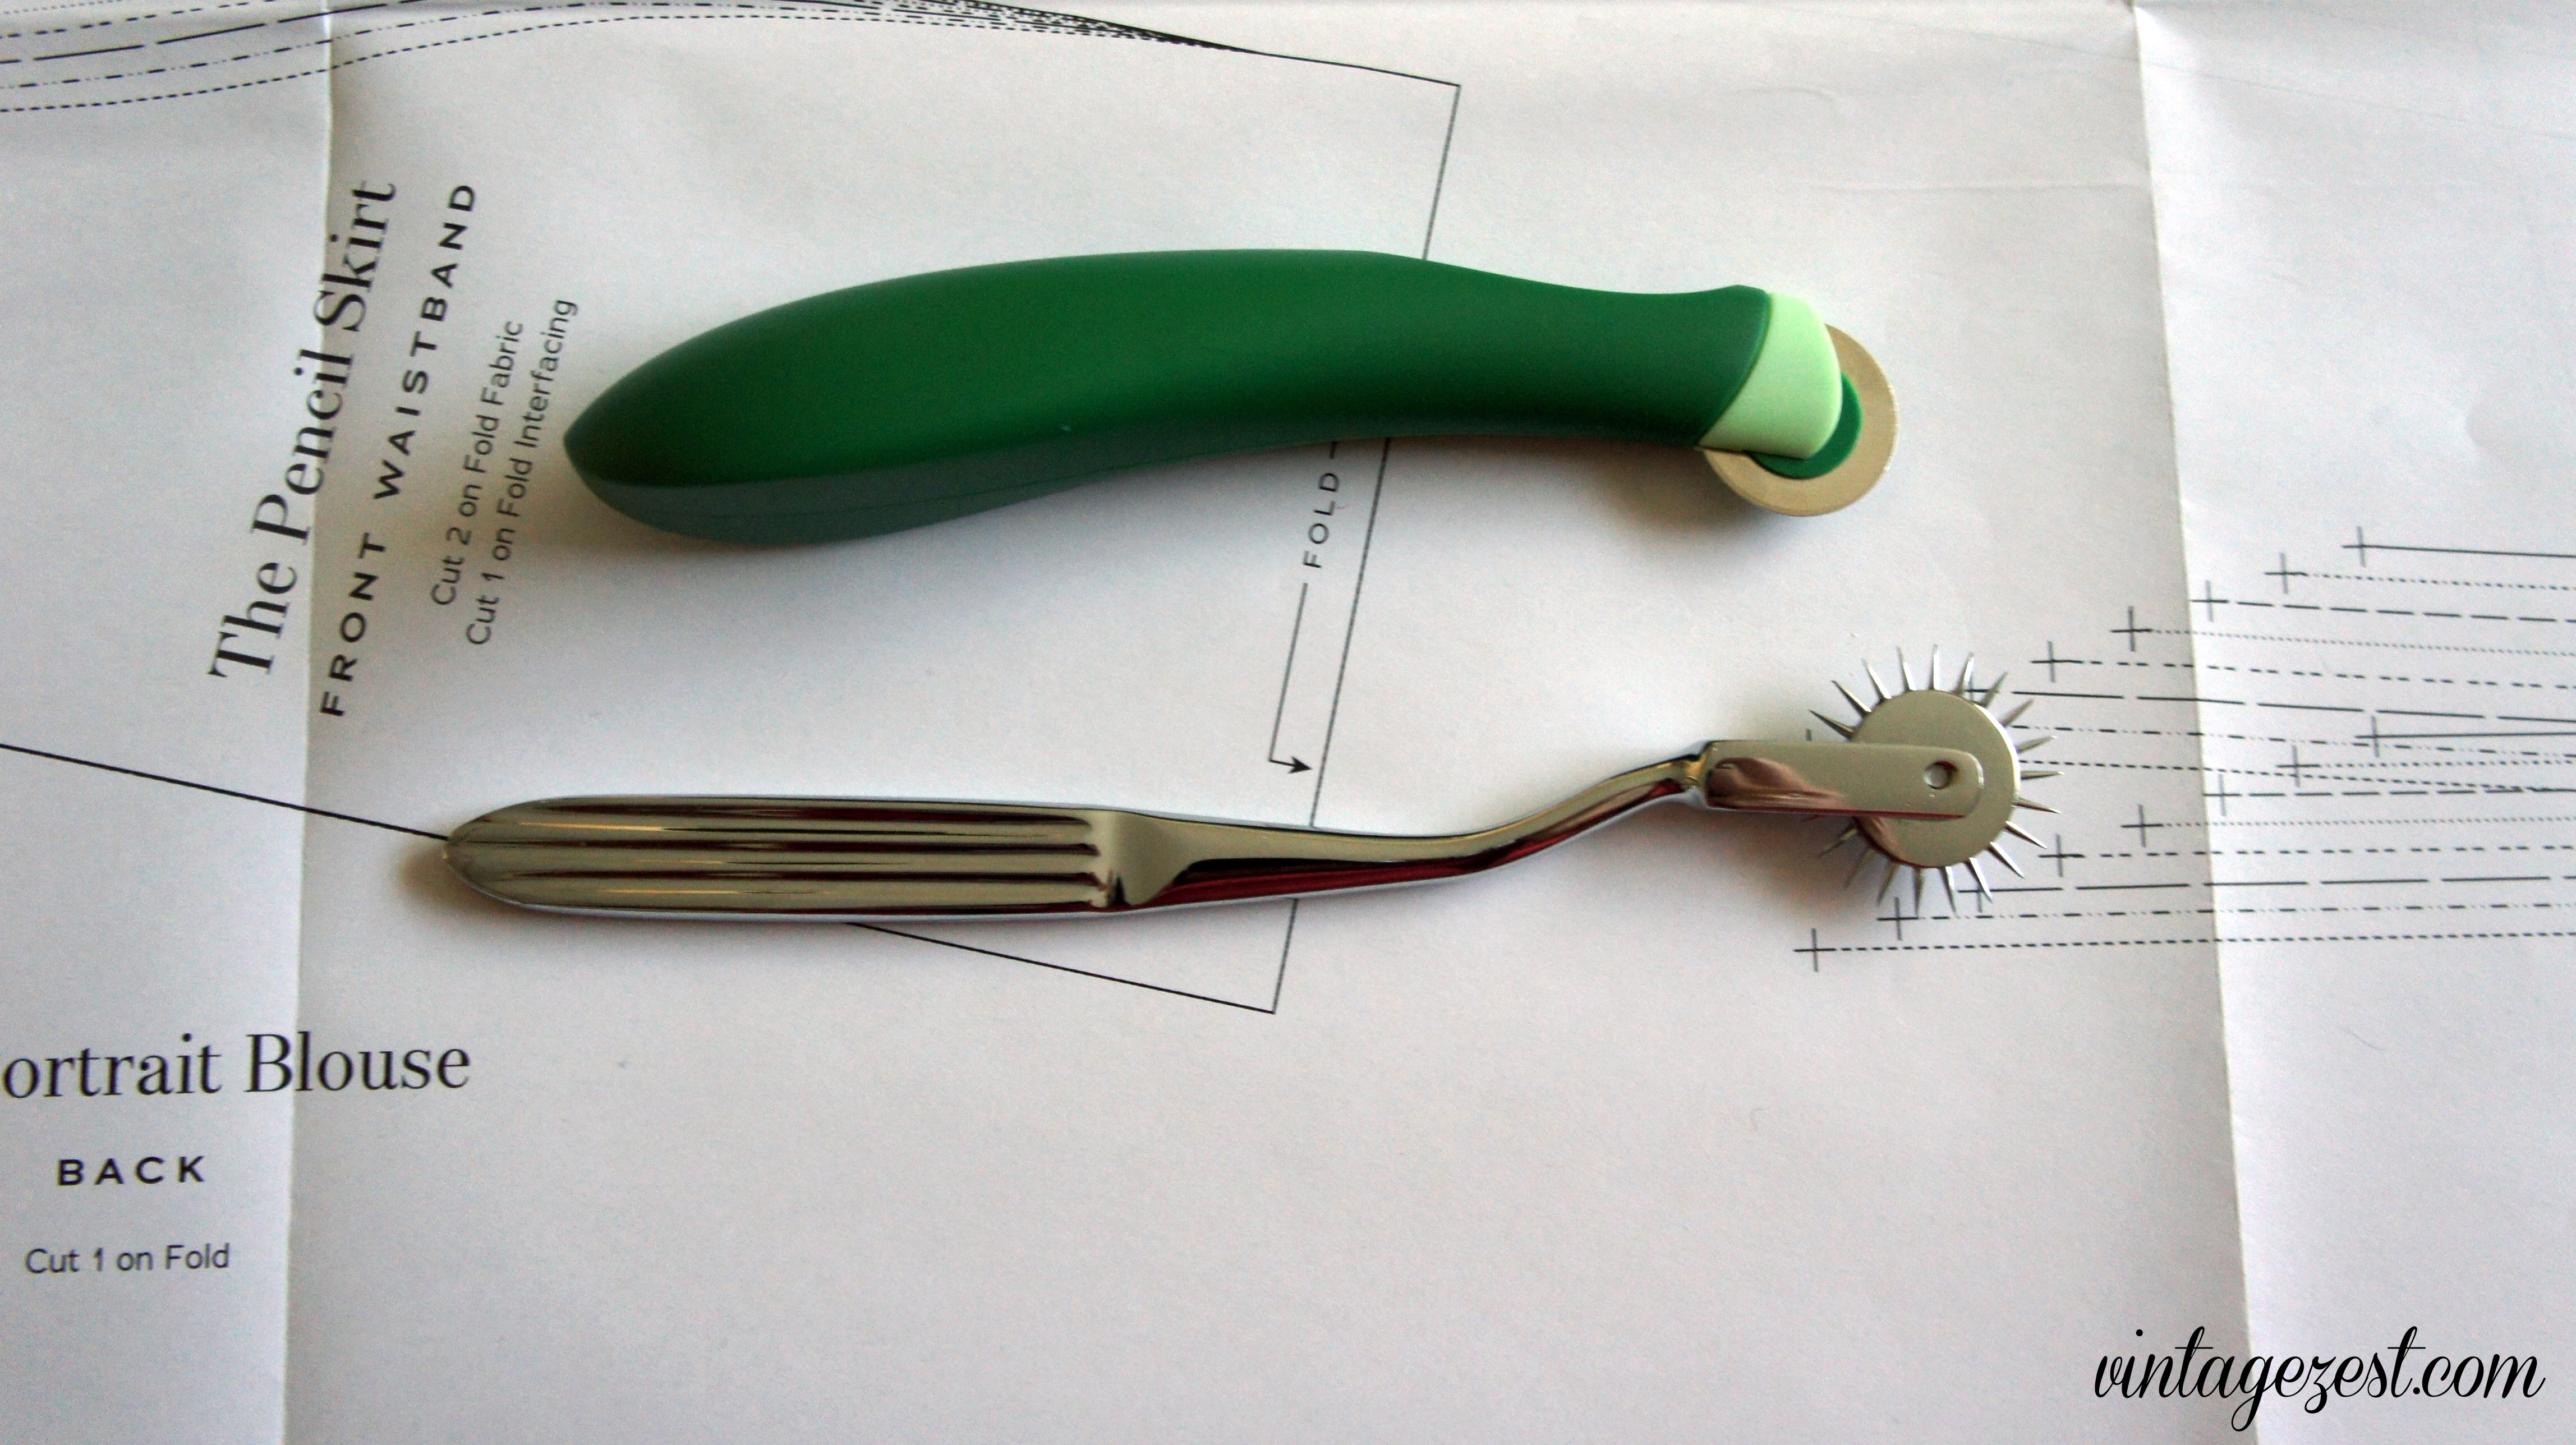
  • Depending on the type of pattern paper, I will use either the needle wheel or the blunt tracing wheel.
    • For patterns on thin tissue paper, I prefer the needle wheel because the needles poke precise holes of where to cut.  The tissue paper is usually strong and printed on one side.
    • For patterns printed on regular paper, I prefer to use a blunt wheel because it will not poke holes in the pattern since the paper is much tougher.
  • If you use the needle wheel, you should trace the pattern on a soft surface (like a large ironing board) so the holes can poke through.
  • If you use the blunt tracing wheel, you should trace on a hard surface (like a cutting mat) to avoid ripping or tearing your pattern.

Tutorial: How to Trace a Sewing Pattern on Diane's Vintage Zest!


Ready?  Now let's get started!

.