Diane's Vintage Zest!: budget

Spicy Chorizo Cornbread Stuffing

A spicy spin on my Cornbread Stuffing that EVERYONE loves!

Sweet Potato Souffle for Thanksgiving

One of my most popular recipes EVER, and just in time for Thanksgiving!

DIY Painted Photo Backdrops

Super easy backdrops for your photo, plus a few tips!

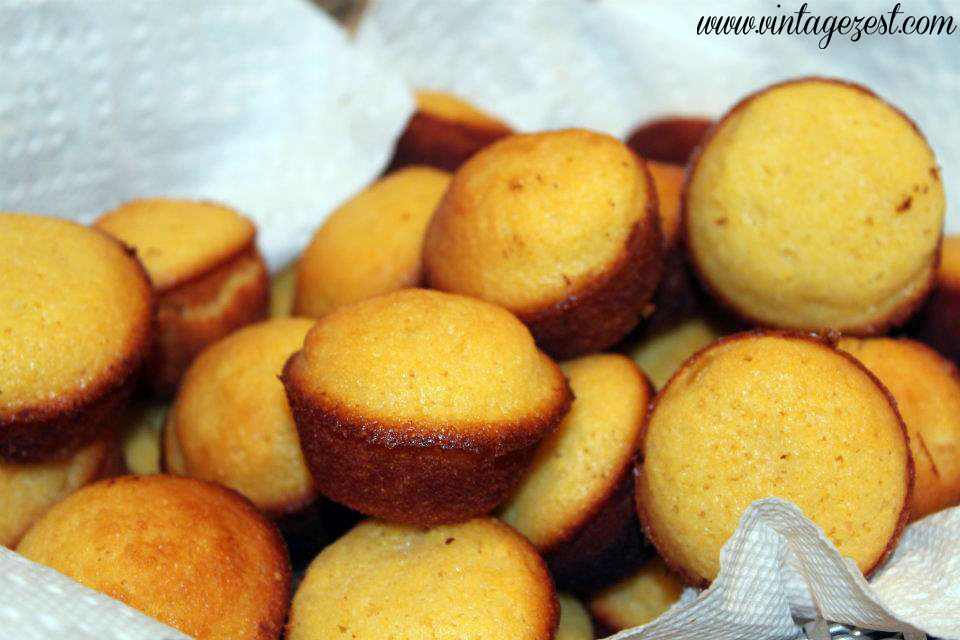
Golden Sweet Corn Bread Mini Muffins

A sweet spin on traditional cornbread!

Easy Sweet Potato Pie (without a crust!)

The easiest (and healthiest) pumpkin pie recipe ever!

Showing posts with label budget. Show all posts

DIY Industrial Pipe Stools


This week, I have a fun DIY that I first saw on another blog and knew I had to try it out!  I am all about spreading my love of handmade to others, so when I found out that someone was in the market for new stools, I immediately suggested these pipe stools!

Small disclaimer:  I did not take a picture of the final DIY because the price tag stickers were not removed at the time and the wood round was eventually swapped.  Still, I'm pretty proud of how these turned out!


DIY Industrial Pipe Stools on Diane's Vintage Zest!  #diy #home #decor


For the full tutorial, head on over to Love Grows Wild and check it out!  I have a few additional tips for you, so read on!


Here are the majority of my starting materials which cost a little more than expected, but not nearly as much as a similarly-styled stool.


DIY Industrial Pipe Stools on Diane's Vintage Zest!  #diy #home #decor


Next, came the building process!  Before you start, here are a few items that I suggest you use as well to make life much easier:

Making Good - DIY Repurposed Succulent Planter


This week, I am bringing you an unexpected crafty post on a Monday!  Why?  I was invited by Agatha Lee of Green Issues by Agy to join the Making Good Repair Blog Train.  Since May 1st, a bunch of talented bloggers have been sharing their repairs and fixes for items, because we believe that  we can use our creativity to find a solution to a problem instead of just throwing it away.  Definitely check it out!

For my project, I originally had something else in mind... and I'm wondering if I bent the rules a little, now that I'm sharing my post.  That's me, always a rebel, even if by accident!

The item that I decided to use is the lasagna dish that had a hairline crack in it, after I made my fantastic Vegetarian Lasagna with Spinach, Mushrooms & Soy Crumbles.  It just was not safe for the oven anymore, so I decided to repurpose it into something completely different!


DIY Repurposed Succulent Planter on Diane's Vintage Zest!  #craft #repurpose #garden #diy #vinyl


Here's a view of that crack.  So sad.  :(


DIY Repurposed Succulent Planter on Diane's Vintage Zest!  #craft #repurpose #garden #diy #vinyl


So now that I think about it, I completely broke the rules and did not repair my project.  However, I did prolong the life of it, in a second career!  Instead of the kitchen, it now hangs out in the garden!

When my mom plants succulents in her fabulous garden, she likes to nurture them from little tiny cuttings in separate small containers (check out the applesauce containers on the left), then group them together in larger planters, before releasing them into the garden!

Voila, I had a new item for her to use!


DIY Repurposed Succulent Planter on Diane's Vintage Zest!  #craft #repurpose #garden #diy #vinyl


Now here's what I did to transform something broken into something good!

Spring Cleaning: Creating an Organized Bathroom Drawer!


Remember last year when I showed you my organized drawer of toiletries galore?  Tons of you totally related to my mess of a "before" picture and loved my "after" as well!  Although that drawer holds the majority of my stuff, I have a single tiny drawer in the bathroom itself where I can store a few things.

It got totally overrun with items, so I did a bit of spring cleaning.  It turned out fabulous and I'm ready to share it with you today!


Spring Cleaning: Creating an Organized Bathroom Drawer! on Diane's Vintage Zest!


Here is the before.  Ugh.  As I mentioned in that previous post, I had about three times the amount of stuff that any one person should have.  All the items from my parents' house from before I moved to Nashville, my stash from Nashville (which was in storage temporarily), and the new stuff I bought when I moved back to California.

I had enough of the craziness when I realized I had no room for the charger of my new skin care brush.  Nooo!  As you can see, I labeled everything so you can see the dirty little secrets living in my drawer.  I had really old glasses and contacts supplies, empty packaging from some of my favorite products, and even some retainers from way back when.


Spring Cleaning: Creating an Organized Bathroom Drawer! on Diane's Vintage Zest!


So I took everything out of the drawers and started the purging and organizing process.  Empty containers and old products were chucked in the trash.  An extra pair of glasses made it into my travel bag, since it makes more sense there anyways.

Then, I organized everything into categories.  The four I ended up choosing were eye care, skin care, dental care, and miscellaneous.  I didn't realize how many kinds of floss I had!!!

(Budget-Friendly) DIY No-Slip Hangers!


For the past few Fridays, I have been sharing some pretty awesome crafty DIYs (if I don't say so myself), but this week is a combination organizational tip with a DIY solution.  Yay!

Well, you know how much I like to keep my closet tidybelts organized, and jewelry nice and orderly.  One thing that all of my organizational systems have in common is that they don't cost an arm and a leg and I usually try to upcycle something that I already have.  This one costs nothing, and definitely makes use of something that would end up being recycled anyways.

Now, you may wonder why I wanted to DIY no-slip hangers in the first place.  Let's take a look!


DIY No-Slip Hangers on Diane's Vintage Zest!  #free #organization #tip


You know when you try to hang a piece of clothing with small straps, and it starts to shimmy down the hanger?  Well, that happens to me all the time!  Since I have a small closet, I need to use skinny hangers for as many items as I can.  Of course, coats go on sturdy wood hangers, but this SoCal girl doesn't have that many anyways!


DIY No-Slip Hangers on Diane's Vintage Zest!  #free #organization #tip


So don't cringe... but instead of buying however many fancy, no-slip skinny hangers, I ended up using free wire hangers from the dry cleaners.  They are perfect for light blouses and summer sundresses, except for the tendency for spaghetti straps to slip off.

By the way, I actually did not have that many hangers on my own.  However, my parents had a huge stash of them, which they were happy to give to me!


DIY No-Slip Hangers on Diane's Vintage Zest!  #free #organization #tip


First up, the failed methods:  Rubber bands didn't work at all.  I had no pipe cleaners on hand, and I would have needed a lot.  Besides, I heard garments slip off when moving them in and out of the closet anyways.  The best solution I could find was this ugly, and only semi-reliable method below.


DIY No-Slip Hangers on Diane's Vintage Zest!  #free #organization #tip


That's right, I used Q-tips.  Ugly, time-consuming, and it actually didn't work that well.  *Sigh*

Fortunately, this new method came to me and it works so much better!  Not one slip yet!!!  Let's see how it works!


DIY No-Slip Hangers

Spicy Turnip Chips


I am officially addicted to my dehydrator!  After last week's Homemade Kale Chips, I thought you might like this equally easy, delicious, and healthy snack: Spicy Turnip Chips!

Seriously, I am in love with this snack and it is even quicker and easier to prep than the kale chips.  Not only that, but one huge turnip made a ton of chips but it cost less than a dollar.  Yes, it's budget-friendly too!

Now for the taste.  For me, raw turnips are like a cross between a radish, potato, and jicama in both texture and flavor.  They are naturally a bit spicy, so you need just a few items to complement the flavor.  Once you dehydrate the turnips, first of all, they look absolutely gorgeous, and the flavor becomes concentrated and absolutely addicting.  They are just a little different than your ordinary potato chip, and you'll definitely thank me later!


Spicy Turnip Chips in Dehydrator at Diane's Vintage Zest!  #recipe #easy #healthy #vegetarian #snack


Spicy Turnip Chips
Adapted from About.com

DIY Industrial Pendant Light with LED power!

DISCLOSURE: I am a member of the Collective Bias®  Social Fabric® Community.  This shop has been compensated as part of a social shopper amplification for Collective Bias and its advertiser. #LEDSavings #CollectiveBias


Today, I am excited to share a really easy, budget-friendly DIY pendant lighting fixture that you will definitely love!  As you know, with the new house we will have a TON of rooms to furnish and decorate!  Since those expenses can add up, I am trying to DIY as much as possible.  Plus, there is the added benefit of being able to have everything match our favorite style: Industrial!  Also, being the eco-friendly gal that I was raised to be (thanks mom!), I wanted to choose as many materials and items that are as energy-efficient as possible.  For those reasons, I decided to choose GE LED Energy Smart light bulbs, which are super bright LEDs that are cost-efficient as well.  A while ago, I convinced my mom to switch out all of the bulbs in her home, and my parents love it!  The light is brighter, their bills are much lower, and they have not needed to replace a single one yet.  Awesome!  Also, I wanted to use a light bulb that would be cool to the touch since it is definitely much safer when making a DIY light fixture.  Now, let's get to the tutorial for my DIY Industral Pendant Light!


DIY Industrial Pendant Light with LED Power! on Diane's Vintage Zest! #LEDSavings #CollectiveBias #shop


I should mention that we chose the more rustic, weathered, industrial style but it is possible to make the fixtures more sleek and modern.  In fact, I almost made this white with gold details, which would have been beautiful as well!


DIY Industrial Pendant Light with LED Power! on Diane's Vintage Zest! #LEDSavings #CollectiveBias #shop


By the way, if you are wondering how much this cost, it was $14.26 for the metal materials and $18.69 for the lightbulb and hanging cord setup.  However, I found several coupons (all links at the bottom of the post) that made the grand total less than $30 for the pendant light.  What a deal!

Tutorial: Decoupaged Dress Form + Meet Coco!

You might have wondered what happened to Jade (my first duct tape dress form) ever since I made Lily, my new duct tape dress form, with my new tutorial!  Well, honestly she sat in a corner slowly falling apart...  :(  Very sad.  Well, she got a new makeover and I gave her a new name...

Meet Coco!  As you might have noticed, the last two names were named after the color of the tape I used: Jade was green and Lily is white.  Therefore, I wanted to think of a name that would evoke a brown or tan color, and Coco came to mind.  Not only is that the perfect name for my theme, but I love that it reminds me of Coco Chanel!

Make sure to check out the tutorial on how to make your own decoupaged dress form below plus some detailed pictures.  Enjoy!


Meet Coco + Tutorial: Decoupaged Dress Form on Diane's Vintage Zest!


By the way, I am not sure how this would work on other dress form surfaces or as a functioning dress form, but this is meant to be more of a decorative piece since I already have Lily.  I am so looking forward to displaying this in my new guest bedroom craft room!


Meet Coco + Tutorial: Decoupaged Dress Form on Diane's Vintage Zest!


Just a couple of pictures before we get to the tutorial.  Last I left you, Jade was slightly falling apart since I did not stuff or tape her properly.  By the time I picked her up from the corner, the seam had completely fallen apart.  Yeesh!


Meet Coco + Tutorial: Decoupaged Dress Form on Diane's Vintage Zest!


My niece was over, so she helped me!  First, we taped up the back with short sections, and then we placed a long strip up and down the "spine," which I forgot to photograph.

DIY Homemade Orange Cleaner: Easy & Chemical-Free!


As you may know by now, I am a huge proponent of recycling, upcycling, and reusing.  Also, I love anything that saves me a few pennies, and this is a DIY tip that is very budget-friendly and super-easy.  Besides, anything that keeps my home sparkling without chemicals is always a plus!


DIY Homemade Orange Cleaner - Easy and Chemical-Free on Vintage Zest


Yes, I had a sneak peek of this tip allllll the way back when I shared my upcycling Mason Jar tips, so this has been a long time coming.  You'll see why I needed to wait so long to share this with you!


DIY Homemade Orange Cleaner - Easy and Chemical-Free on Vintage Zest


What You Will Need:


DIY Homemade Orange Cleaner - Easy and Chemical-Free on Vintage Zest


Directions

DIY Cupcake Stands for under $2!


This is a simple little cupcake stand that I wanted to share with you all, from way back when I made my S'mores Mini Donuts.  I love this DIY because I put together for under $2 and it's super, super simple!  I bought these items at the 99¢ Only Stores, but depending on the selection at your nearest dollar store, thrift shop, or items around your house, you can make it totally unique and for even less!

Also, I am calling this a cupcake stand because it would be just perfect for that.  However, it is obviously the right size for my mini donuts, as a catch-all for earrings or small pieces of jewelry, or whatever uses you can come up with.  The possibilities are endless!


Best of all, now I have a nice little cupcake display area for about $5!


DIY Cupcake Stands Under 2 dollars on Diane's Vintage Zest! #easy #budget #craft


So how did I do this?  Let's see the starting materials!

Weekly Wrap-Up: Food & basketball!

Well, I finally have a few things to share with you again for this week's wrap-up!  Lots of food and fun again this week, so we'll just get to it.  :)


Precap:


On Saturday, I had a bunch of errands to run (for future projects that I can't wait to share!), but afterwards we took some time out to go to dinner.  My guy was recognized at work and had a gift certificate to P.F. Chang's.  Besides the desserts above, we had the dishes below.  See the whole dinner at The Episodic Eater!


On Sunday, I did a bit of work on three separate projects.  Woo!  We already had a dinner planned, which I was really looking forward to.  We went to Ditmas Kitchen & Cocktails, which was amazing!  Check out the Short Ribs below!


Weekly Wrap-Up on Diane's Vintage Zest!


Someone else had the Salmon below and there were so many great dishes such as the Poultry (roast chicken), Kale Caesar Salad, Tuna Carpaccio, Steak Tartar, Vidalia Onion Rounds, Butterscotch Pudding, Lemon Meringue dessert, and more!  Check out The Episodic Eater post here!

Triple Chocolate Stuffed Monkey Bread (with Milky Way Bites Centers!)

Triple Chocolate Stuffed Monkey Bread with Milky Way Bites #shop #gamedaybites


Oh. Em. Gee.  I'm not typically one for superlatives, but I have made the most delicious, gooey, chocolaty, creamy, and caramel-y monkey bread of my life.  It's so easy to prepare that you'll HAVE to make it immediately.  Honestly, I made it in practically no time, which is perfect for the tailgaiting parties that we're doing every Sunday (now that I'm into football).  And best of all, not only is the bread itself delish, there's a secret weapon inside...  Milky Way Bites!  And lucky you, I'm sharing the recipe AND a coupon for up to $2 off these bites that put the triple in my Triple Chocolate Stuffed Monkey Bread!


Triple Chocolate Stuffed Monkey Bread with Milky Way Bites #shop #gamedaybites

Triple Chocolate Stuffed Monkey Bread with Milky Way Bites #shop #gamedaybites


Really, it's the perfect dessert for game day because your guests can just pop off a piece and enjoy all of the deliciousness with just one hand.  If you don't want to include the sticky chocolate glaze (what's wrong with you?) because it might be too messy for your home (oh yeah...), then it is still ooey-gooey in the middle of each piece of monkey bread.


Really, don't hate me because there is the possibility that you might need to bake two: one for you, and one for your guests... and then let out your pants.  It's a good thing I sew!

Bon appetit!


Triple Chocolate Stuffed Monkey Bread with Milky Way Bites #shop #gamedaybites


Triple Chocolate Stuffed Monkey Bread (with Milky Way Bites Centers!)
A Vintage Zest original

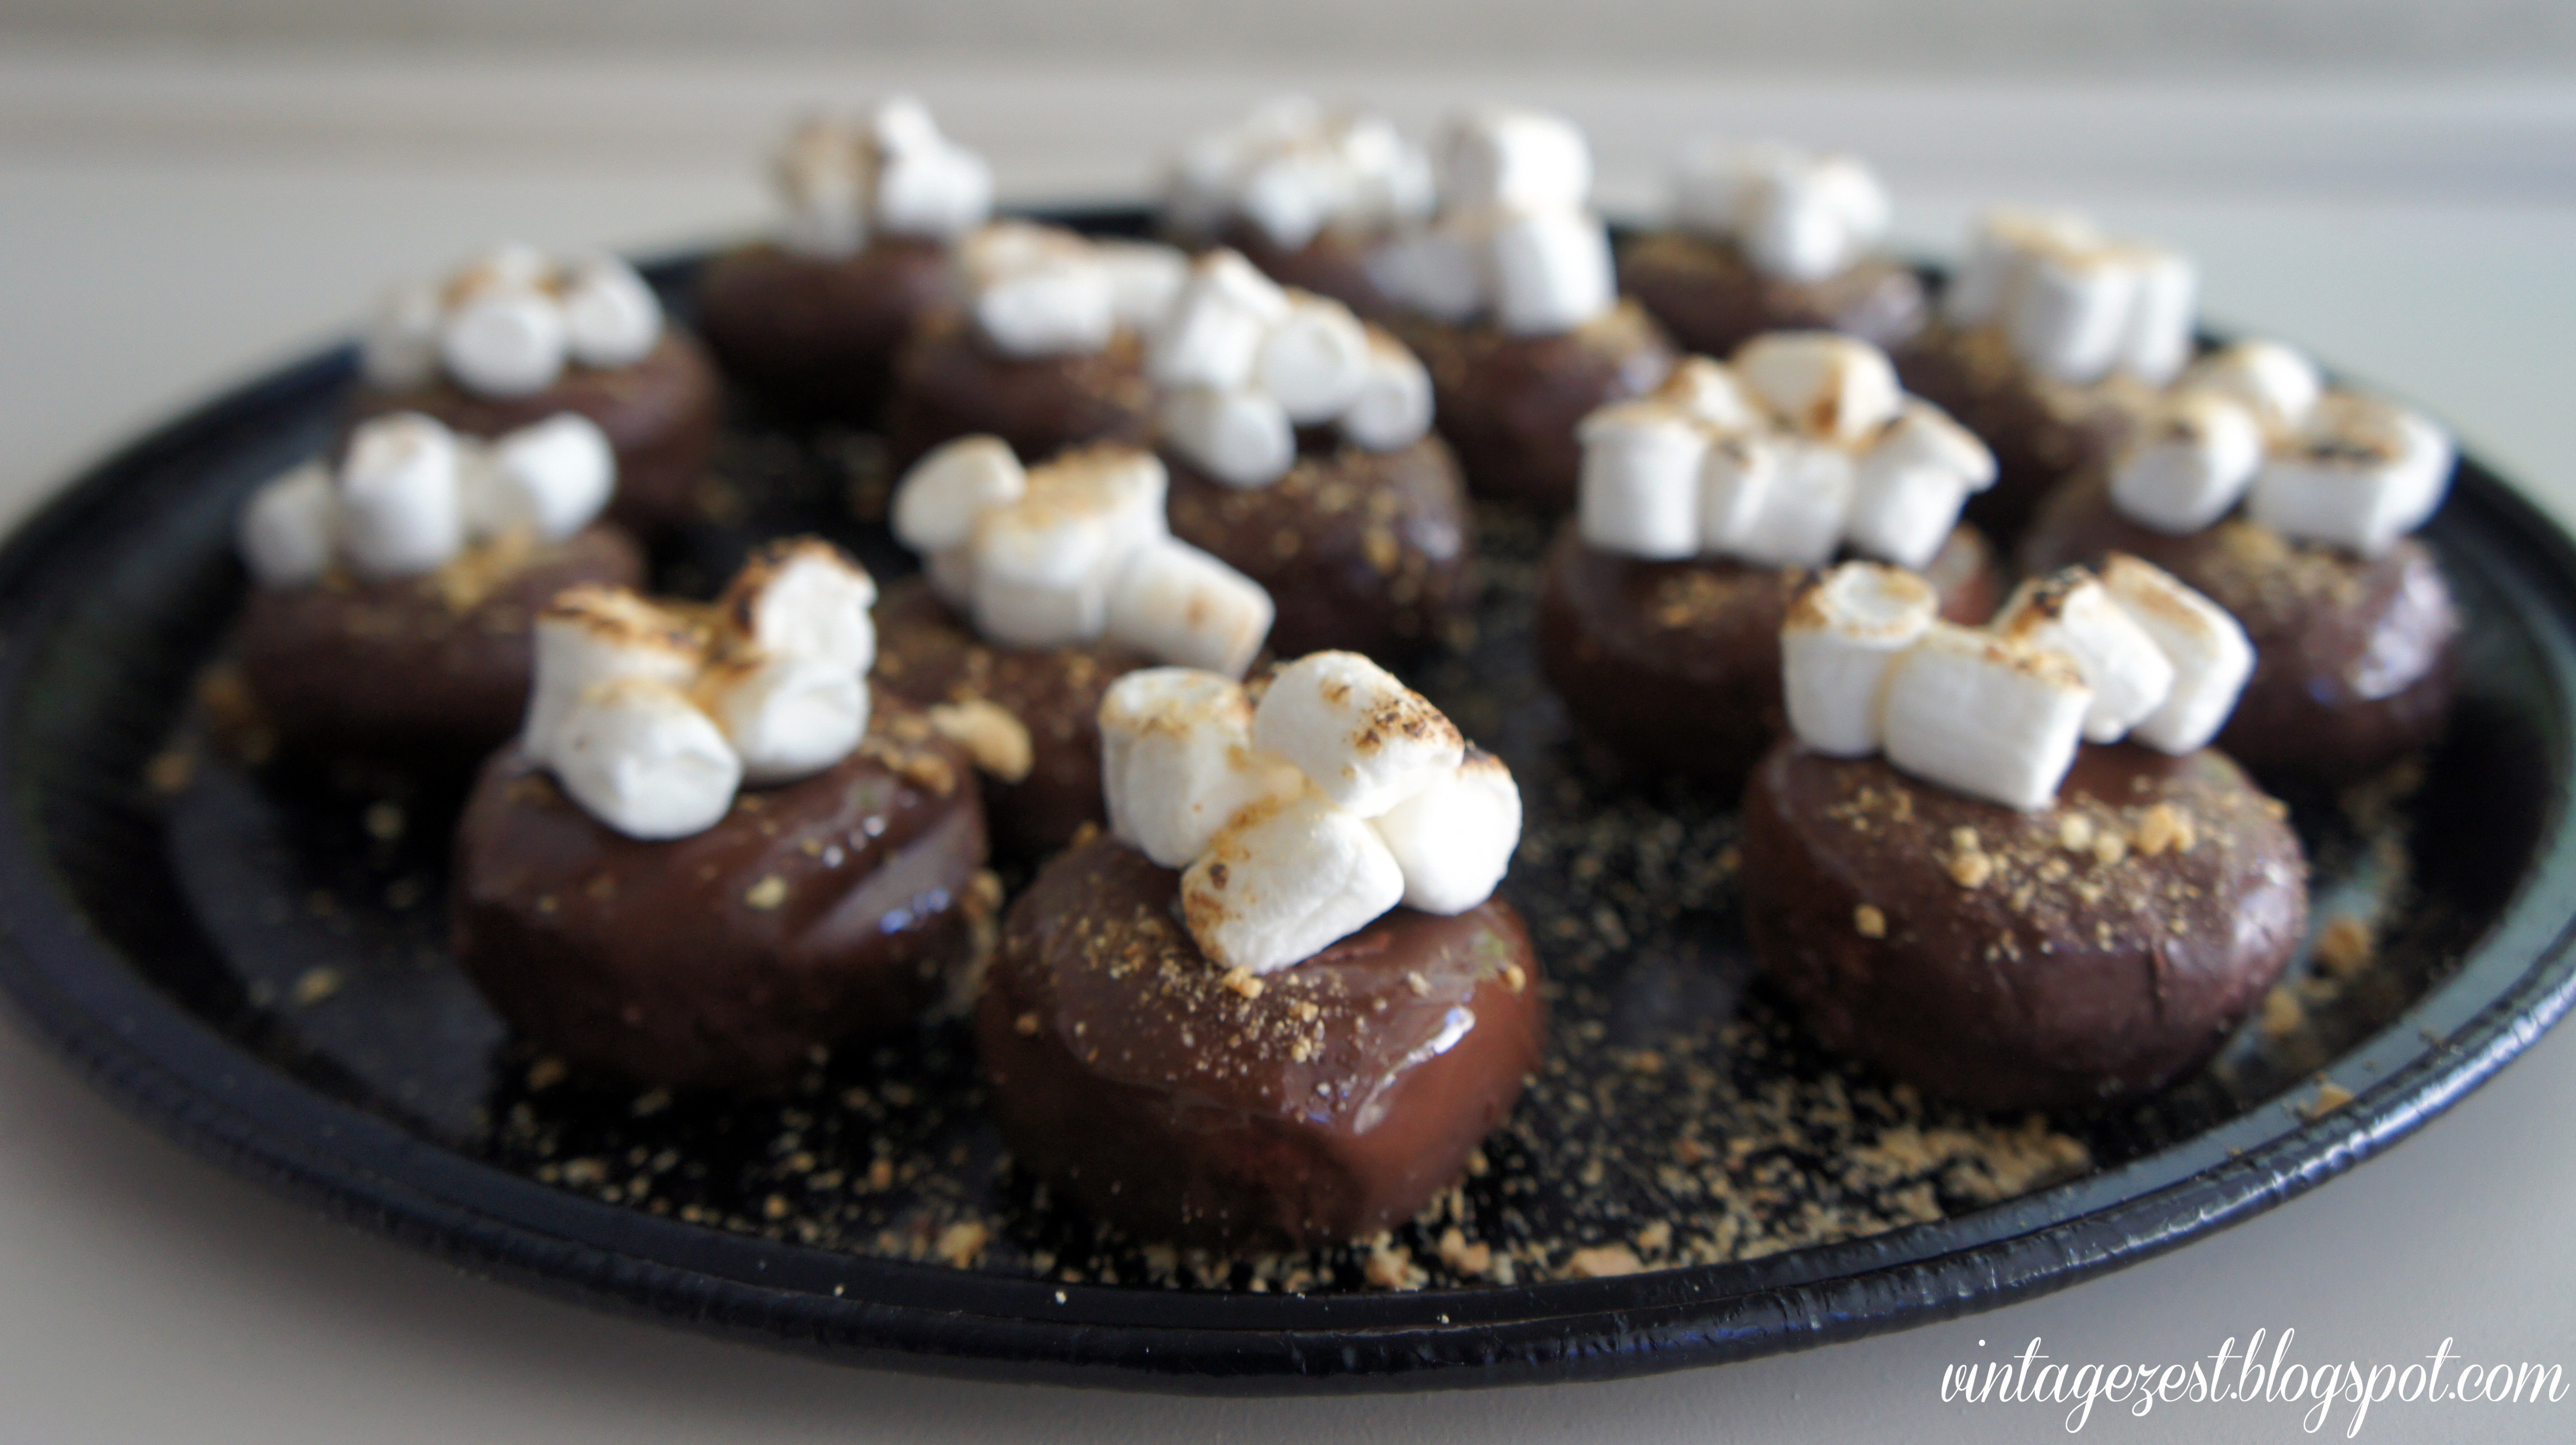
S'mores Mini Donuts

On Sunday, we had a BBQ and I said that we would bring something a little sweet.  Initially, I was thinking about making ice cream, but we had some last minute errands to run beforehand.

Ice cream + Hot car = No bueno

The time-consuming errands meant that I would most likely have to bring something storebought, which always makes me a little sad.  Homemade is so much better, but we just didn't have any time for baking beforehand.

Since I had to rethink our dessert, I checked my e-mail and found out that August 10th is National S'mores Day!  I wasn't sure if we would have access to a firepit, so traditional s'mores were out.  Off the top of my head, I grabbed a few items, ran home, and made a quick, easy, budget-friendly, and crowd-pleasing dessert.  I'm happy to share my S'mores Mini Donuts with you!


-Smore Donuts 7


S'Mores Mini Donuts
From Diane of Vintage Zest


-Smore Donuts 6


Ingredients
Chocolate covered mini donuts (2 packs or 30 donuts)
Mini marshmallows (1 package is more than enough)
Graham crackers (4 squares)


Supplies
Plastic sandwich bag
Heat-safe plate or cookie sheet
Kitchen torch

DIY Belt Organization (on a budget!)

Here I go again, sharing my closet with you all.  Since the last time I organized my closet, I inherited my mom's rather large belt collection.  That means tons of belts from the 1980s & 1990s!  Yes!

However, I had to find a place to house all of my new treasures, because my current system was absolutely TERRIBLE!  More on that later.

By the way, after seeing the comments on my last post, I know that I risk lots of comments like, "You have so many belts!"  Still, I just love the system that I finally settled on and I just had to share.


After I decided to revamp my storage, I searched around and found a few cute ways to store belts.  However, they were either expensive, took up tons of drawer space, or were good for only a small belt collection.  Since I didn't want to spend an arm and a leg, I took a trip to the hardware store and I came up with this...


DIY Belt Organization (on a budget!) on Diane's Vintage Zest


My very own organized belt rack!


To recreate this, you will need:


Back to the story now.  :)  As I mentioned, my current system was NOT working for me.  I had this U-shaped hanging contraption from my mom, which didn't take up much space and helped me store the belts.  However, it had its limitations.


DIY Belt Organization (on a budget!) on Diane's Vintage Zest

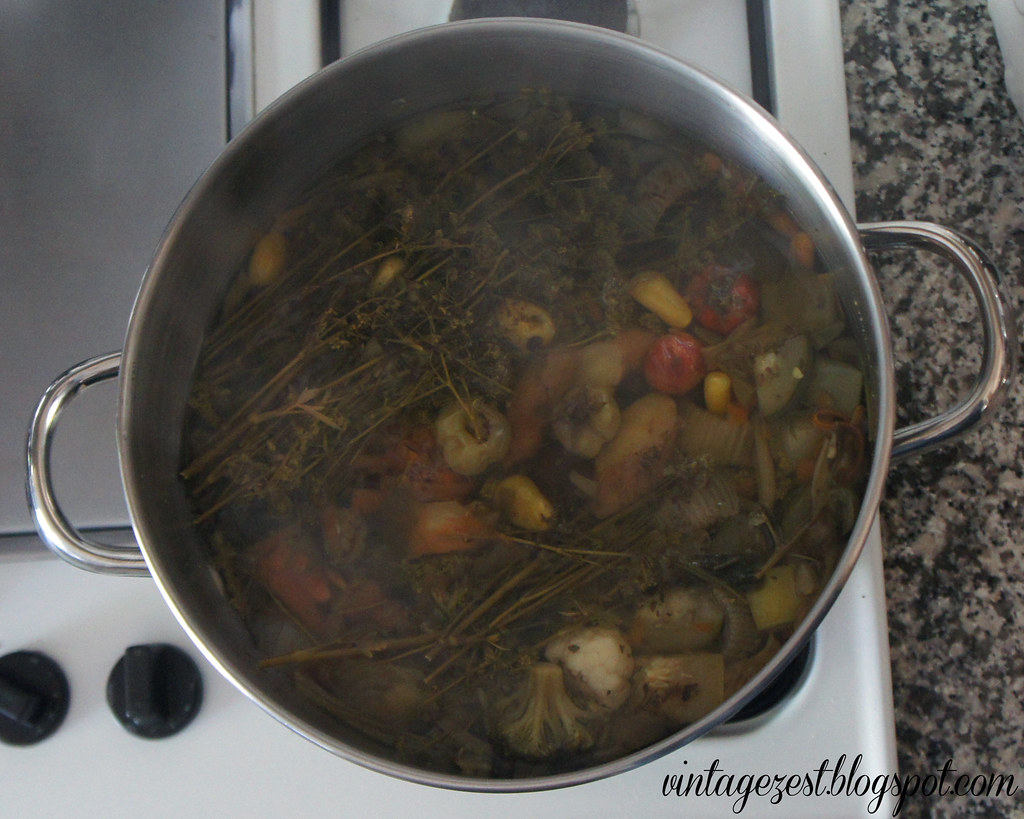
Homemade Vegetable Broth Tips

I promise, this is the last in my mini-series of soup-related recipes!  It started off with an easy chicken noodle soup recipe and then continued with how to make a wonderful chicken stock.  Basically, I've been in rewind for the last two posts and now I'm finally getting to the first recipe of the bunch!


Making your own vegetable stock is easy and budget-friendly, while making your dishes tasting even more delicious and homemade.  It's great for people who need to control what is in their diet, especially for those with sodium intake concerns.  As for me, now that I've started making my own, I won't buy storebought again.  :)

Since there is no exact recipe for the vegetable broth that I make, I'm going to show you my method and share some tips.  Ready everybody?  Let's go!


Equipment

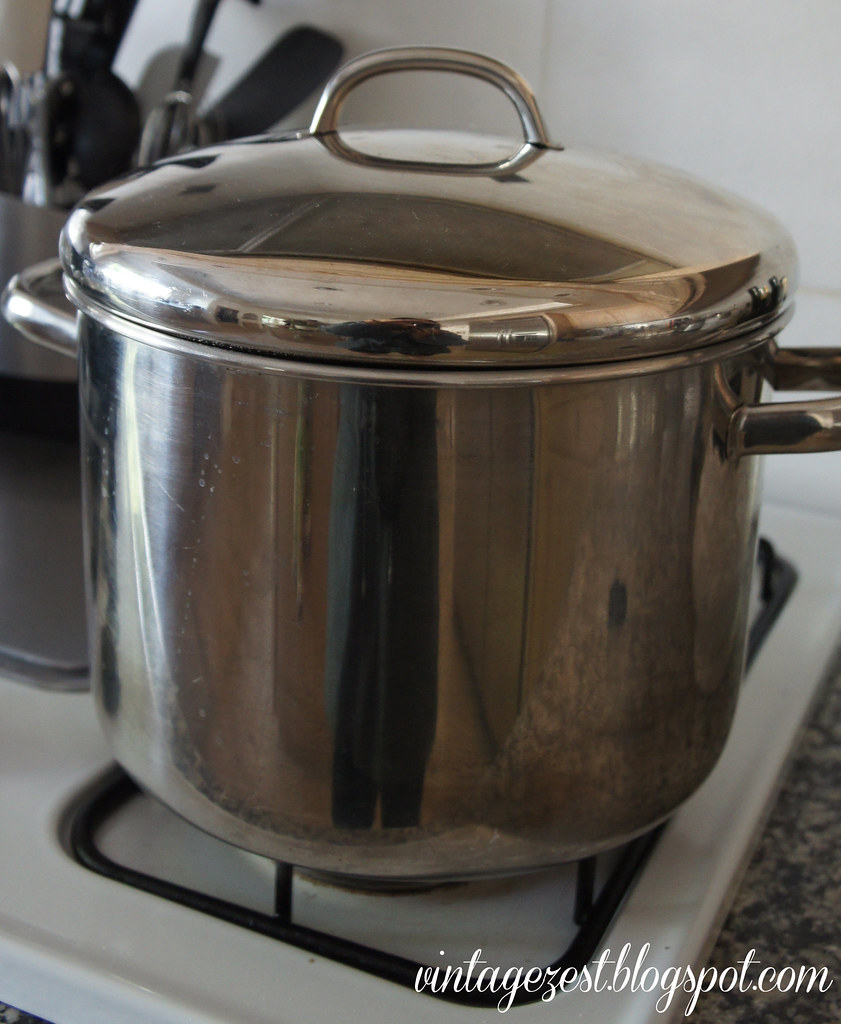
Stockpot
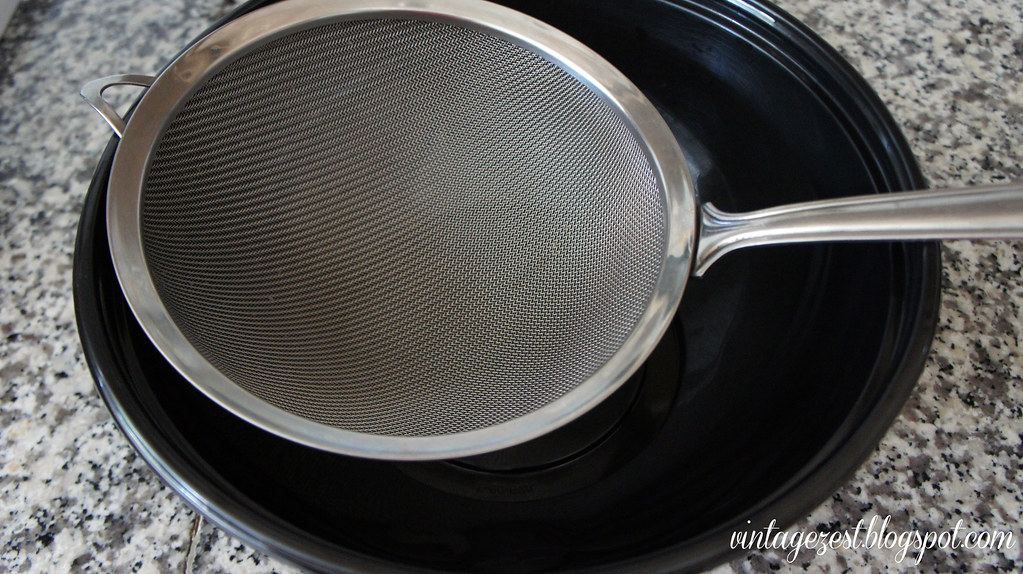
Strainer
Large bowl or pot to transfer broth
Ingredients (discussed below)
*A few hours to spare*

-DSC02140
-DSC02146

Gather up that equipment, and you're ready to make some broth!

-DSC02143


Ingredients

Finished Sewing Projects: Two Lace Dresses!

I was originally scheduled to post about this a couple of weeks ago, but I was a bit lazy to take the pictures and then I had a few link parties for my birthday.  :)  I think it's well worth the wait!  Also, I have a question for you guys at the end of the post, because I'm not quite sure how to completely finish the blue dress...


Remember waaay back in February when I shared my works in progress?  Well, there was a green lace dress that I hoped would be a wearable muslin for a lace overlay dress that I had in mind.  It wasn't the best, and I detailed a few problems I had in that previous post.

I finally finished the dress AND my final version of the dress because I specifically carved out some time to sew last weekend.  I didn't want this to be a UFO, taunting me by hanging on Lily anymore!

Without further ado, my two new lace dresses!


For those of you who haven't been following from the beginning of my blog, I realized that I've been talking about making this dress from the very beginning!  Let's look back in time to see the evolution of this dress.  :)

Mini Mason Jar Tumblers with Faux Chalkboard Labels!

This is a project I mentioned waaay back in March, which I've been dying to share with you!
I was originally going to post about it while I was gone on my trip, but as we know, my "Travel Diaries" series was so pic heavy that I had to break up all of my posts and postpone some of the pre-scheduled ones.  In a way, this is better because it's a reminder that I need to break these out soon for all the summer barbecues we have planned!

Here are my mini Mason Jar Tumblers with Chalkboard Labels plus a tutorial below on how to make your own!


Mini Mason Jar Tumblers with Faux Chalkboard Labels on Diane's Vintage Zest!
Hey Stitch Once, Rip Twice members!  You're invited to my party!


I had 20 of these little mason jar tumblers from a foodie event that I went to in Las Vegas.  There was an alcohol company that was promoting their goods and serving them in these awesome jars!  There were seven of us at the event, and we each picked up 2 to 3 tumblers, mostly because I kept bugging them to drink up and save the containers for me!

They were adorable as is, but I wanted to remove the company logo.  It was printed on really well, so I was a bit disheartened when it wouldn't rub off.  Then, I decided to figure out the cutest way to cover up the logos instead!


Mini Mason Jar Tumblers with Faux Chalkboard Labels on Diane's Vintage Zest!


I knew that I wanted a label that you could write on, so of course a chalkboard came to mind!  I looked into how to make your own chalkboard paint, but left the project on the backburner until I had enough time to devote to a painting project.

Travel Tip #2: Shop For Cheaper Accommodations

Here is the start of my travel tips series!  Although I did share one tip before my trip, this is the real start.  :)  I know this will need updating from time to time, when items change or more options come up.  With that caveat, here we go!

The view from our Dublin hotel

When you're traveling abroad, there's nothing worse than finding the perfect hotel in the perfect location, plugging in the amount into a currency converter, and then finding out that it's totally out of your budget!

Well, I'm here to compare the different accommodations that I've used over my years traveling abroad.  On this trip we stayed in three hotels, two bed & breakfasts, and five rented apartments.  By the way, this was my first time renting apartments through a website called Airbnb, which ending up saving us some serious coin.


In Part 1, I'll point out the different things to look for when you are booking a place to stay.

In Part 2, I'll shed some light on the pros and cons on staying in hotels vs. bed & breakfasts vs. hostels vs. rented apartments.  This will also include a few websites to make your comparison shopping easier.

In Part 3, I'll share my tips for a successful Airbnb rental after the comparison, since it was such a great experience!  I'm not being paid or anything, but I wish I had some help before we started looking!


Part 1: What to Look For in a Place to Stay

The list of important things is different for everybody, but I noticed that when I was booking accommodations with my travel buddies, we each had different priorities.  Here's a list of things to get the juices flowing on picking out the best place for your next vacation!

  1. Expense: Self-explanatory!  There may be accommodations that include extras, such as WiFi, breakfast, parking, and pets for free.  Definitely a bonus!  Conversely, if you are charged extra, you should include this as part of the expense.
  2. Location, location, location: You may love to be in the touristy areas, near the attractions, or away from the craziness around where the locals live.  It depends on you!  Proximity to public transportation, as well as to good restaurants and cafes is always a plus.  :)
  3. Ratings: Websites like Trip Advisor will help you to make your decision by reading reviews by previous guests.  Also, some of the websites in Part 2 have rating systems built in to the search functions.
  4. Security: Often, this is tied to the location, but it may be important for you to have a private room with a safe.
  5. Ease of booking: Nowadays, the internet makes it easier, but there are some options that are definitely easier than others!
  6. The Pretty Factor: We all want to stay somewhere that looks and feels like somewhere we want to stay all day, even if we only stay here to sleep!  Also, it may be important for you to have some local character in your accommodations.  :)
  7. Room Size/Features: Usually bigger is better, especially if it has a kitchen and living room!
  8. Luxuries: The gym, spa, and babysitting services may be important necessities for you on your vacation.  :)  Also, you may want a 24 hour front desk or concierge that can book tours, tickets, etc.
  9. Access: Certain accommodations abroad will not comply with the same standards that we have in the U.S.  This means steep staircases, lack of ramps, etc. which may be important if you're on the top floor with heavy suitcases!
  10. Family friendly: You'll want to pay attention to the safety of the neighborhood, room size, luxuries, and access.
Our rented apartment was just a few minutes walk from the tower in Bruges!


Part 2: Accommodation Comparison

Travel Crafting: Cozy Gloves!

The title is a bit misleading because there isn't going to be a second travel crafting post (at least not for this trip!).

Remember in London, at the end of the post I asked if anyone had any tips for layering because my poor hands were so freezing?  Well, in the next post I had a teaser for the solution to my problem!

And if for some reason you wanted to make your own, I'm even including a "tutorial."

Introducing my protection from frostbite, the polkadot thermal gloves!


Like I mentioned, we had been on Oxford Circus, looking around for gloves for me and a scarf for my friend, but there were only spring items in the stores.  Then, we went to Portobello Road where you can find just about anything!

They were selling gloves for 8 pounds, but I thought I could do better, especially when I saw Poundland (the UK version of the 99 Cent Only store!).


There were no gloves in stock (darn!), but I did walk out of there with a thank you gift for our host, lip balm in a lovely tin, and my glove materials...


Tips: How to Get Your Swap Meet On!

I'm definitely a girl who goes to extremes.  One day, I'm having dinner at Melisse and the next, I'm going to the swap meet to score some cheap finds.  :)

A few of you asked where I get my fabric, especially the one from the cape I sewed a few months ago.  Well, I know that there are beautiful fabric shops out there, but since I'm a beginner, I would be too nervous to use fabric that's more than $10/yard.  Thus, I'm always on the hunt for a great deal at my local swap meet!

It can be a little tricky to navigate your way to a good deal, so here are a few tips to make your swap meet experience a great one!


Getting Ready

1. Be ready to shop outside.  That means wear comfy shoes and put on the sunblock.  Usually, I'm not out for too long and I don't burn.  However, I've taken my guy before and he burns in a hot minute.  Bring water and maybe even a parasol.

2. Bring cash.  How much should you bring?  More than you expect to spend, but only as much as you can afford!  You may find those perfect buttons for 5 cents a pop, and not be able to pass them up!


3. Leave your bulky purse at home.  It will make it MUCH easier for you to rummage through fabric and carry all of your stuff home.  Not all of the fabric that you find will be as easy to see as the booth below.

Pre-Vacation Recipes! (Persimmon Crumble & Pickled Radishes)

Typically, I buy my groceries with a list in hand of all of the ingredients I'll need for that week's recipes.  It's a habit I picked up when I used to live alone and cooked for just myself because I hate throwing food away!  However, when there's a super great deal or if someone gives me some of their fruit tree bummer crop, I end up with extras.  Not bad if I'm at home, but not good if I'm headed on a trip!

If I have leftovers from my cooked meals, which rarely happens, I'll freeze them  However, for the produce that I didn't plan on buying, sometimes I have to put together a quick recipe.  These are a couple of recipes that I usually dig out of my arsenal for quick pre-trip recipes.

********************

In this post:


Persimmon, Pear, and Mango Crumble on Diane's Vintage Zest!  #recipe #healthy #fruit


I bought a really cheap radish with the intention of making one of my favorite Korean dishes.  However, it was right before my Vegas trip.  The solution was to go ahead and pickle it anyways!  I like making pickled Japanese cucumbers, and you can pretty much pickle anything and it will keep for a while, depending on your method.  This works for tomatoes, beets, peppers, etc.  Just look at this pickle appetizer I got from UMAMIcatessen!


This is the recipe I followed for my pickled radish, which is now definitely one of my favorites!  I didn't quite finish my cucumbers that I bought for snacking, so I pickled those too!  Feel free to change the amounts to your liking.  :)


Pickled Radishes (AKA Korean Moo) & Cucumbers

.