
Two weeks ago, I shared a quick snapshot of the tools that I use to trace sewing patterns. Today, I'm going to share a mini-tutorial on how I use them to make brand-spanking new copies of my patterns!

You may not understand why it's necessary to trace a sewing pattern. Here a few reasons why it is very helpful to trace rather than cut!
- You may want to keep your pattern intact for multiple sizes
- If you plan on sewing the pattern multiple times, it is helpful to keep the pattern from deteriorating!
- Some patterns are double-sided or have smaller pieces laid within large pieces, and you do not want to cut through them.
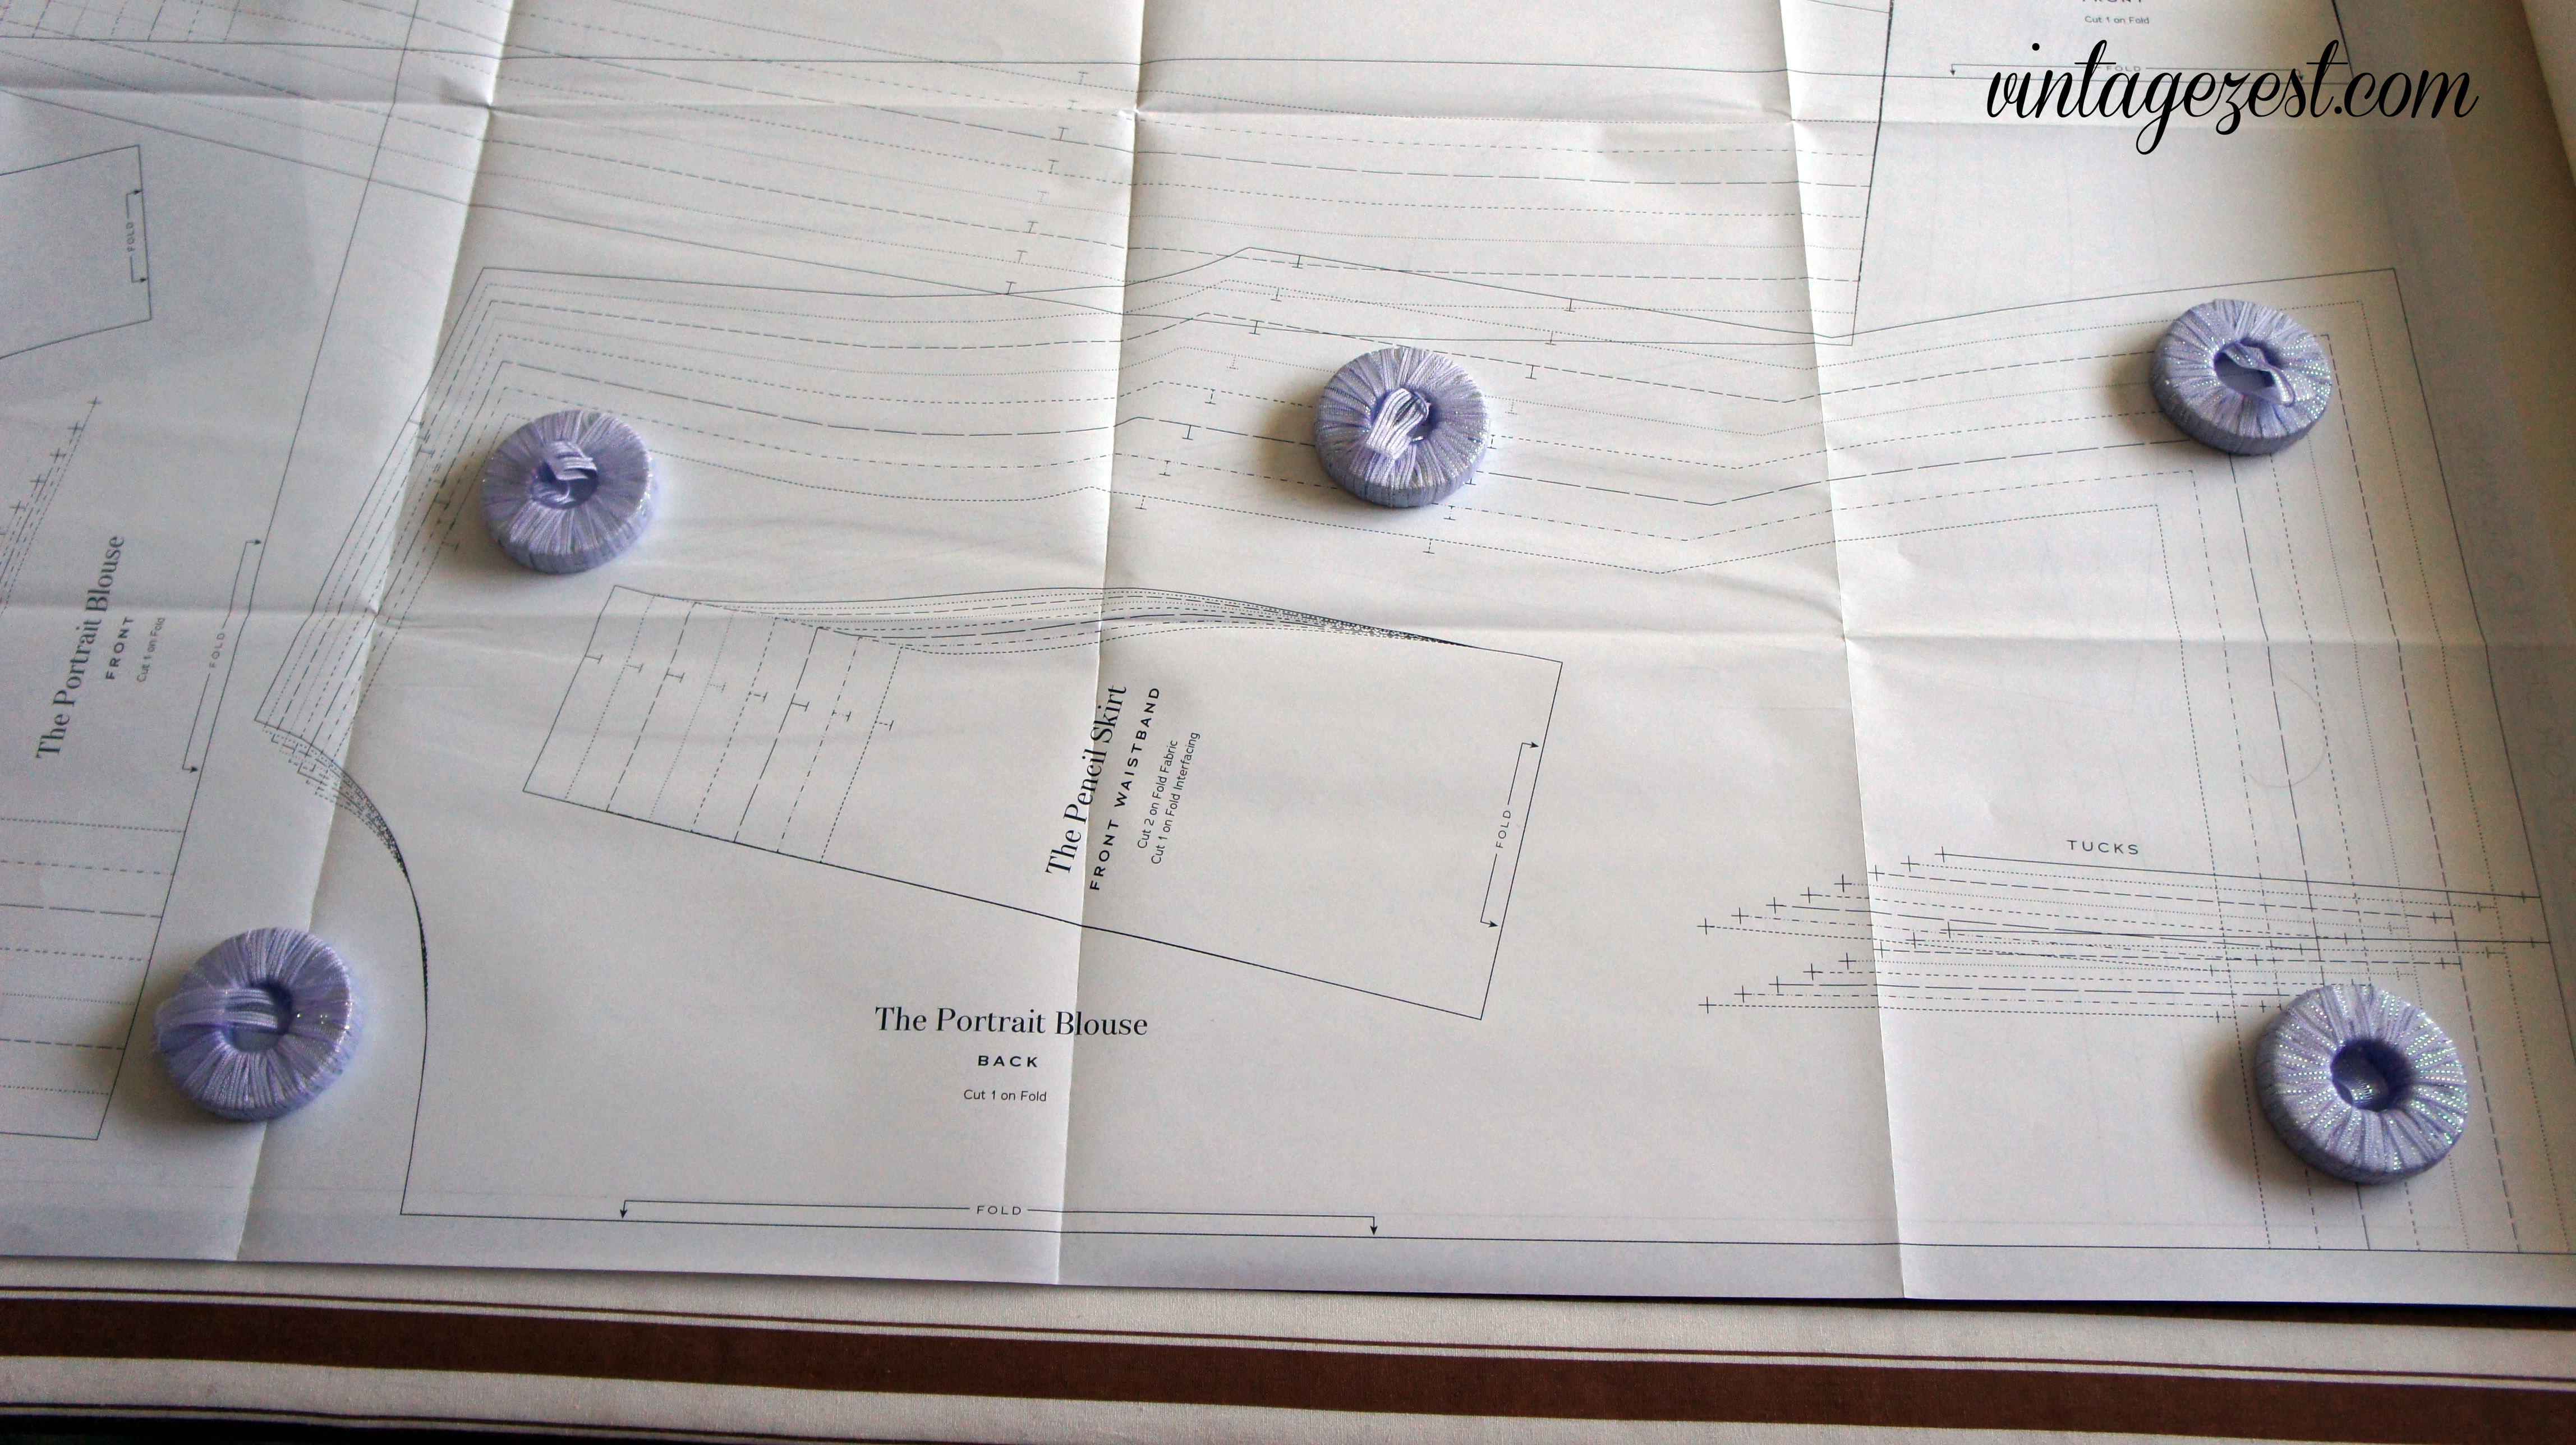
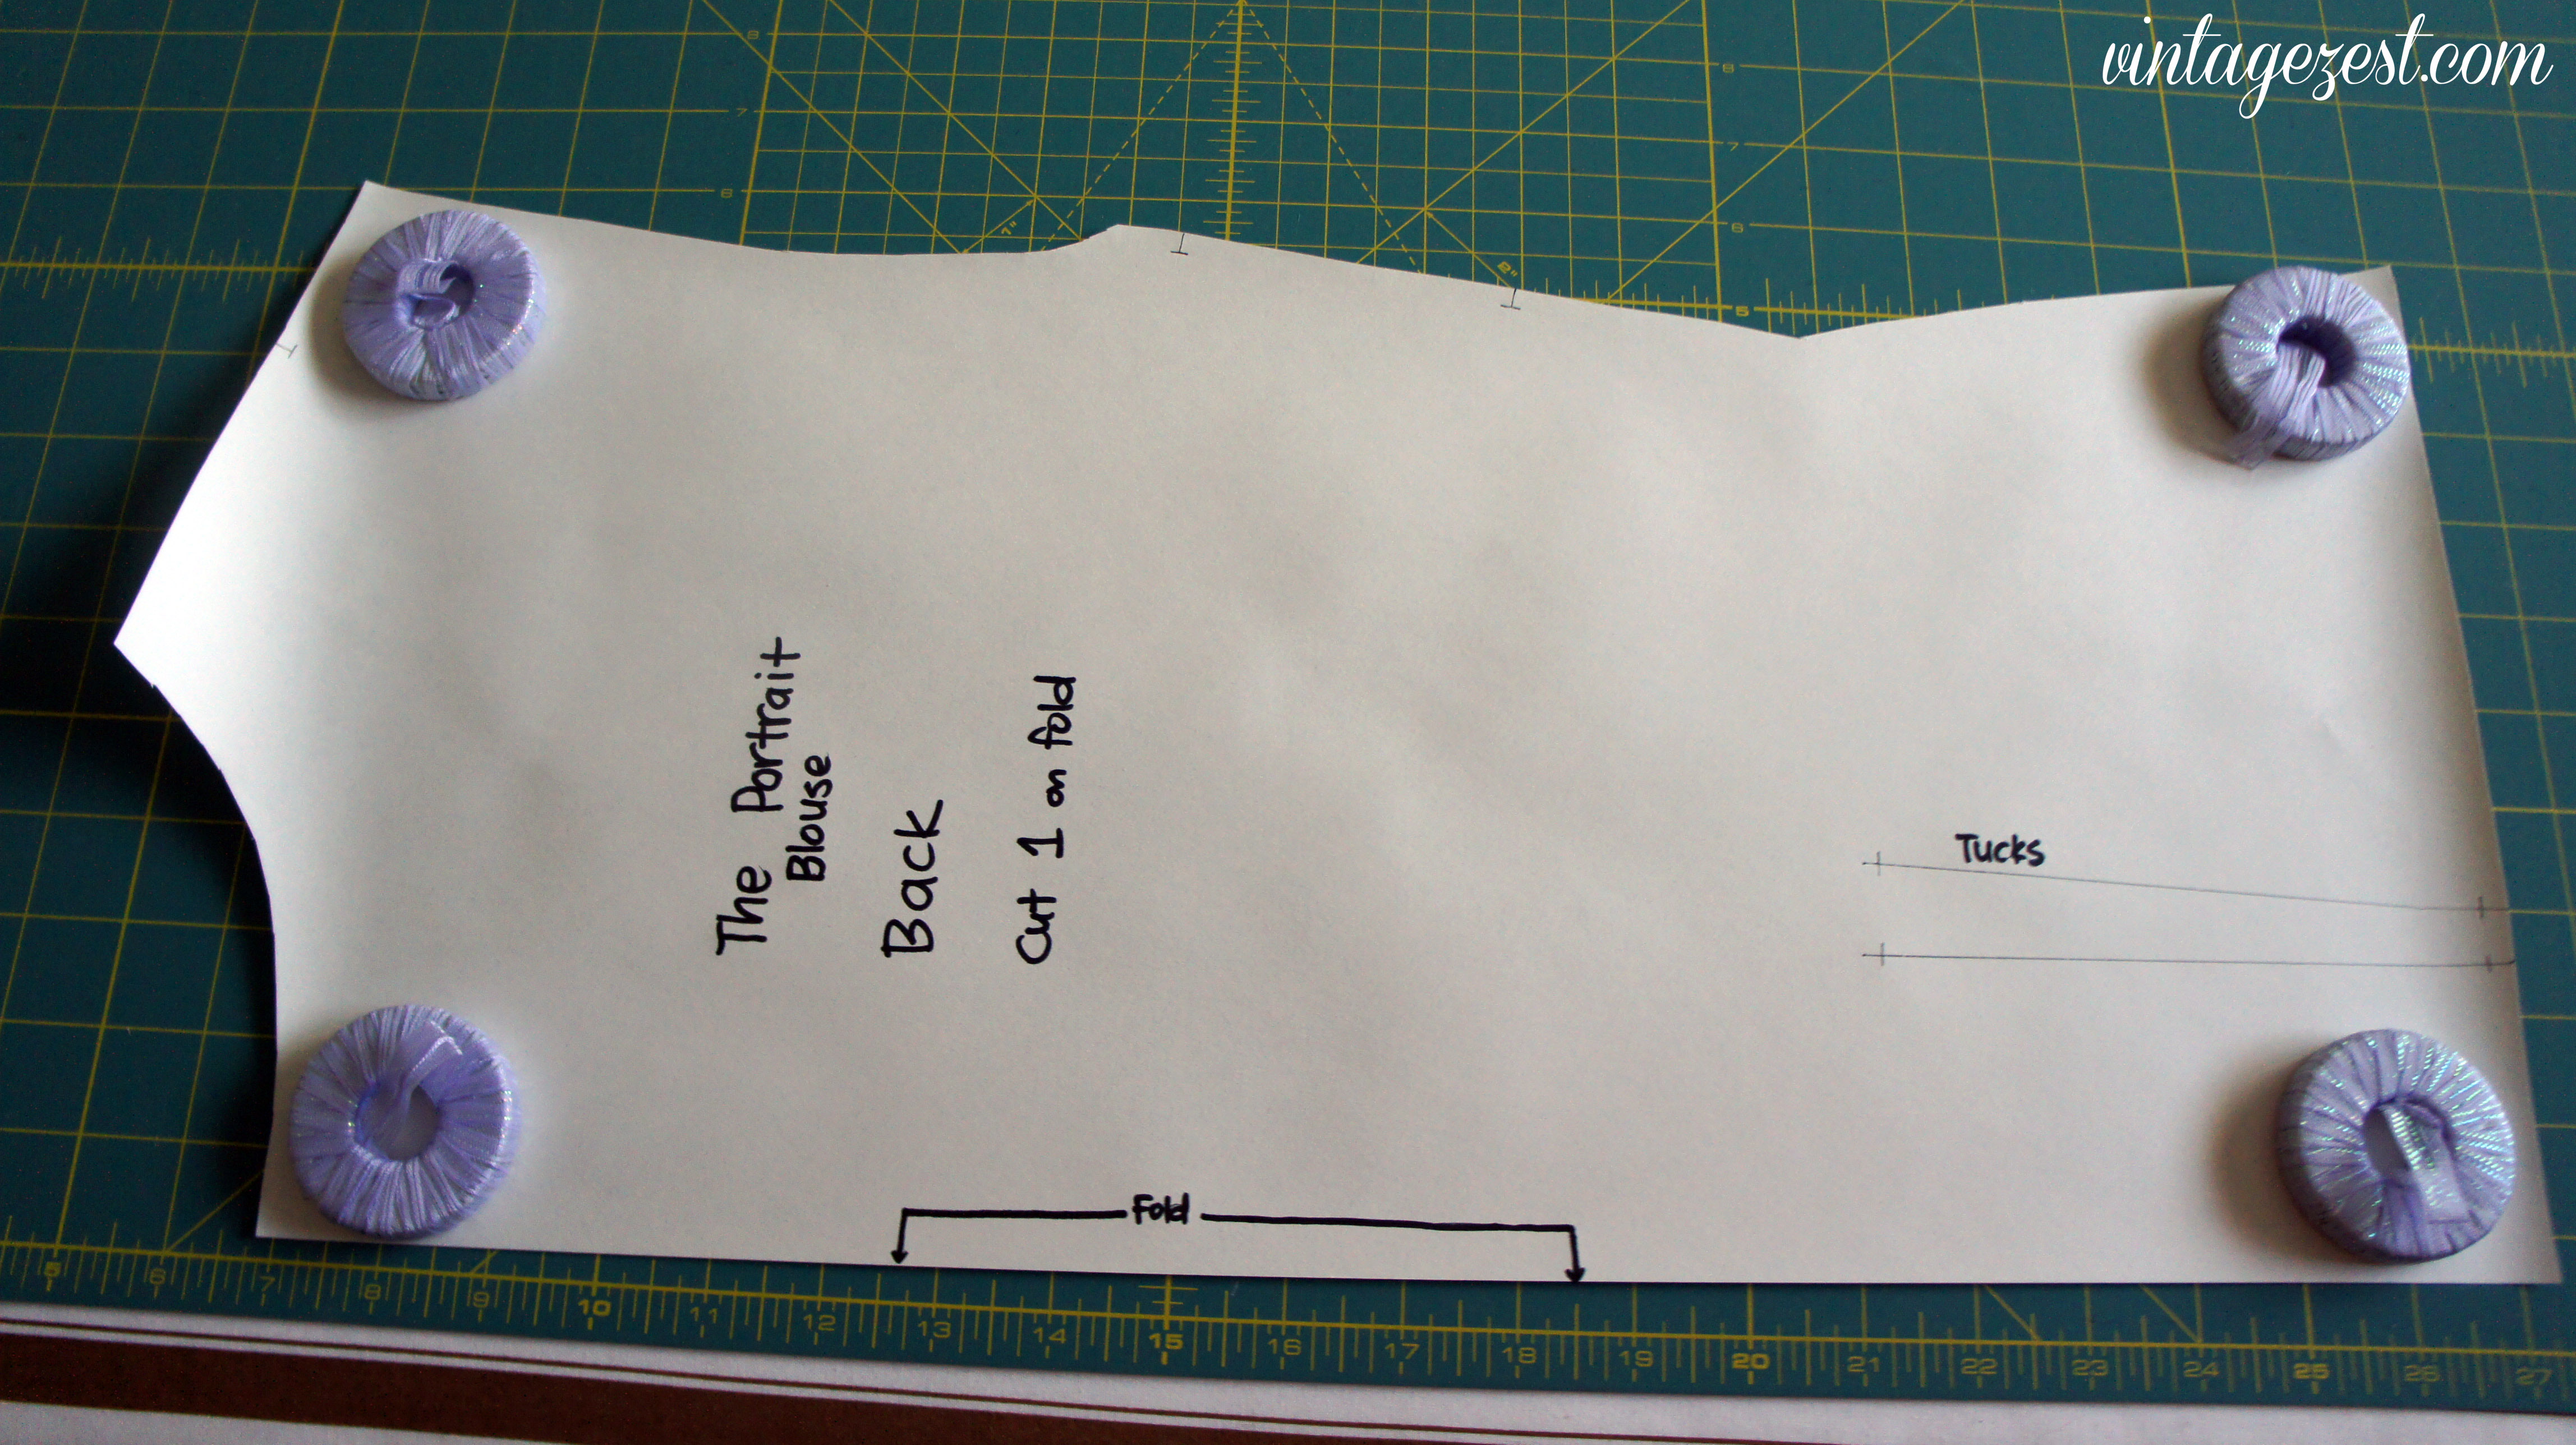
 |
| My first double-sided pattern! I used this for the Refashioned Pink Portrait Blouse. |
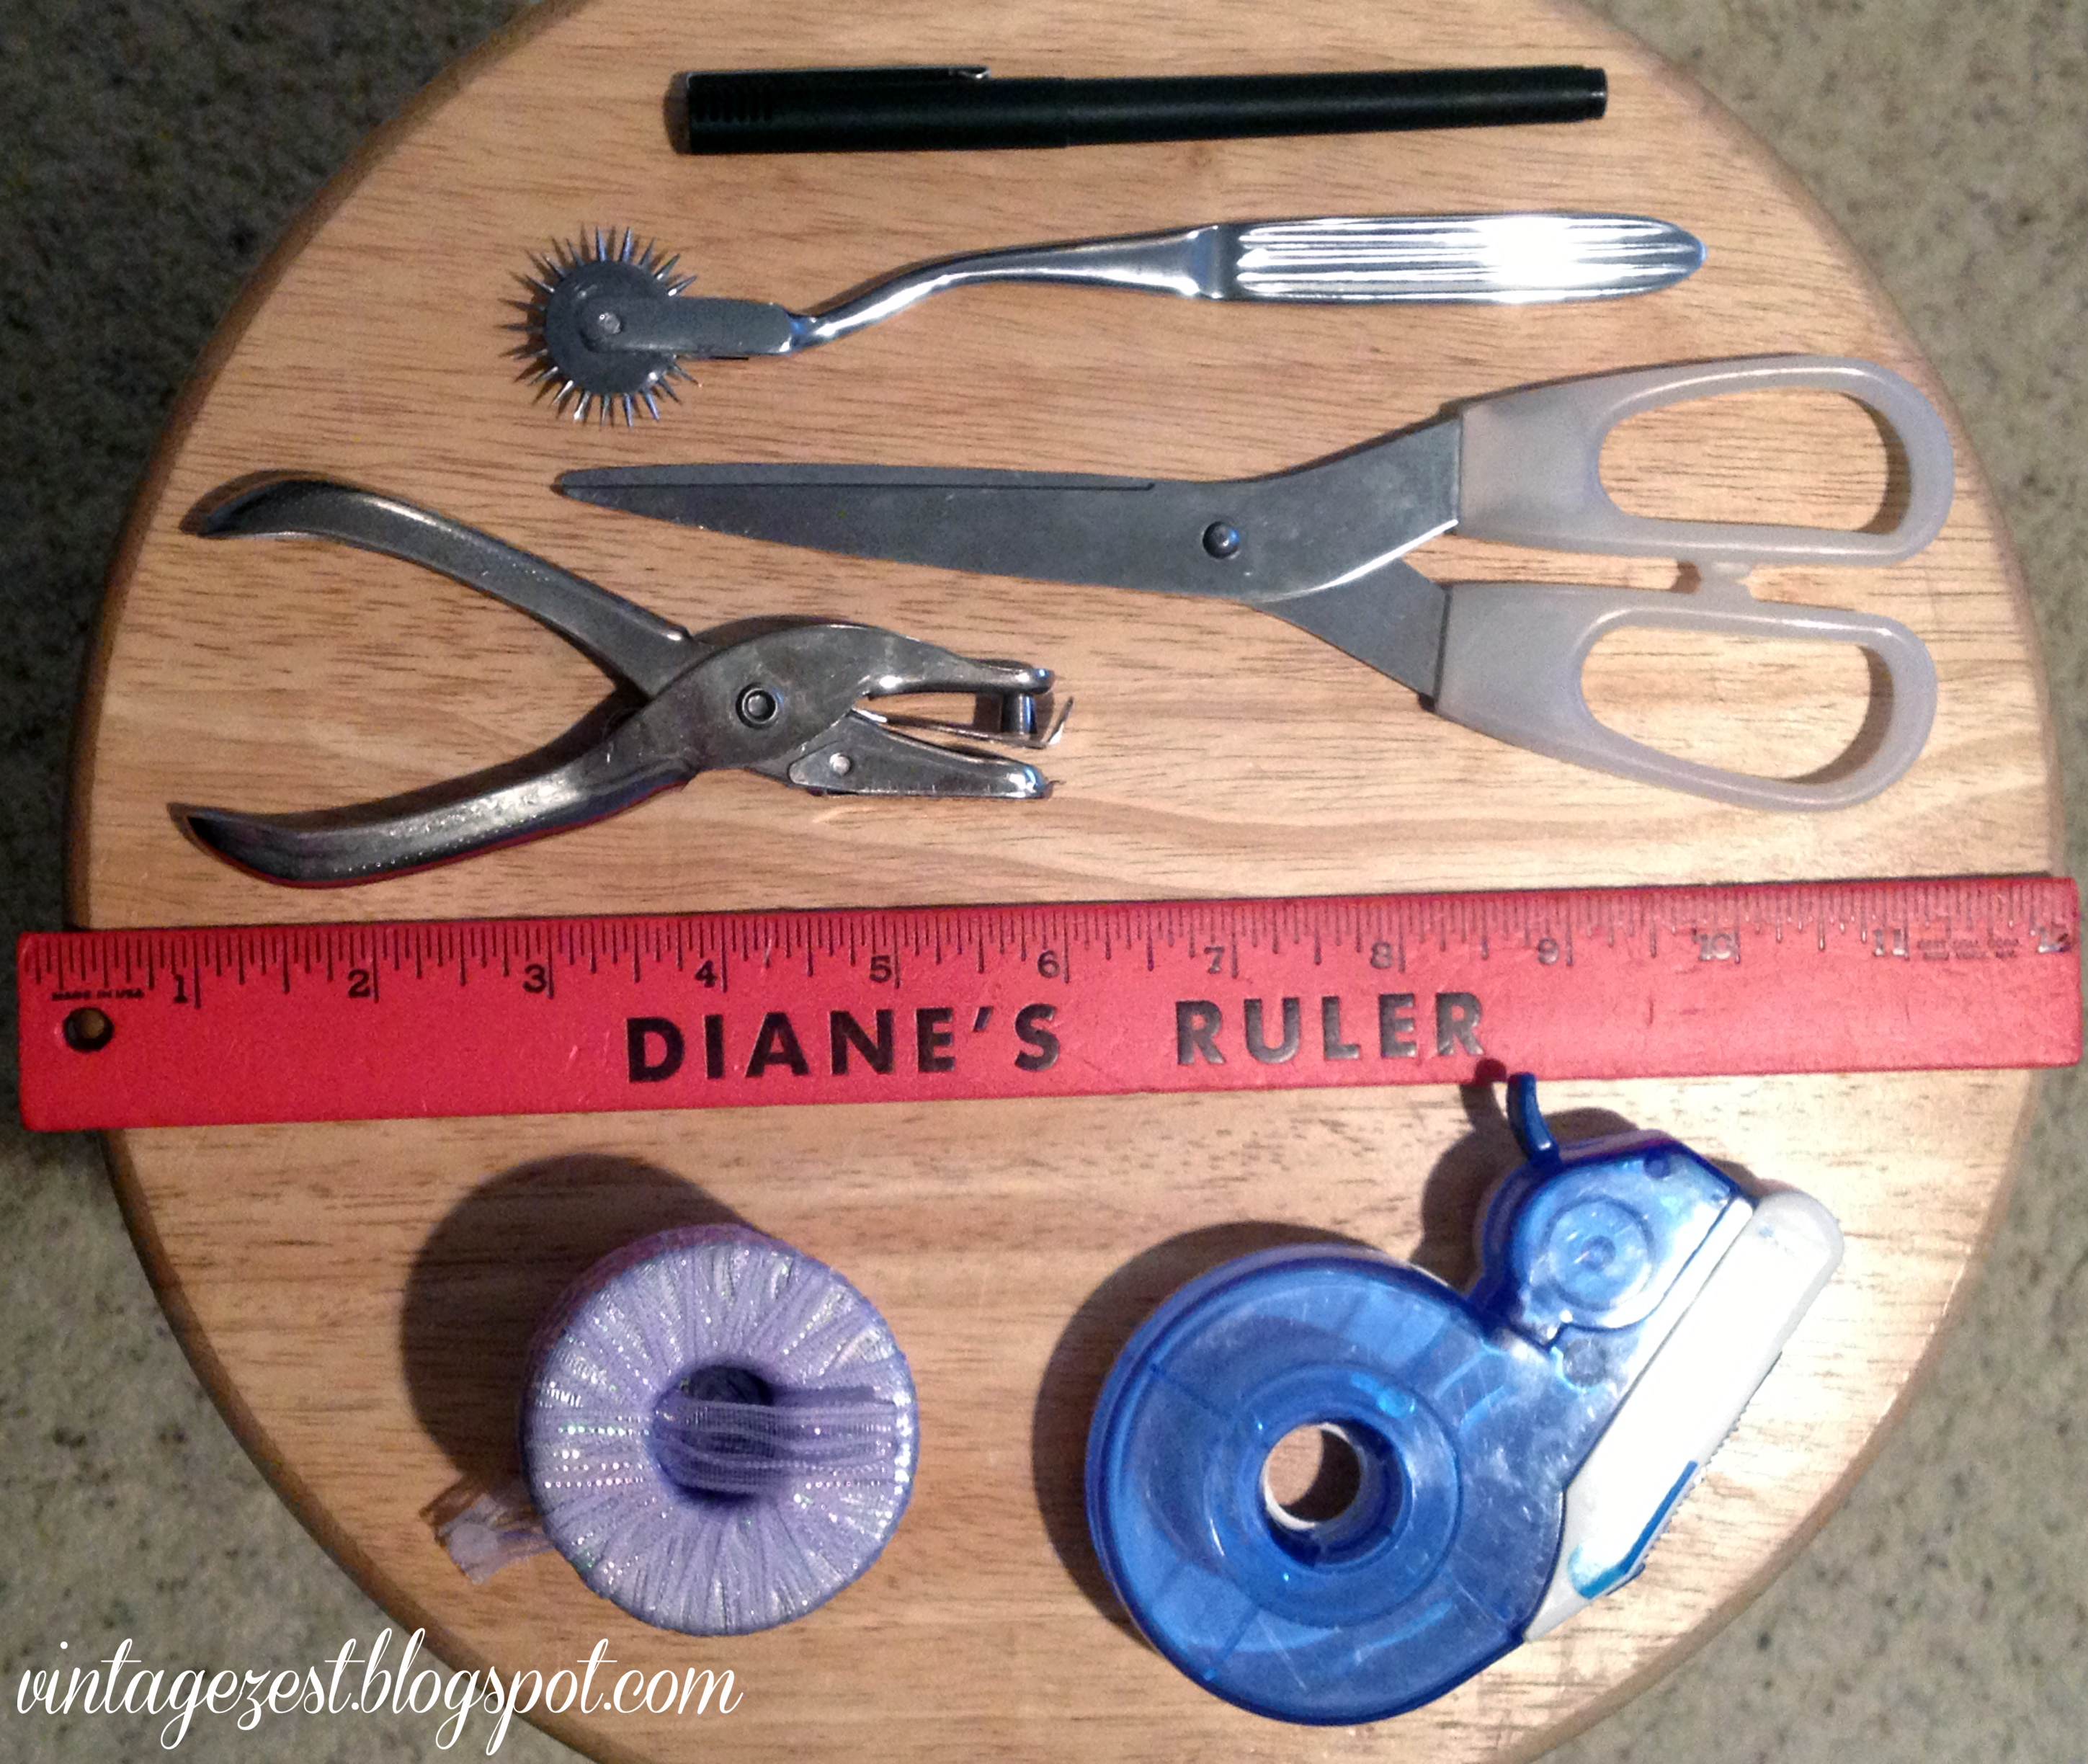
What You Will Need
- Needle wheel (similar to mine, or this one which is rated higher), for paper patterns
- Blunt tracing wheel, for either tissue or paper patterns
- Note: I will discuss the differences between wheels below
- Large ironing board (like the one I DIY-ed), if using the needle wheel
- Cutting mat, if using the blunt tracing wheel
- Butcher paper, Swedish Tracing Paper, or even old paper grocery bags!
- Pattern weights (like the ones I DIY-ed) and/or tape
- Ruler
- Pen and permanent marker
- Paper scissors
- Hole punch, Pattern Notcher
 |
| This post contains affiliate links, meaning that if you make a purchase using one of the links, a small commission will go to support Vintage Zest. I will only recommend sites with products that I think you will love and enjoy! |
A few notes before starting...
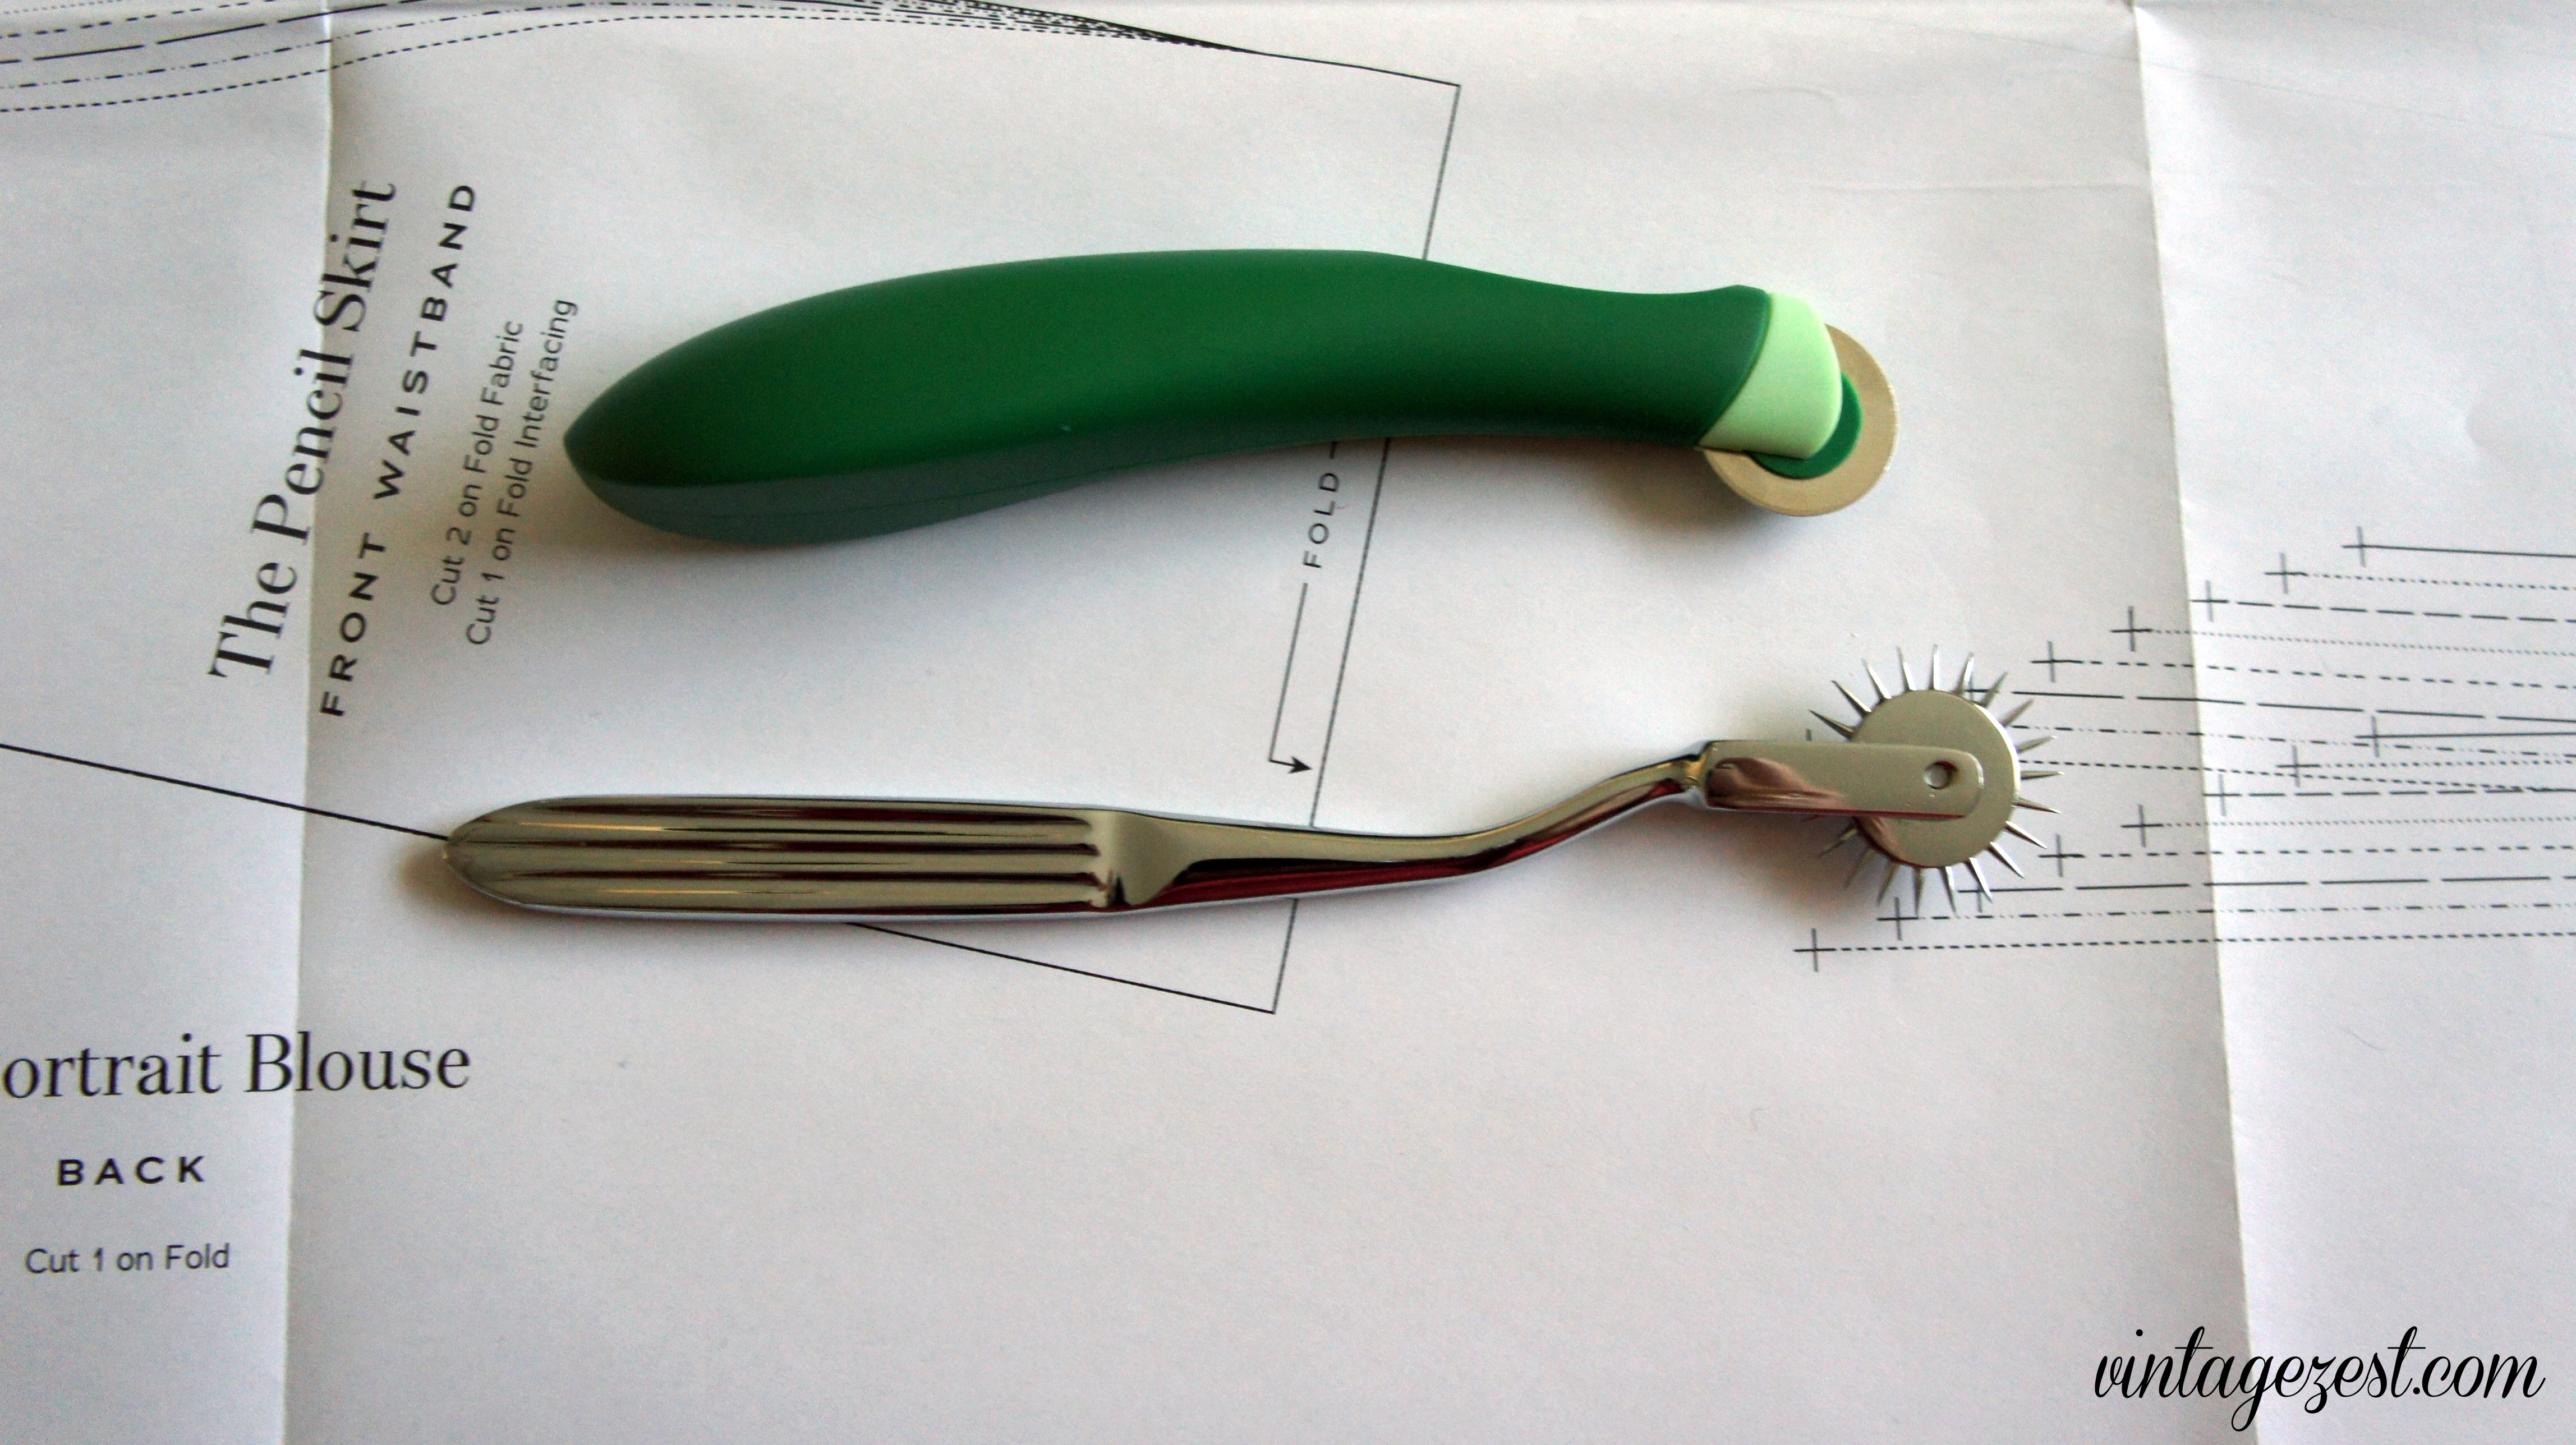
- Depending on the type of pattern paper, I will use either the needle wheel or the blunt tracing wheel.
- For patterns on thin tissue paper, I prefer the needle wheel because the needles poke precise holes of where to cut. The tissue paper is usually strong and printed on one side.
- For patterns printed on regular paper, I prefer to use a blunt wheel because it will not poke holes in the pattern since the paper is much tougher.
- If you use the needle wheel, you should trace the pattern on a soft surface (like a large ironing board) so the holes can poke through.
- If you use the blunt tracing wheel, you should trace on a hard surface (like a cutting mat) to avoid ripping or tearing your pattern.
Ready? Now let's get started!
Directions
1. Spread out your pattern paper to figure out which pieces you will need to cut. Make a mental note of how many pieces there are, or else you might end up missing some!
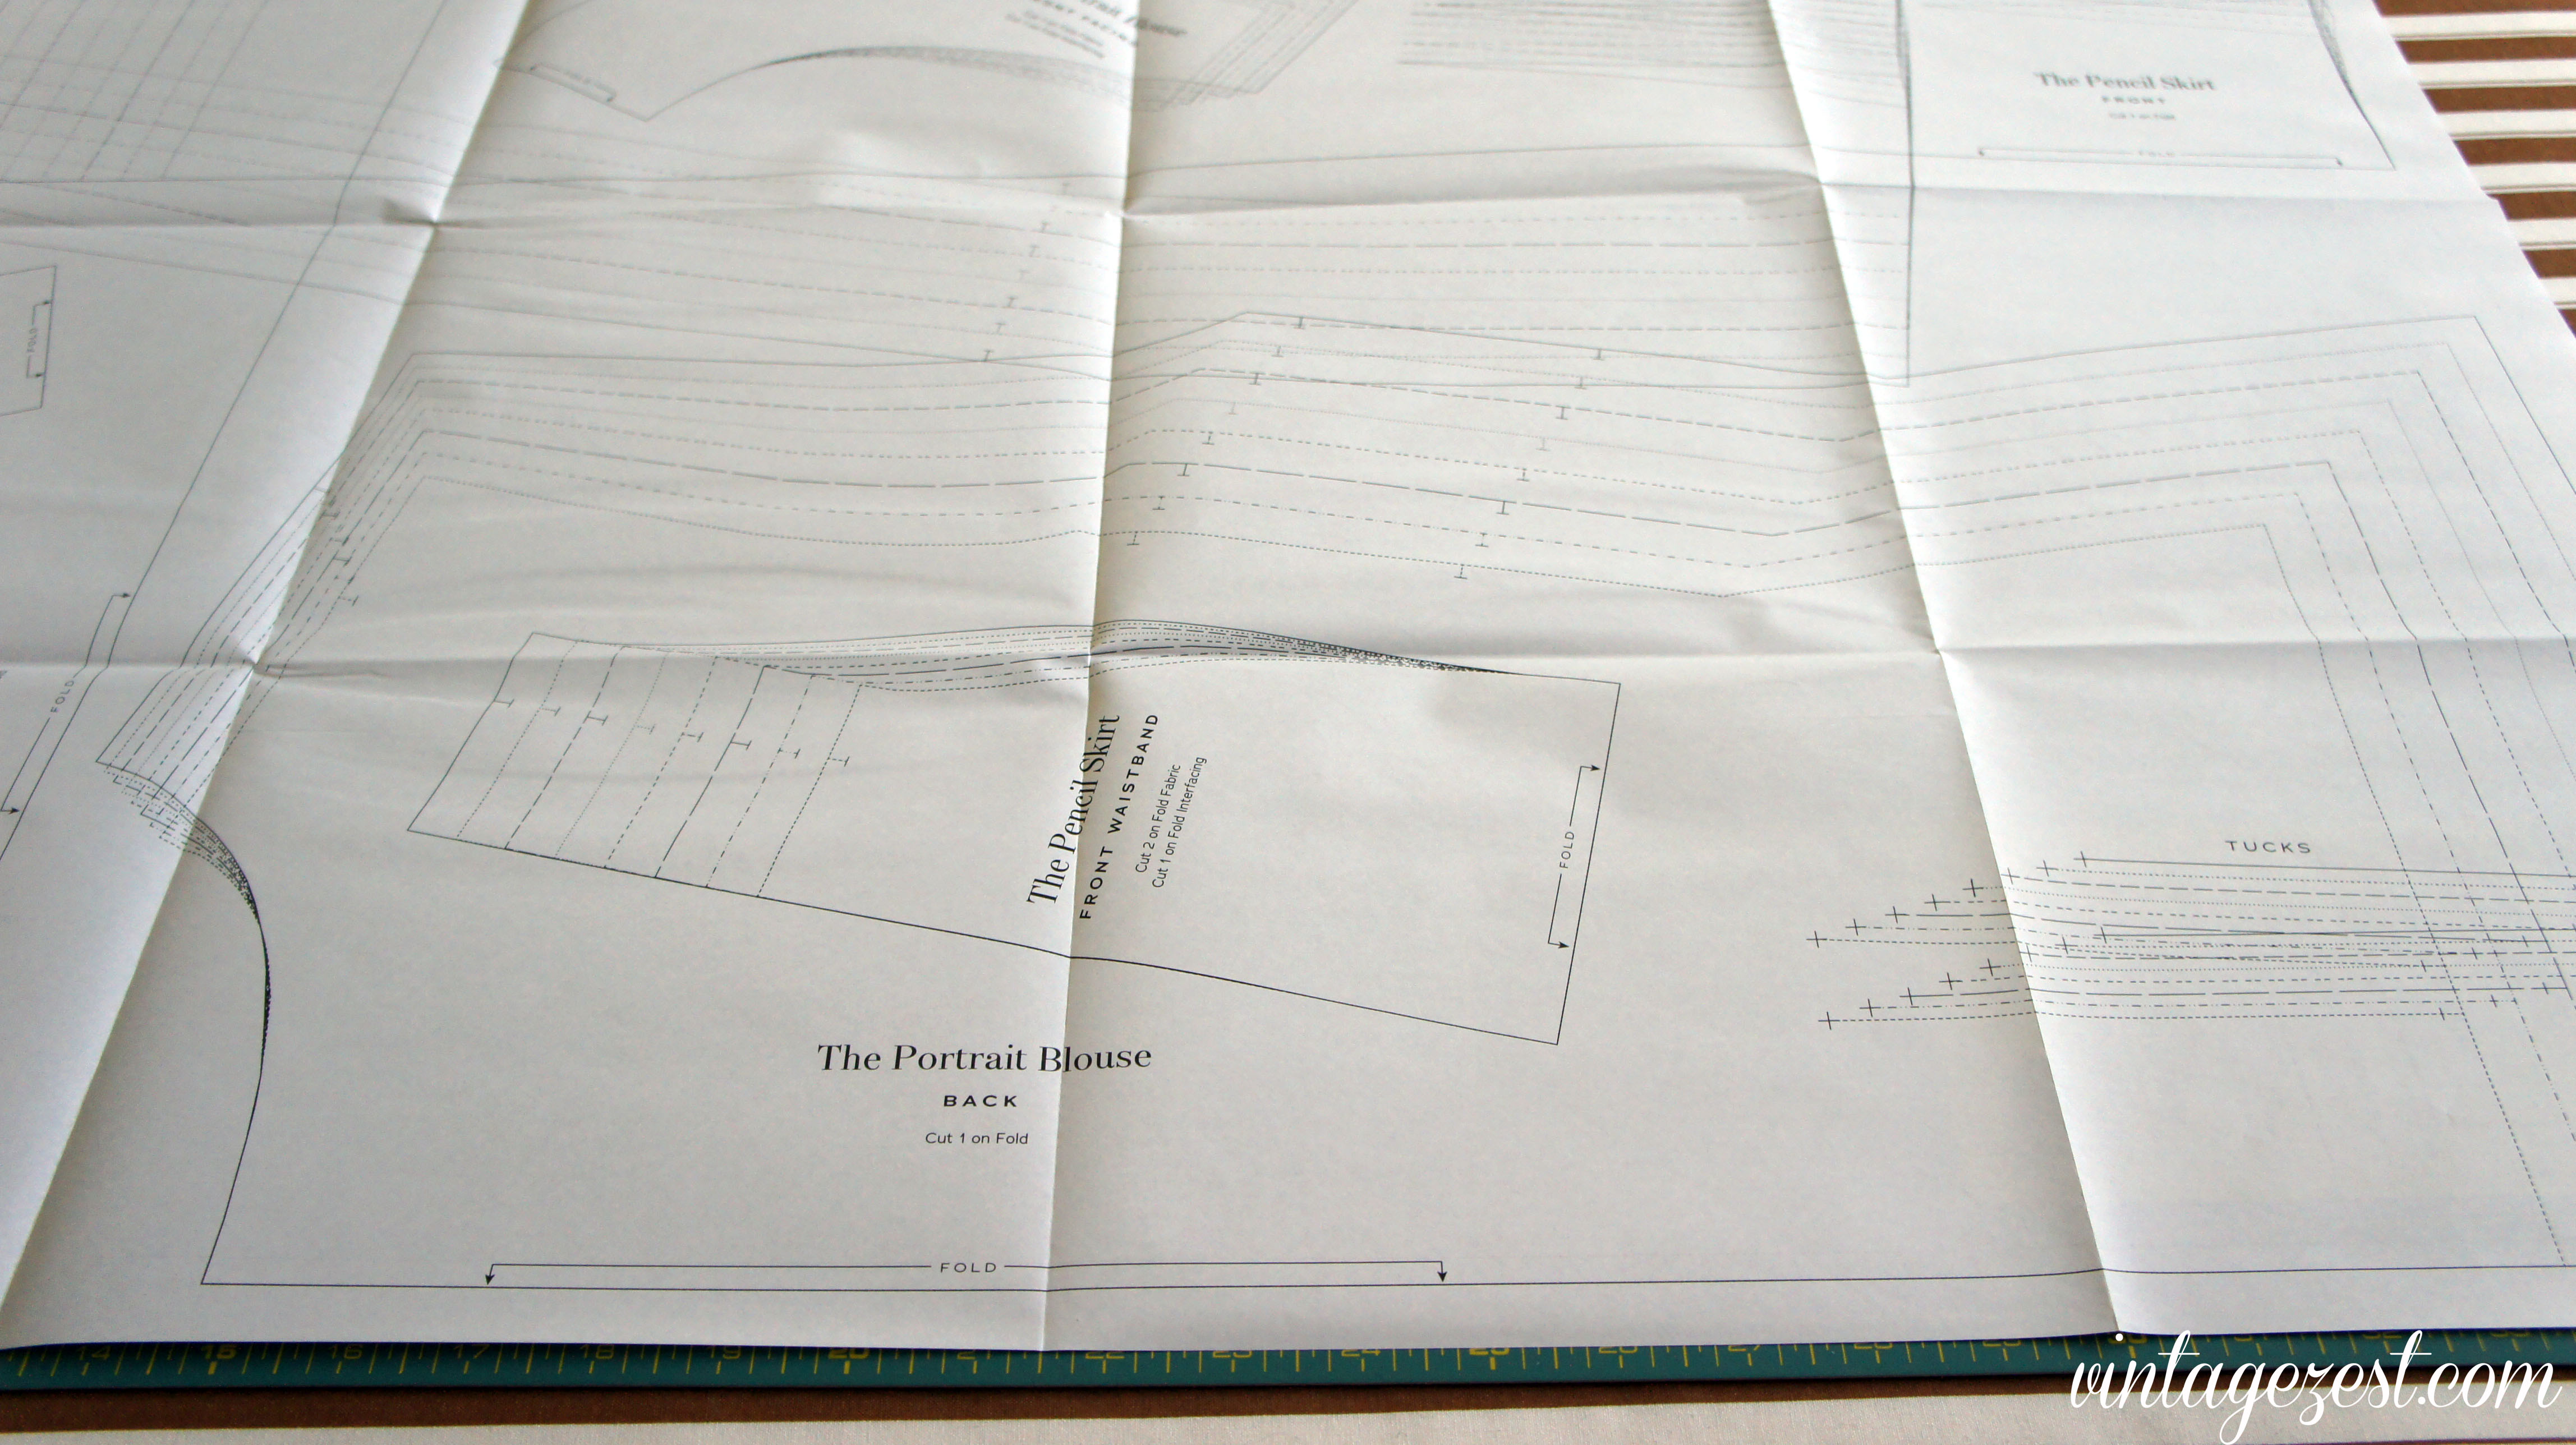
2. Now, spread out your paper and secure with pattern weights and/or tape.
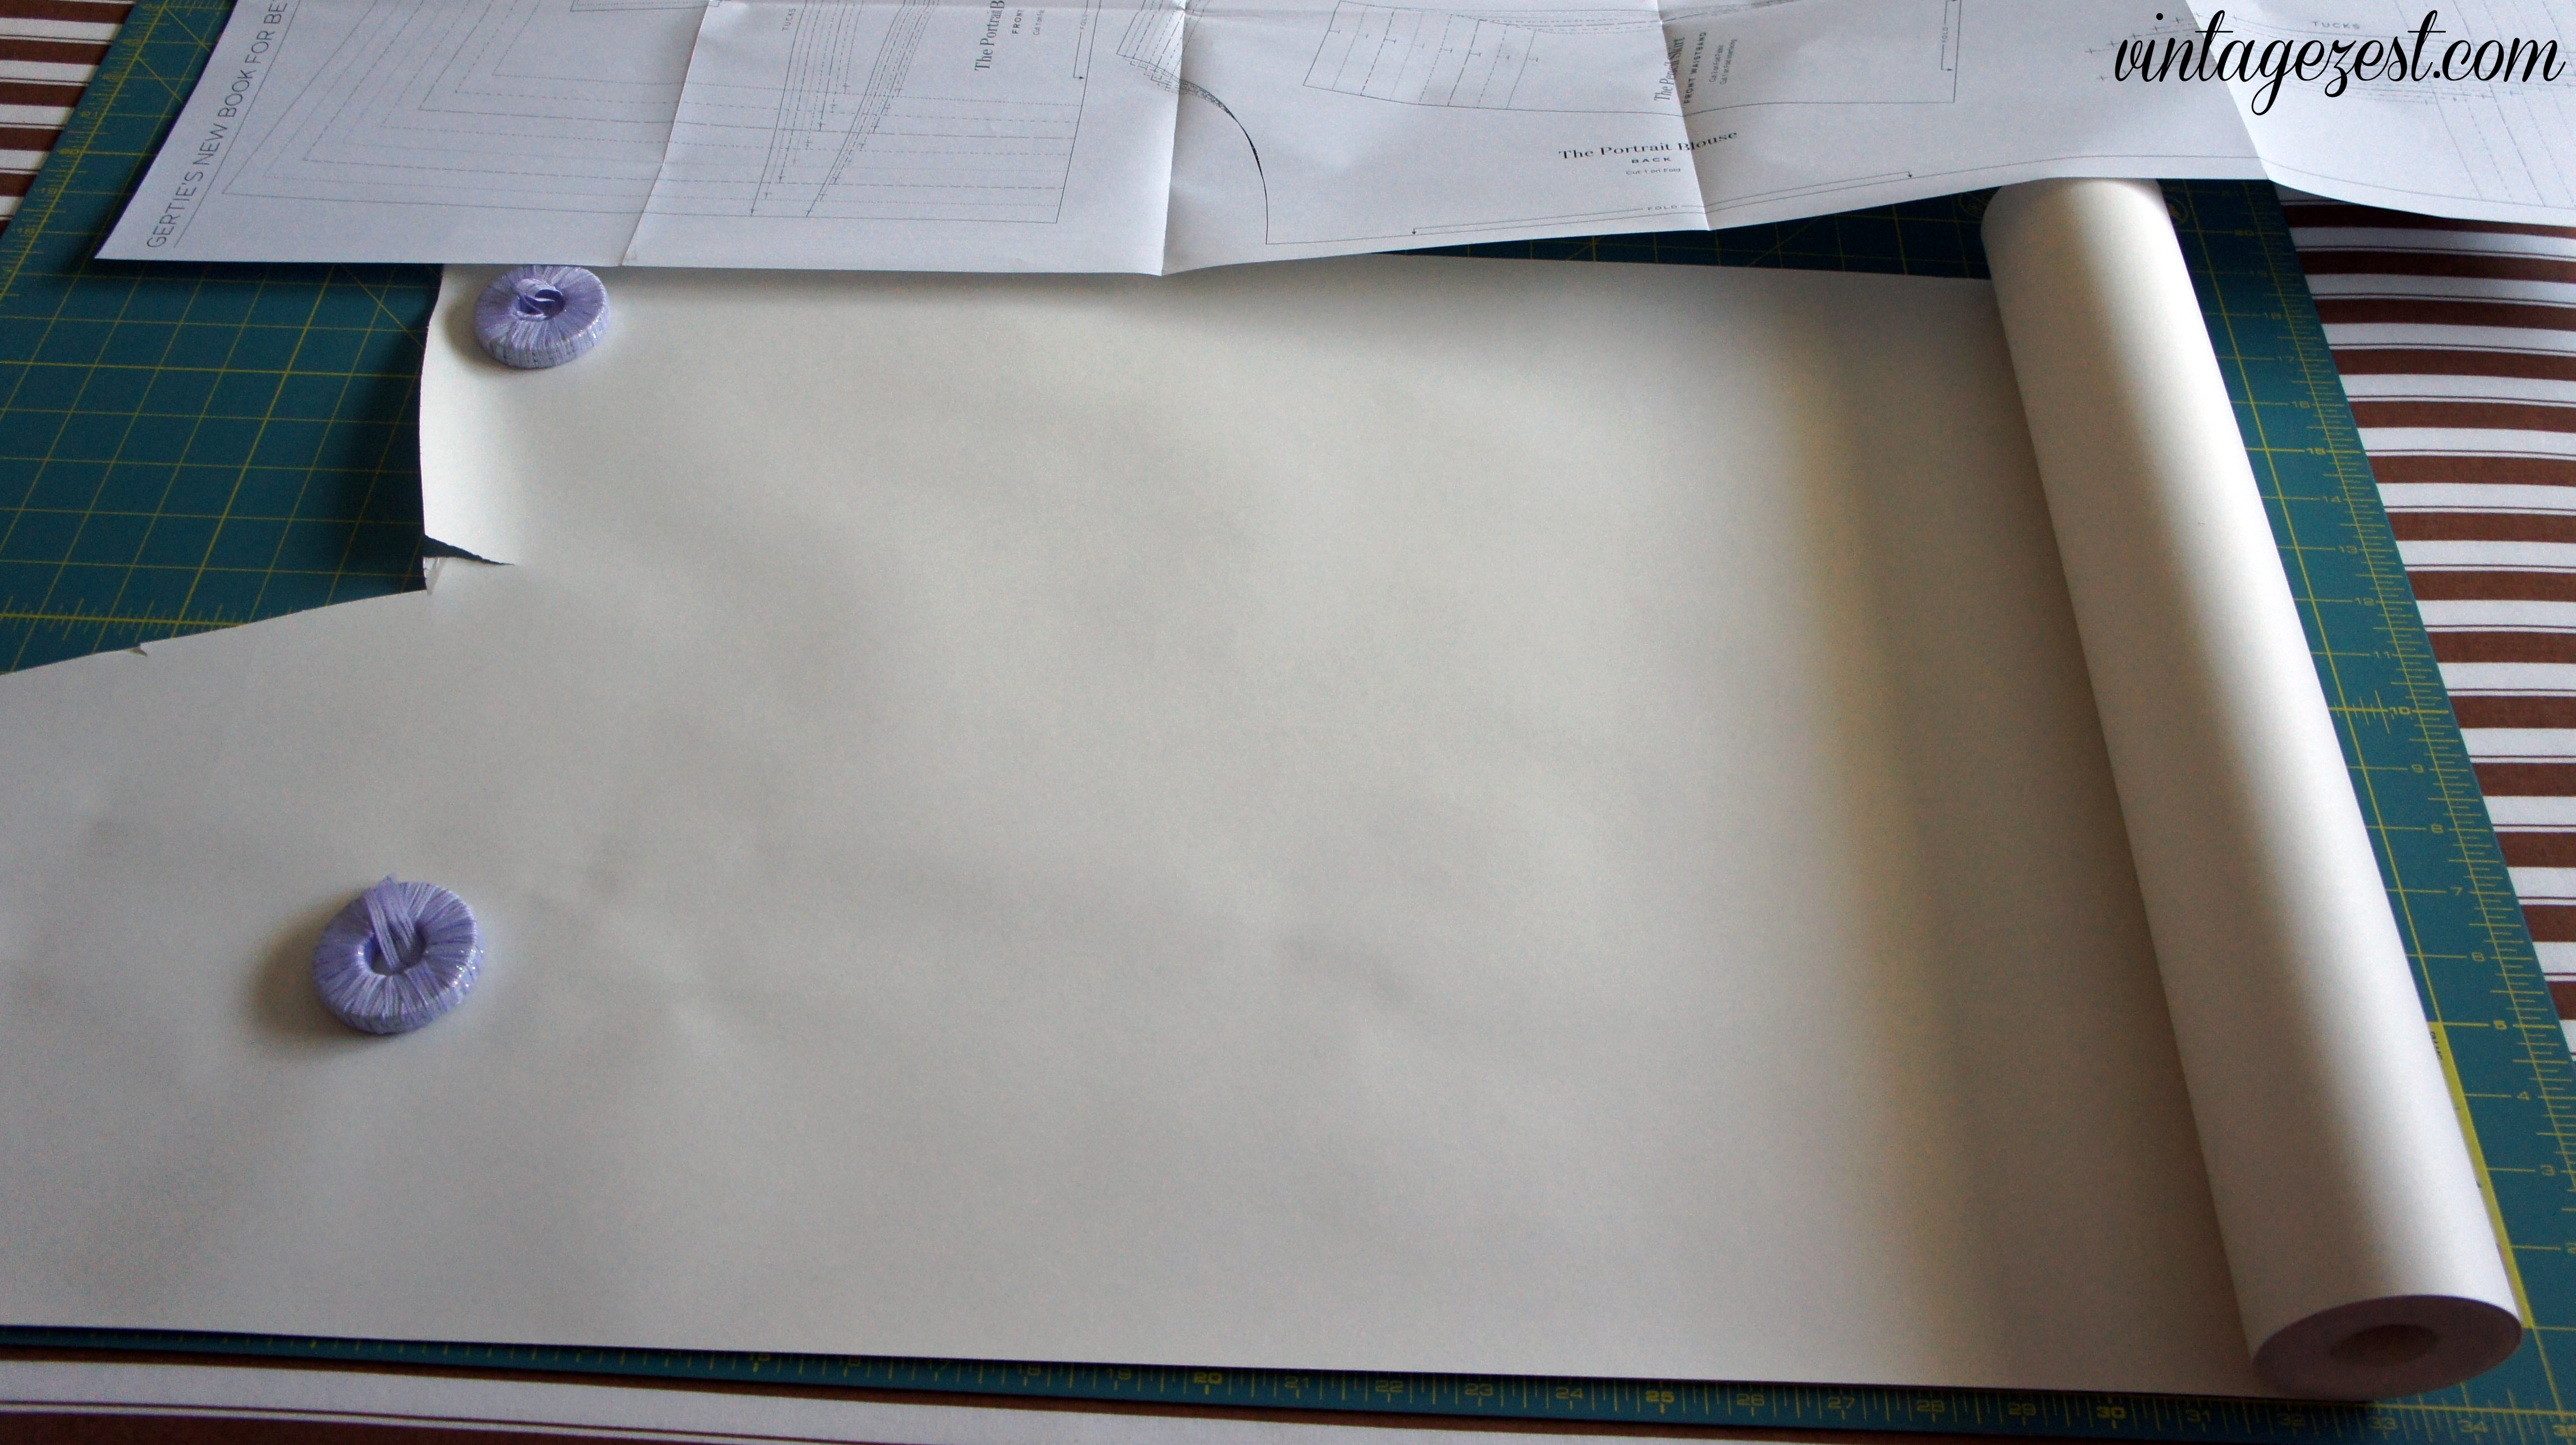
3. Lay out the pattern piece you will be tracing and use the pattern weights and/or tape to secure.
4. Begin to trace the outline for the size you want to trace.
5. At places with notches, pleats, darts, or tucks, follow the T-shapes or triangle shapes as marked on the pattern. Trace ALL markings before removing the paper.
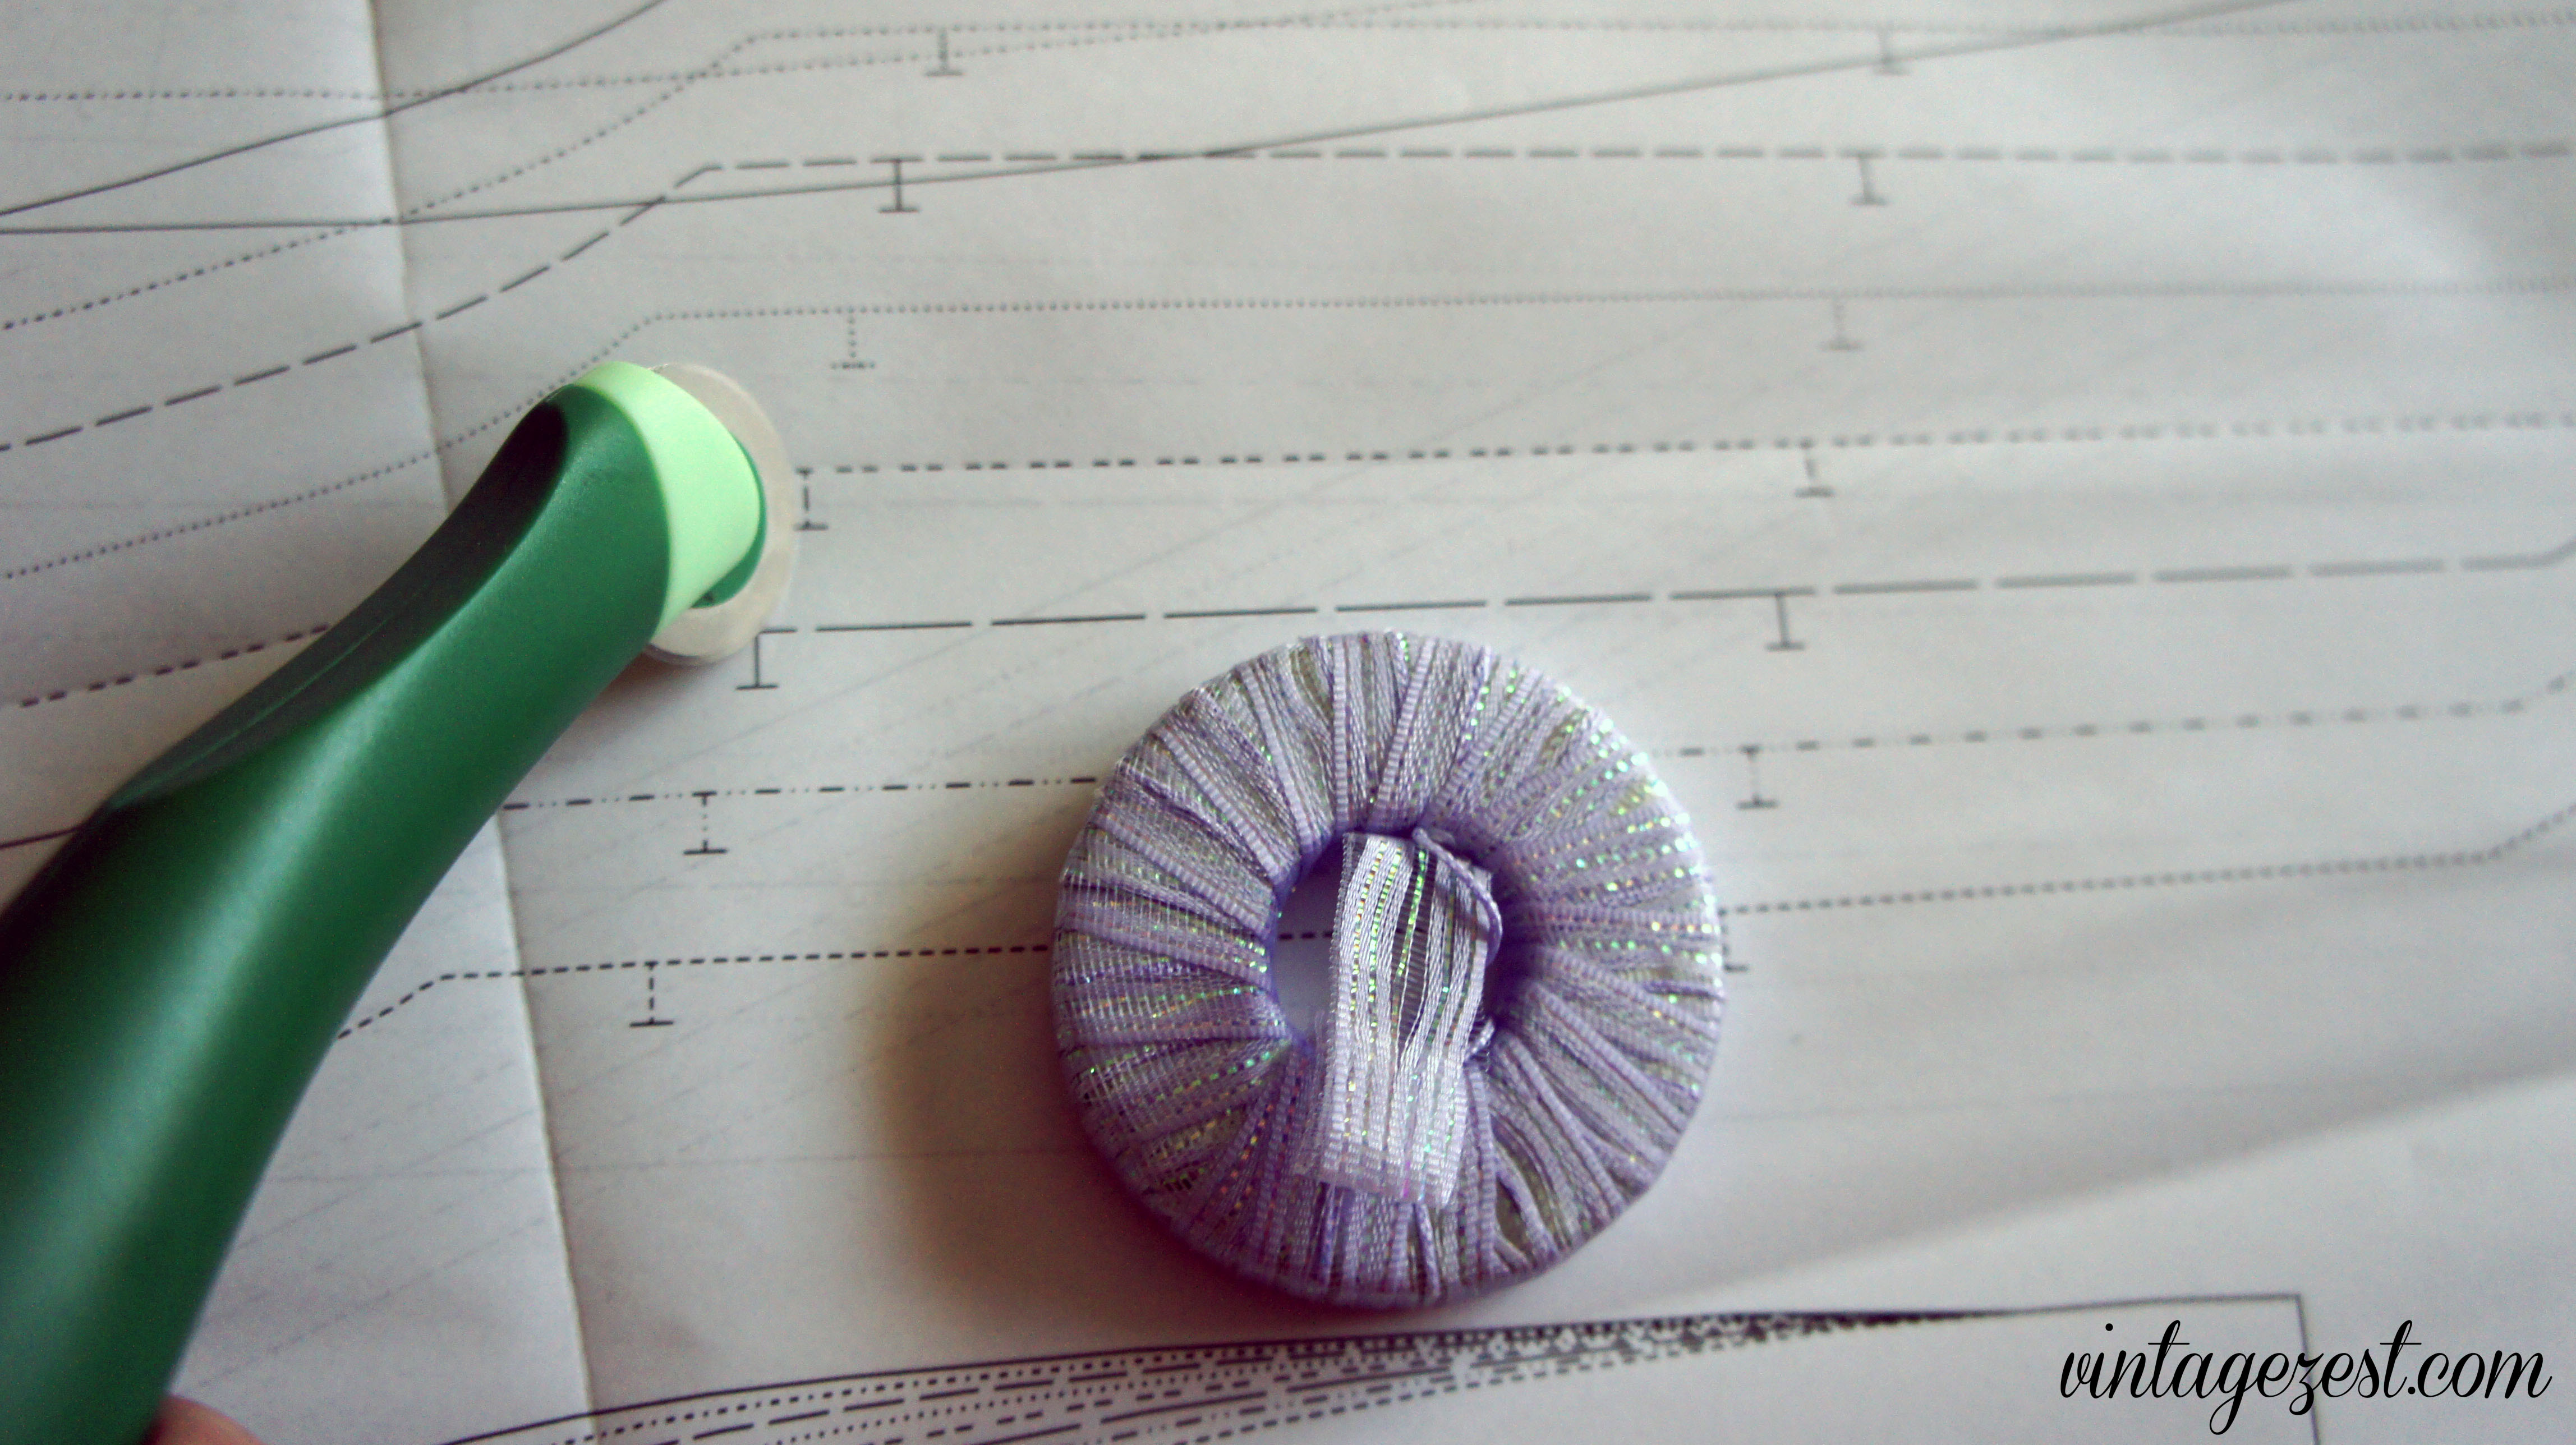
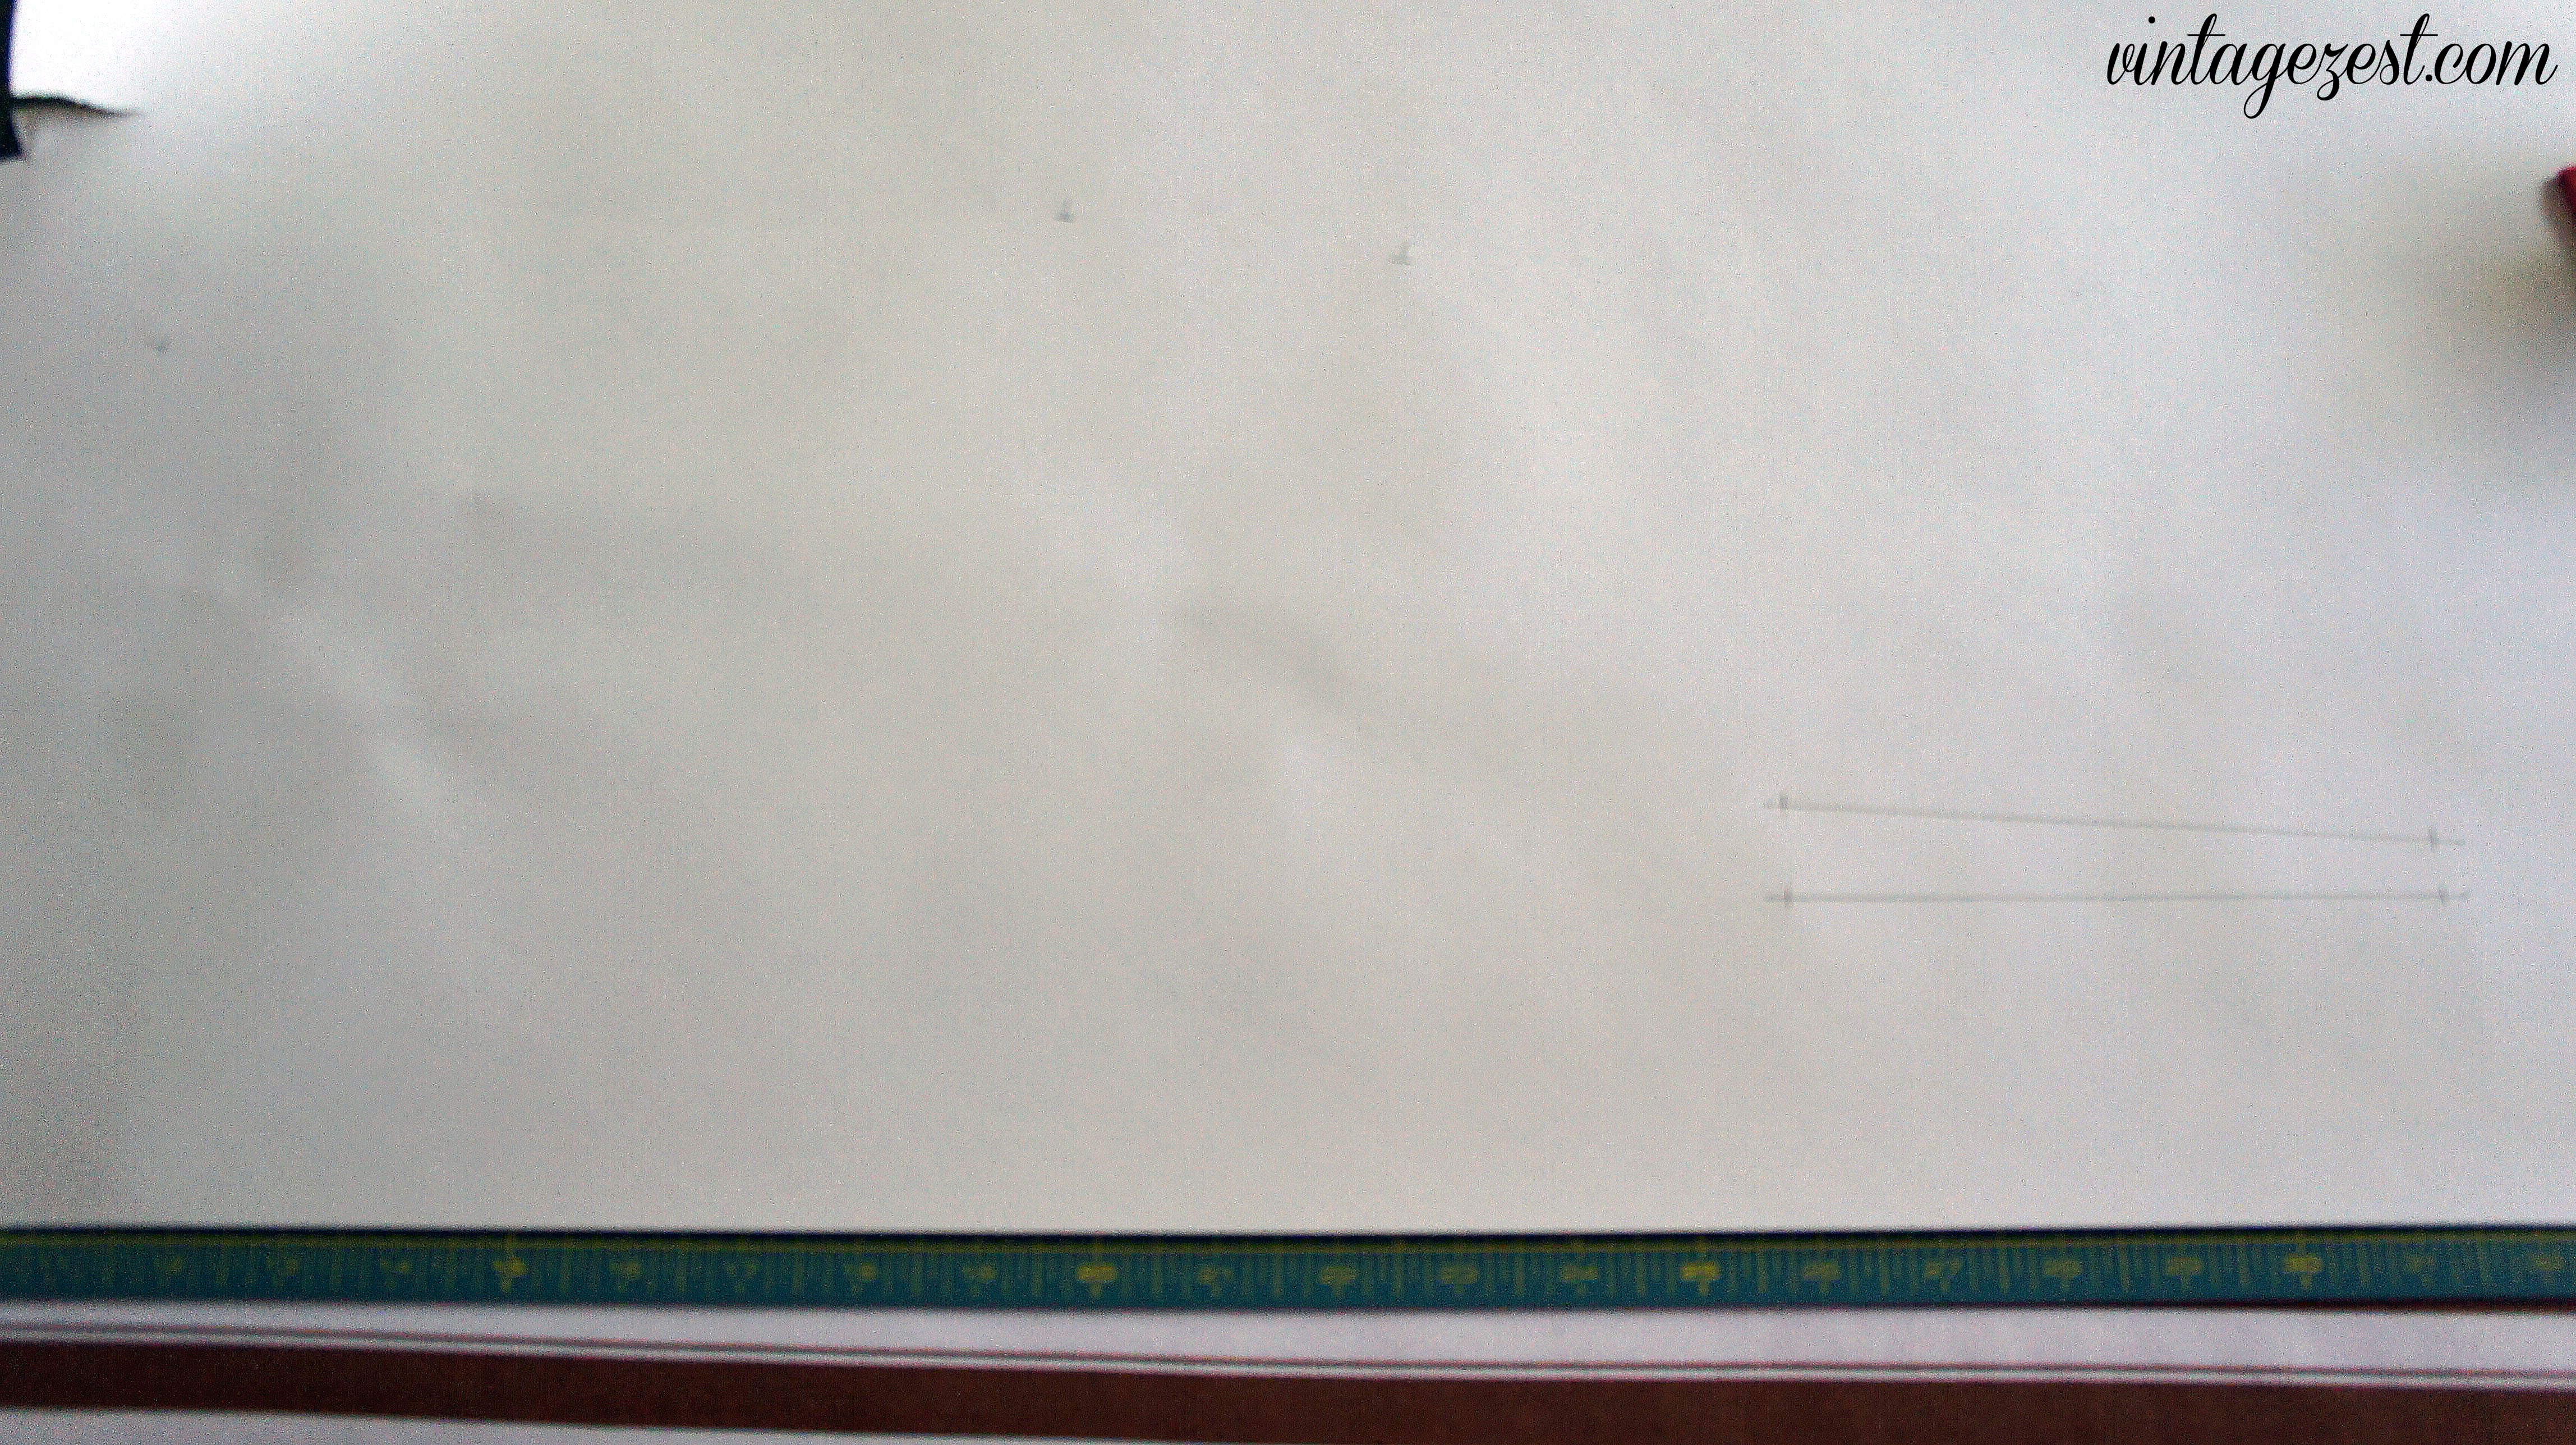
6. After removing the pattern, locate where the trace lines are.
 |
| They're faint on this picture, but easier to see in person. You can see why the needle wheel would be much easier to use! The little holes will make a perforated line to cut much easier. |
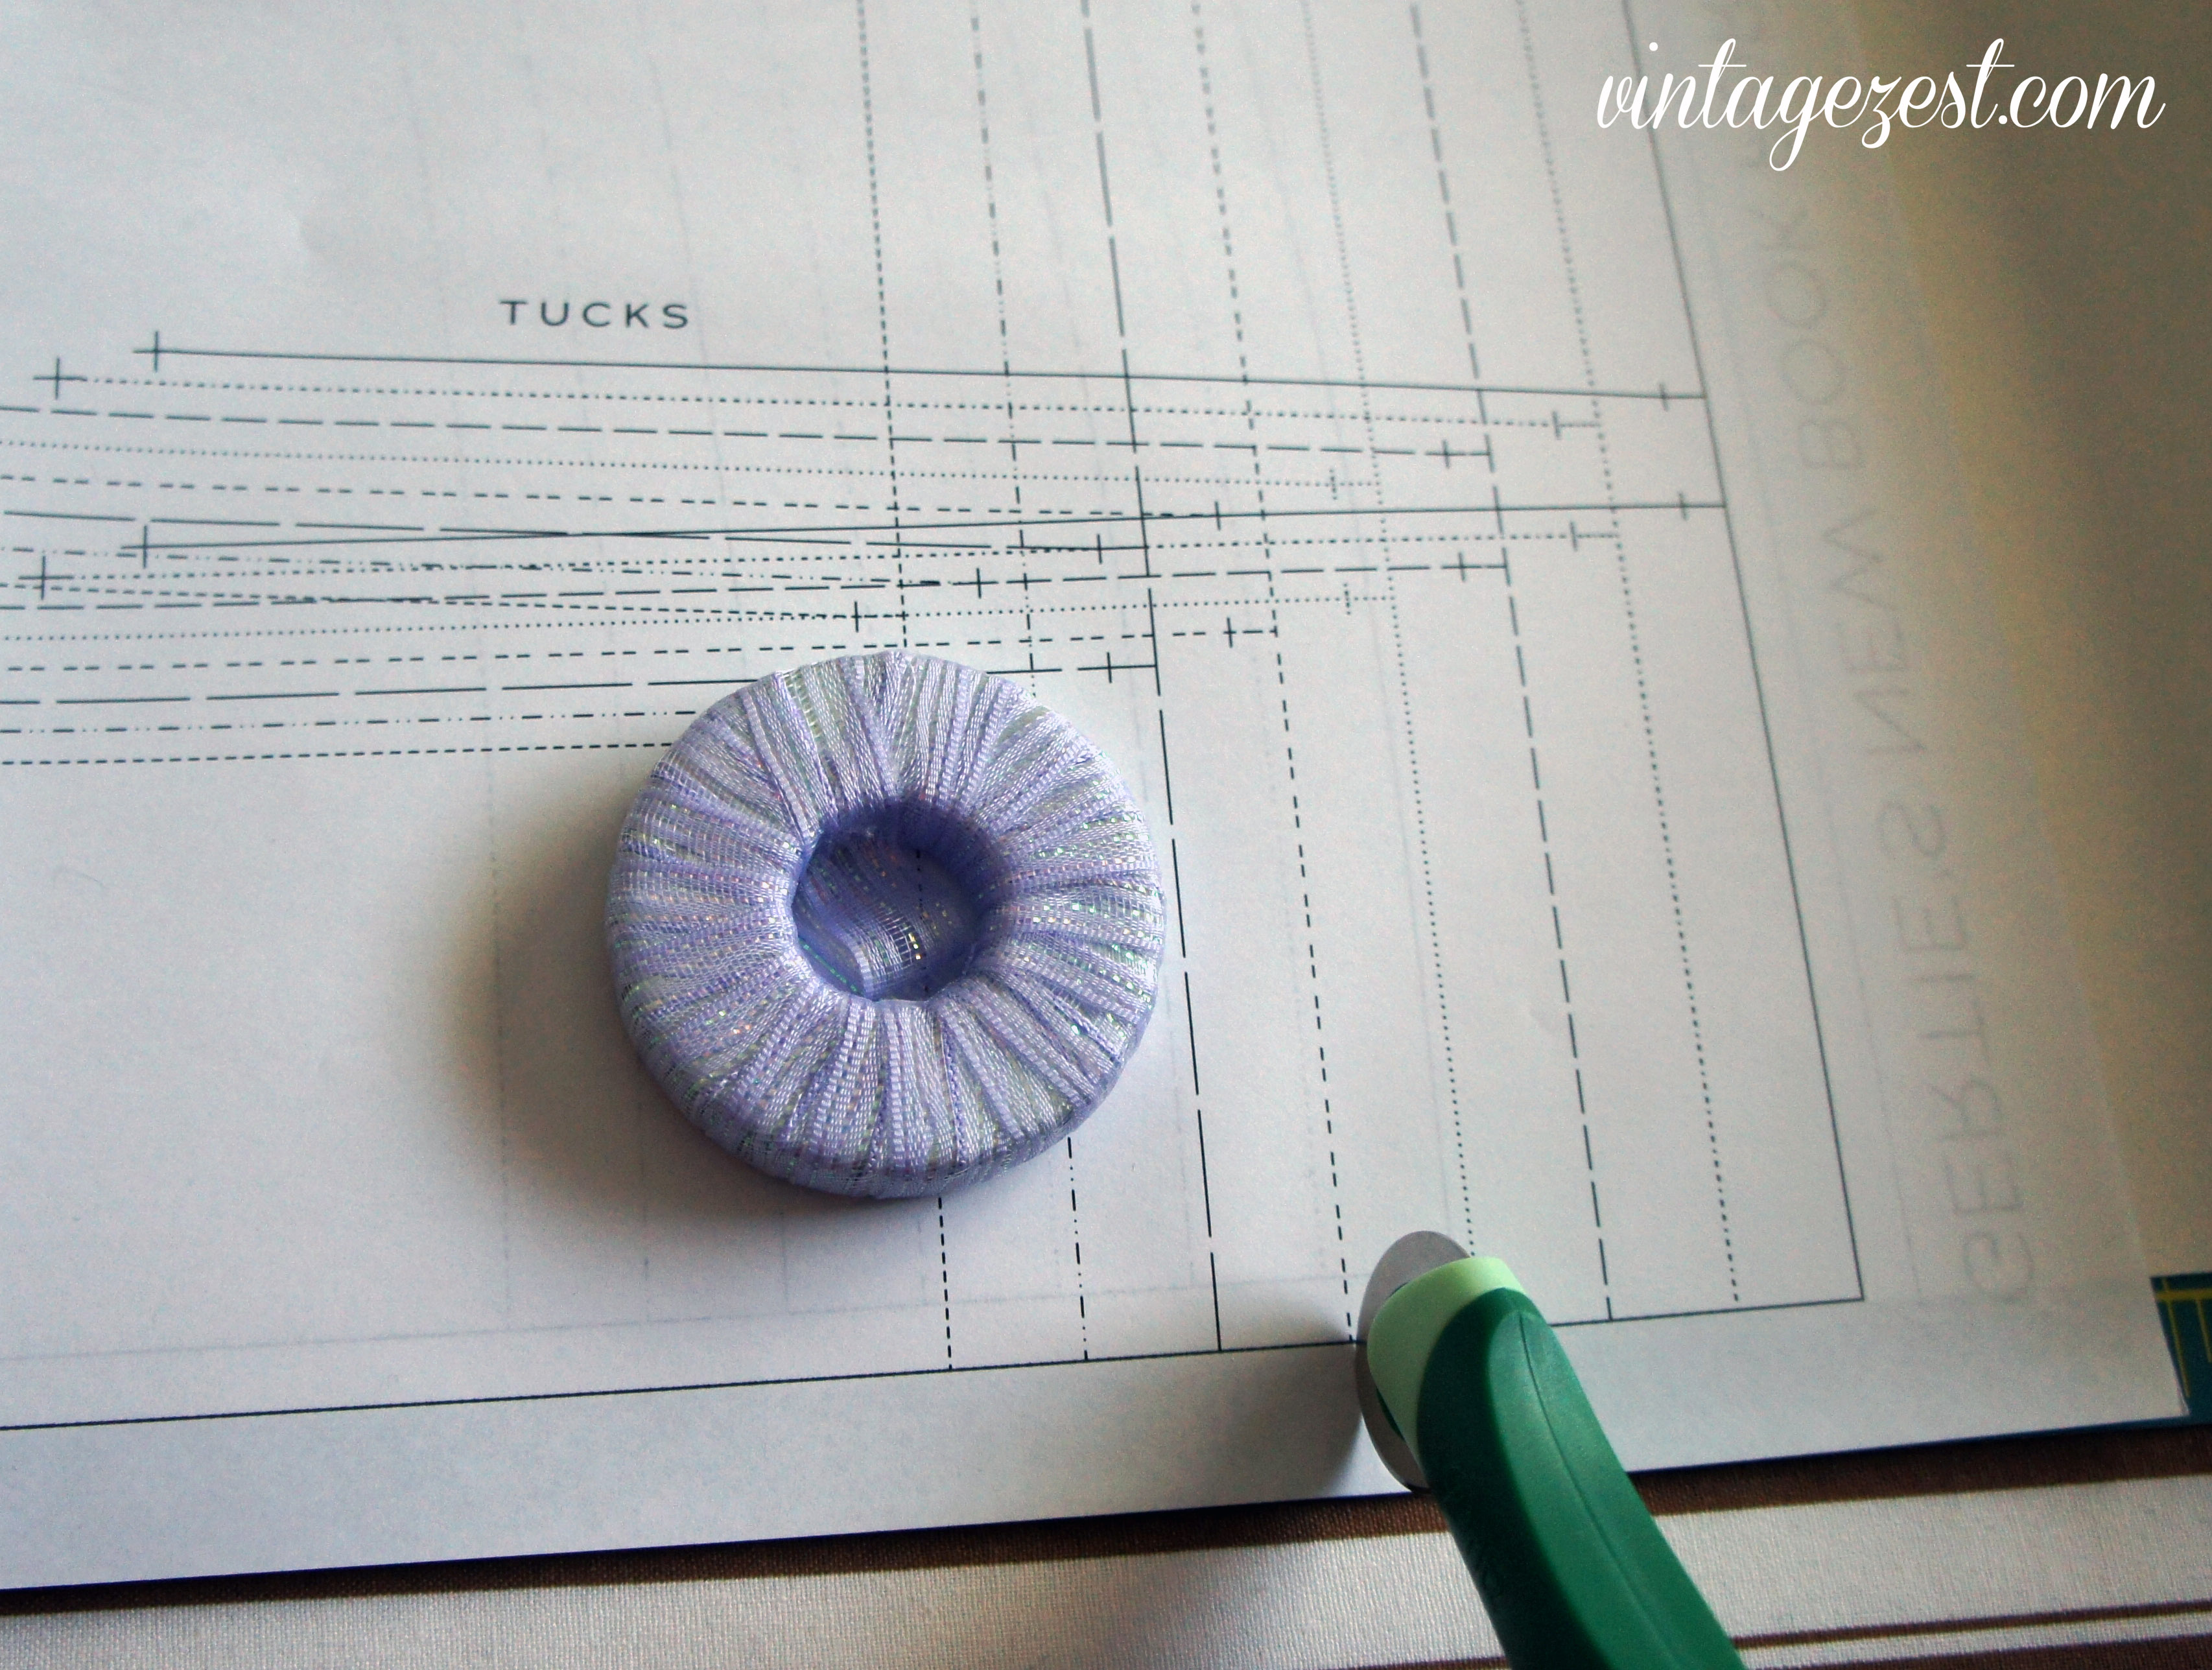
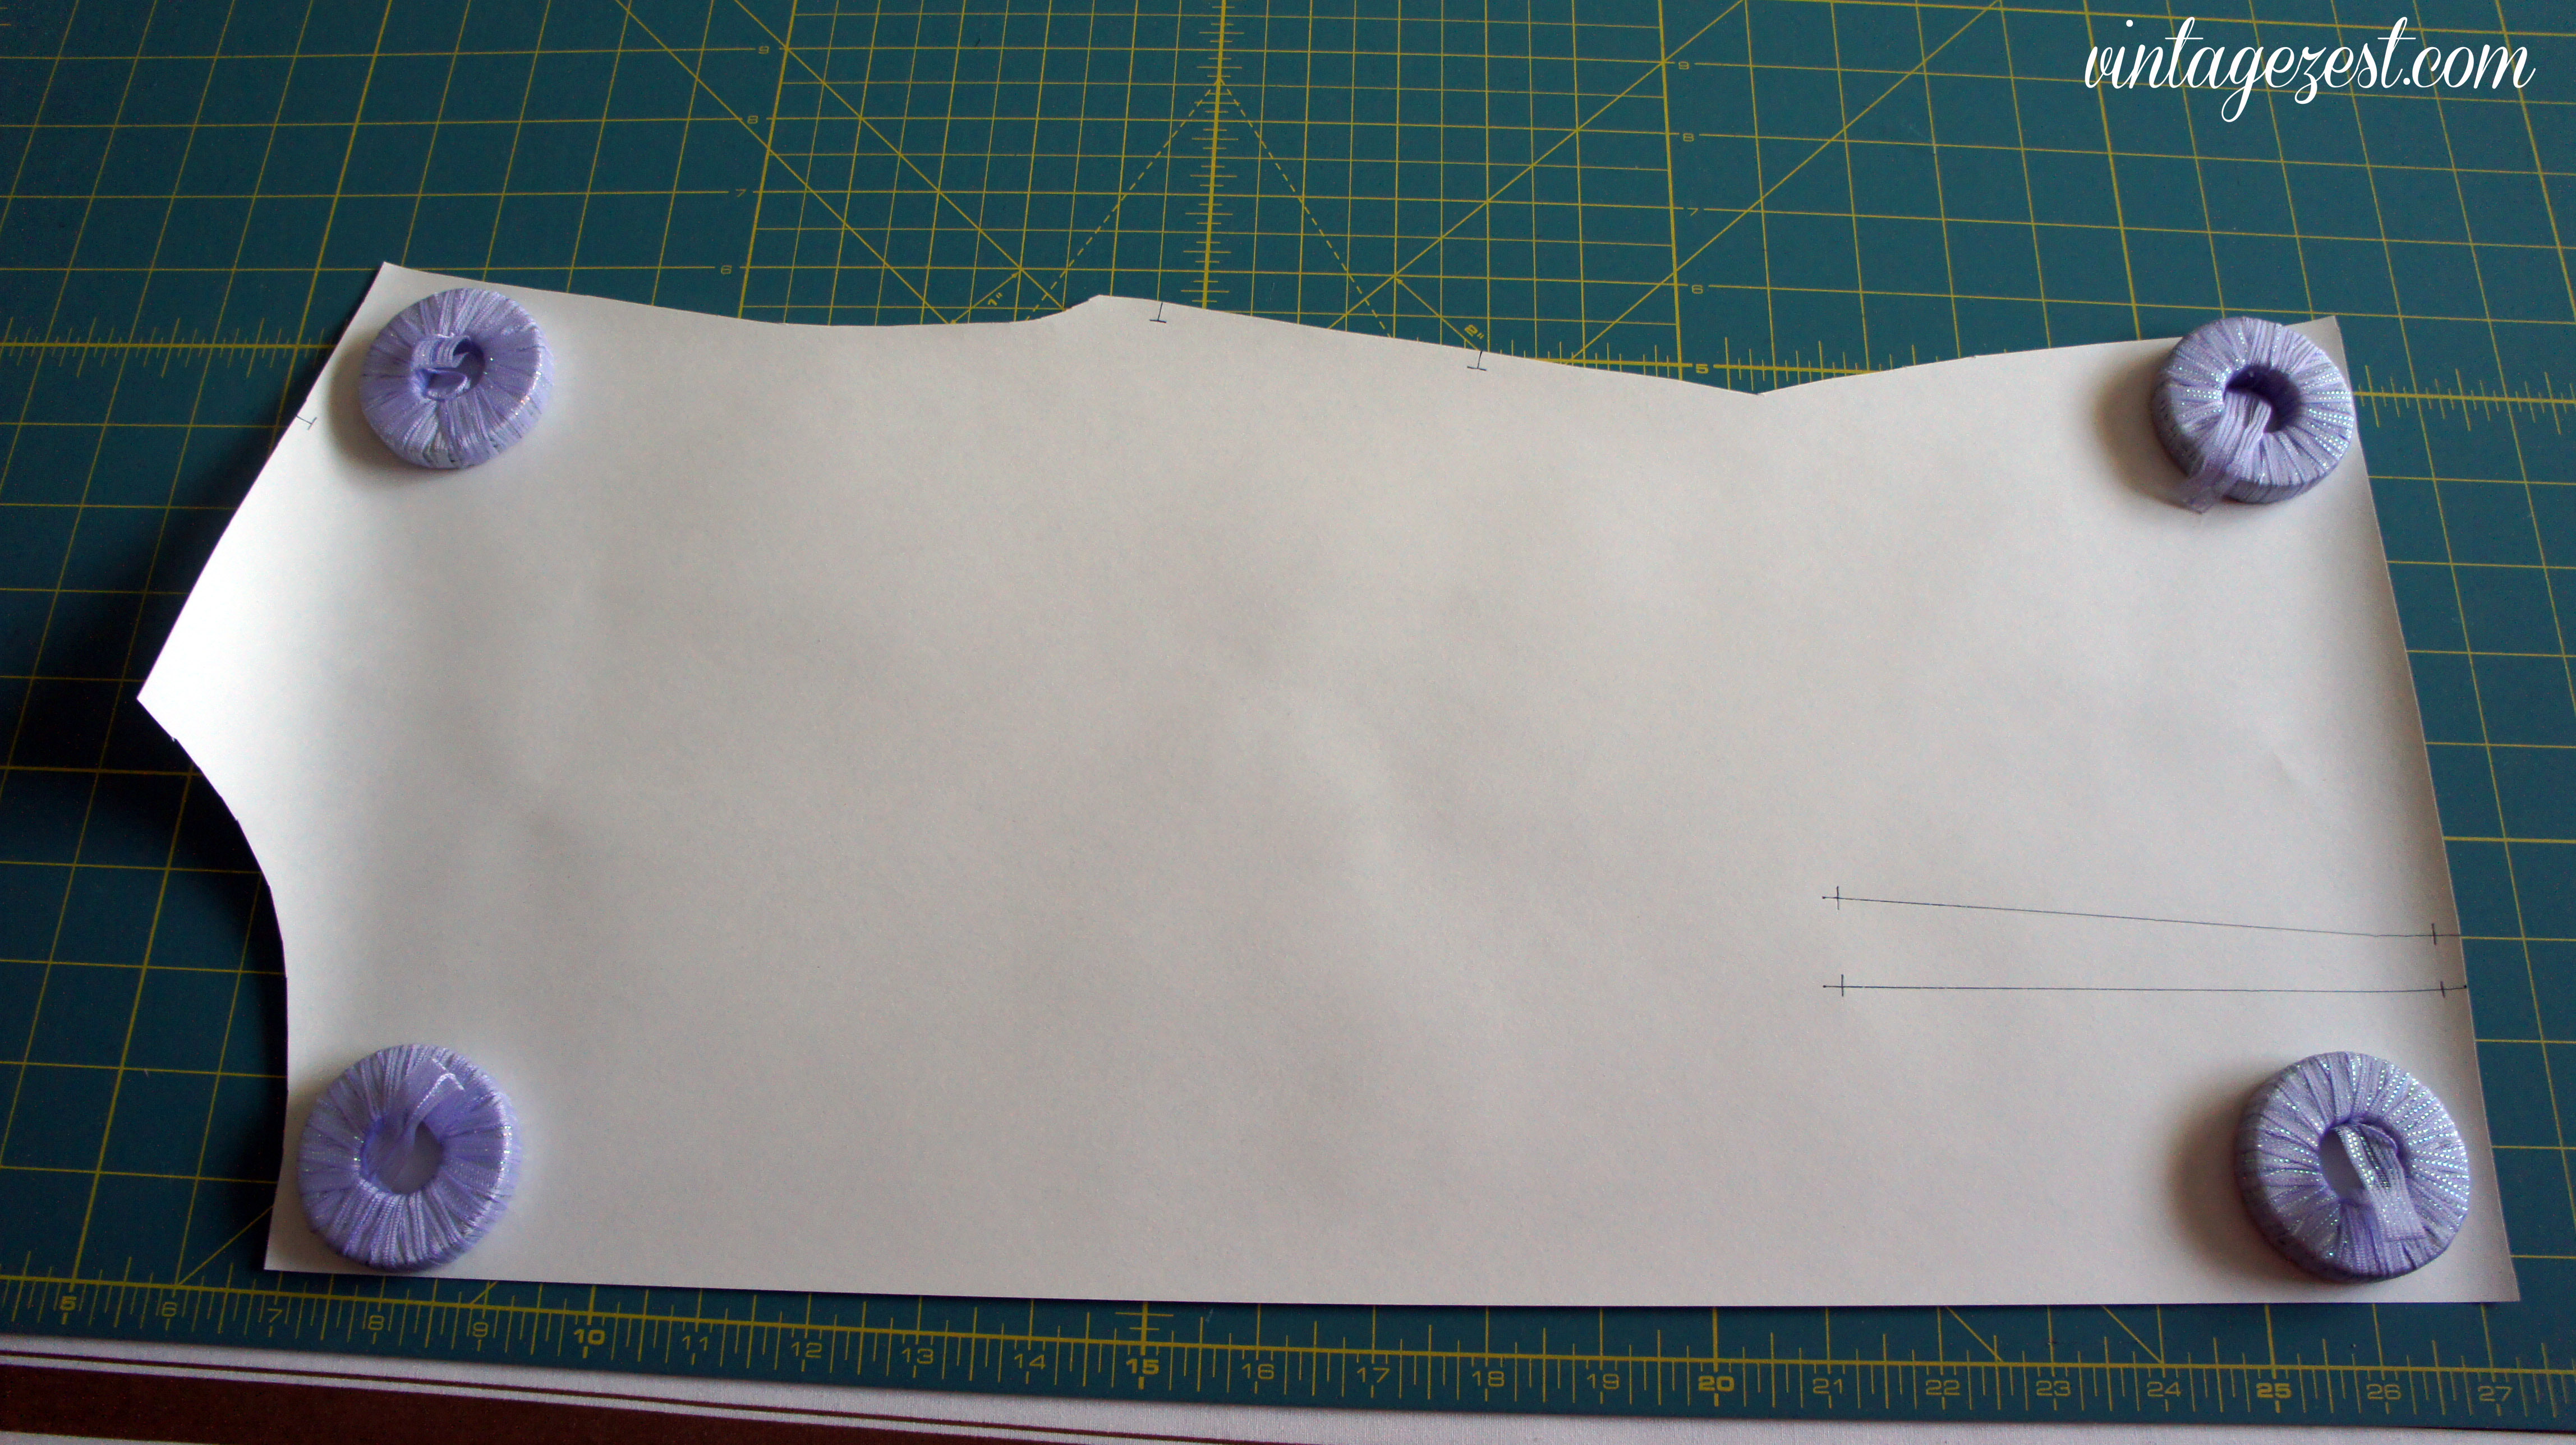
7. Use your pen and straight edge to mark any long darts, pleats, or tucks. You can either mark the notches or use the pattern notcher.
Here is a look at the tuck I marked, along with the tiny notches.
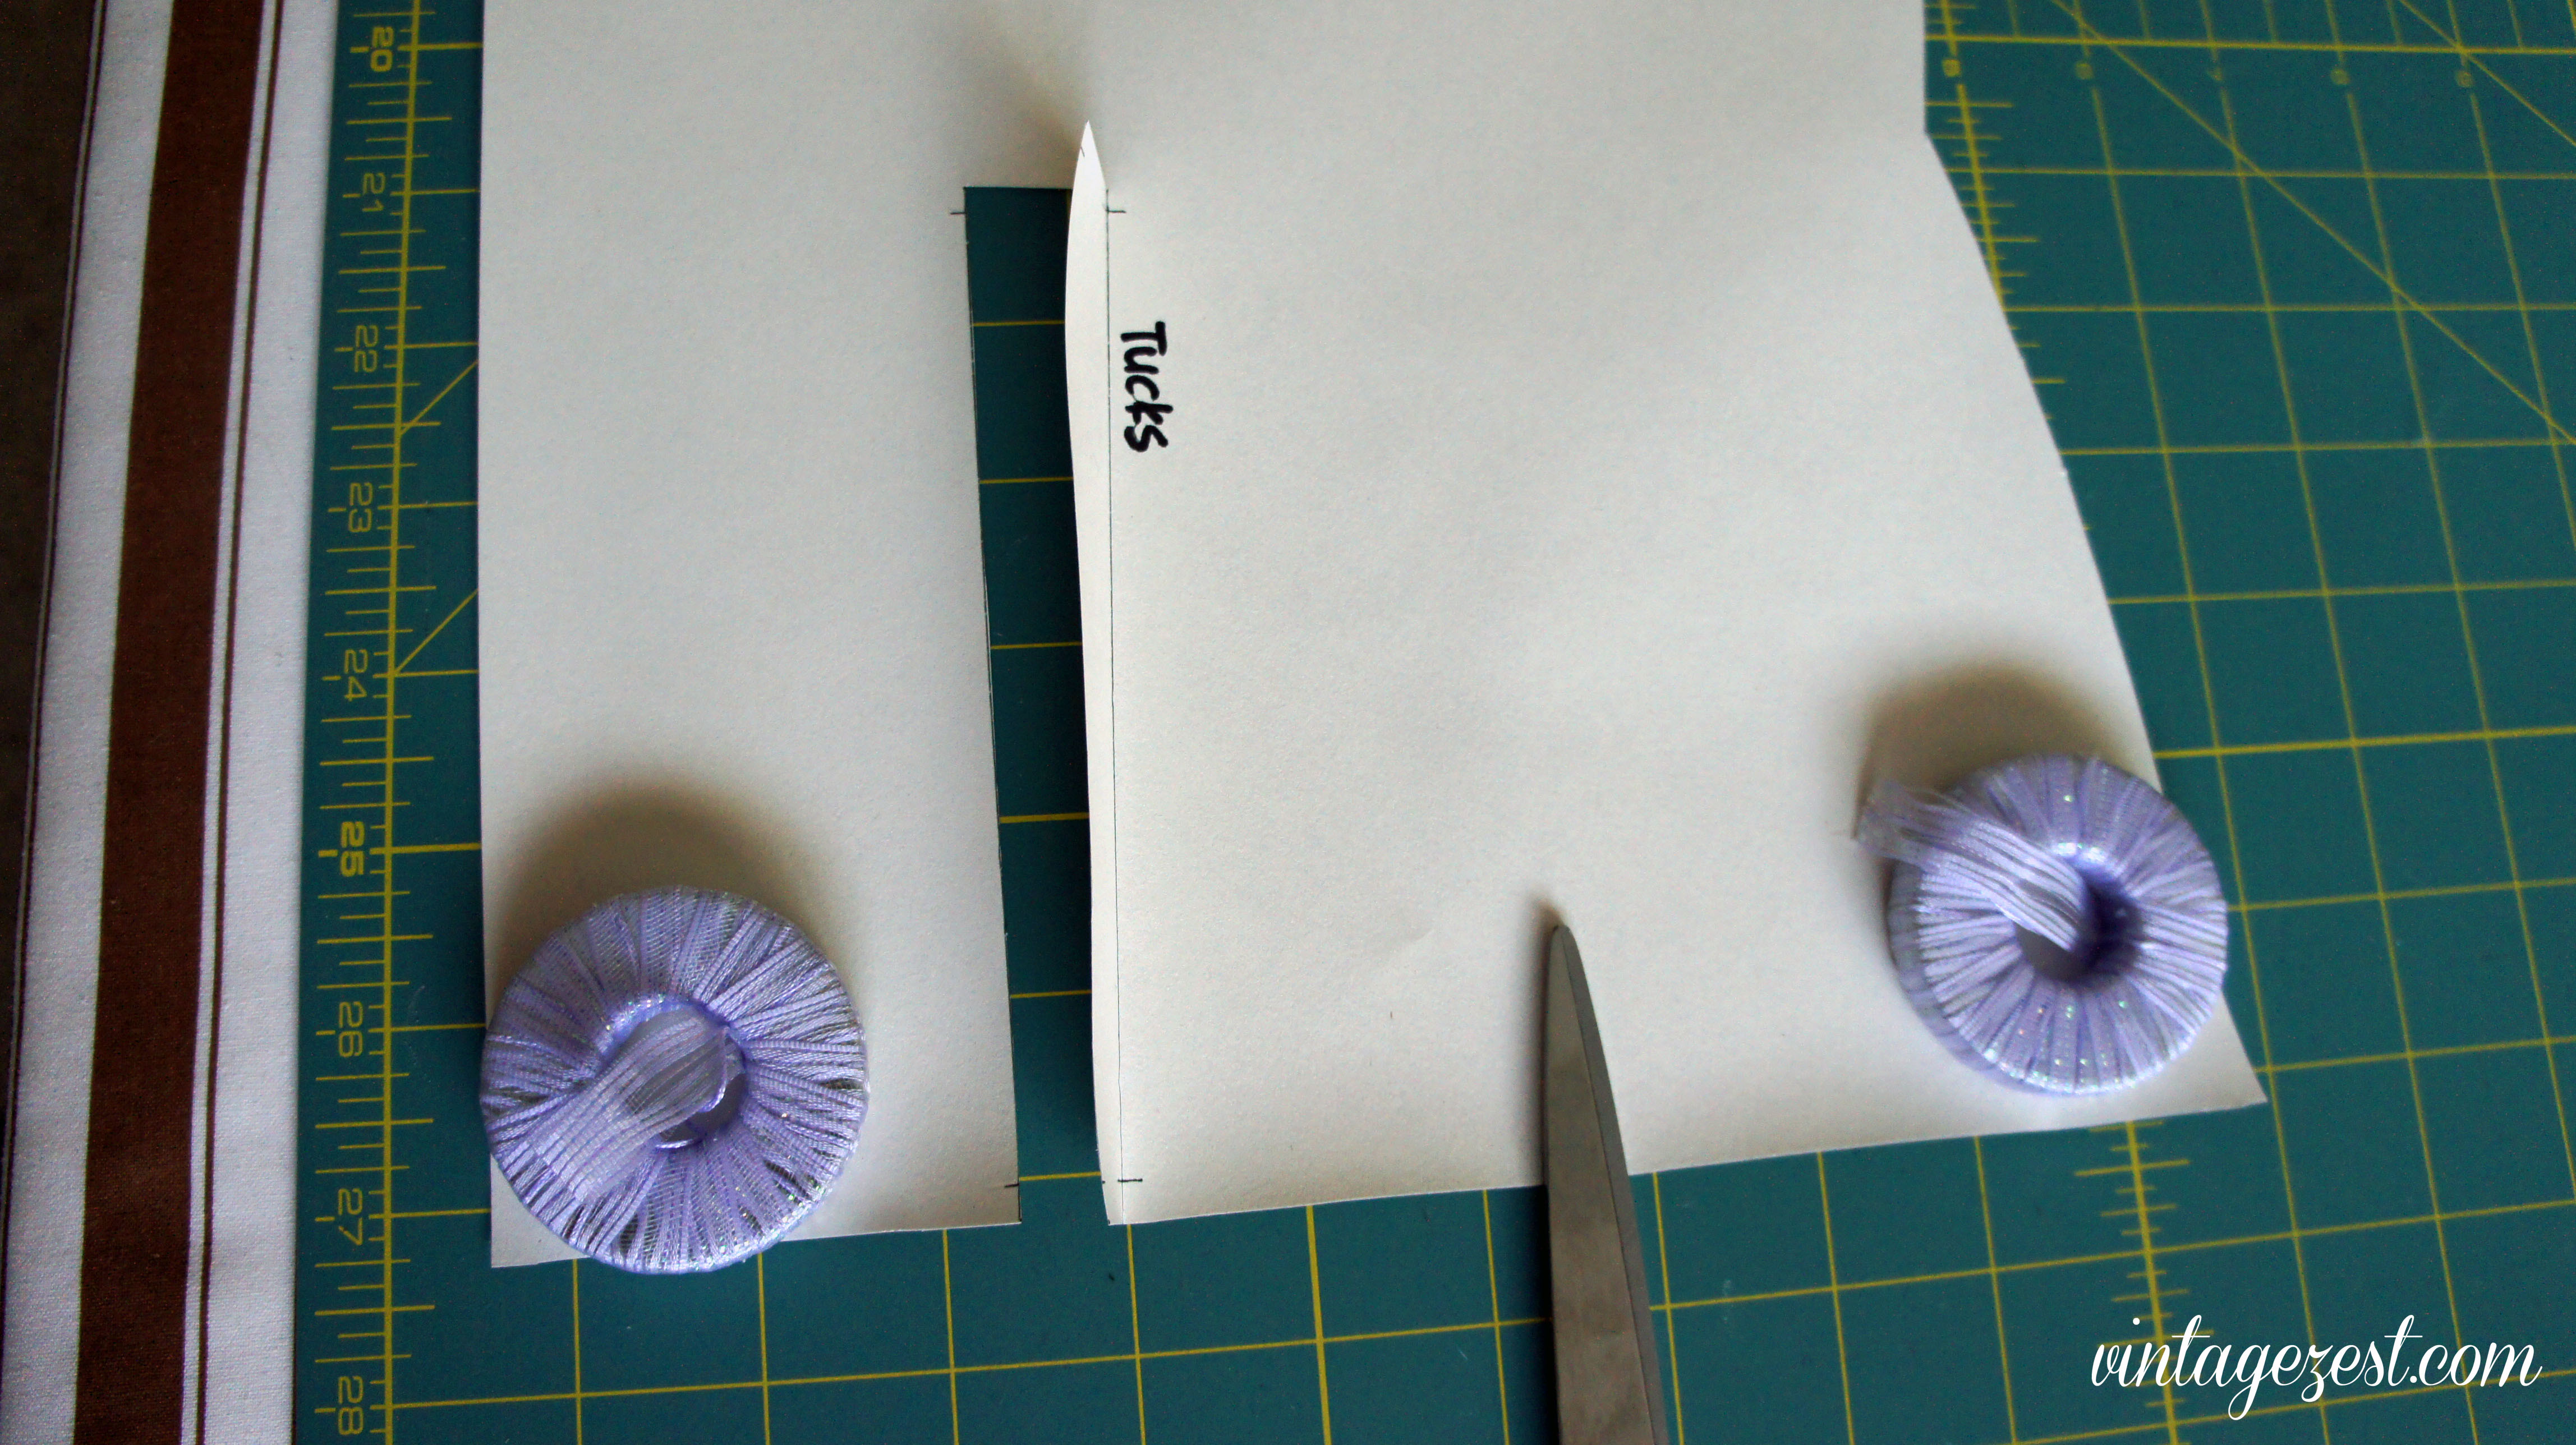
8. Cut along the outside of the pattern piece.
9. If you wish, cut along along the tuck lines and darts. I like to cut one side and fold it back for easy marking on the fabric.
10. Next, mark all of the information you will need with your felt-tipped pen, such as pattern number, piece number, and other directions.
11. Lastly, punch any holes that you would have marked.
Although my example garment did not have any holes, you can see with these pieces I traced here, there were quite a few holes and notches that I punched. It makes for MUCH easier marking on the fabric if you punch them out.
I hope that I shared something new with you about tracing patterns. I do not do it frequently, but this method always comes out impeccably, unlike other methods that I have tried in the past.
If you have any other tips, I would love to hear them!
This post contains affiliate links, meaning that if you make a purchase using one of the links, a small commission will go to support Vintage Zest. I will only recommend sites with products that I think you will love and enjoy!


I love all things vintage as well! I've never been good at sewing but it is definitely on my list to learn! Stopping by from the Meet & Greet. New follower.
ReplyDeleteInteresting blog post, Diane ;)
ReplyDeleteI trace patterns using a... pencil and plain carbon paper...am I too frugal? My mum taught me like this! Now I want a tracing wheel, damn!
Hugs,
MammaNene @ SergerPepper
No, not too frugal at all! I bought my tracing wheel for $2 and my needle wheel for $4. Otherwise, I might have to buy carbon paper, and I was under the impression that it would be more expensive. :)
ReplyDeleteI don't know, I pay € 0,50 each sheet of carbon paper ;)
ReplyDeleteOh, that's not bad at all. The upside, is now that I have my wheels, I do not have to buy new supplies when they run out. Sometimes I am too lazy!
ReplyDeleteI love the hole puncher!!! I use chalk and a pin to mark those large holes....but what a pain and I sometimes forget which are the small dots and which are the large. Not doubt with the hole puncher! I can't believe you just taught me that and I have been sewing for 30 years!!! Yeah, I learned something new and oh so helpful! Especially for my eyes, which now need a big whopping magnifying glass to help me sew!!!
ReplyDeleteThank you for teaching the world how to do this! Sewing is so fun with the right tools!
ReplyDeleteGreat! I'm glad I could point out a different tip for you to use!
ReplyDeleteYou are so welcome! I'm totally agreed, especially right after I get a new tool and wonder what I was doing without it!
ReplyDeleteThank you so much for all the detailed info in this post! I've been wanting to get back into sewing with patterns and will definitely keep this handy.
ReplyDeleteAnd, thank you for linking up to Project Inspire{d}!
You're welcome! I'm glad I could be of help. :)
ReplyDeleteLove this! We are here from Life in A Break Down Link up. We would love to invite you over to share this and other posts at our linkup too!!! http://www.vintagezest.com/2013/10/tutorial-how-to-trace-sewing-pattern.html Hope to see you there!!!
ReplyDeleteWow, you are thorough!! This is a GREAT tutorial!
ReplyDeleteWhat a neat idea!
ReplyDeleteThanks again for joining the Link Up!
Hello again! Just letting you know your tutorial was featured on Project Inspire{d} this week! http://www.sillypearl.com/2013/11/project-inspired-link-party-sewing.html
ReplyDeleteVisiting from Inspiration Monday party. I'm definitely pinning this for later. My 2 daughters and I are each a different size and this would help us to still be able to share a pattern.
ReplyDeleteI'm so happy to featured by you, thanks! :)
ReplyDeleteGreat! My sister and I have a hard enough time between our two sizes, so I can't even imagine sharing between 3 gals!
ReplyDeleteCongratulations! You've been featured on this week's
ReplyDeleteMartha Mondays! :) Swing by to pick up a "Featured" button and do a
little bragging! :)
http://www.watchoutmartha.net/2013/11/martha-mondays-link-up-party-features_10.html
Amanda
www.watchoutmartha.net