
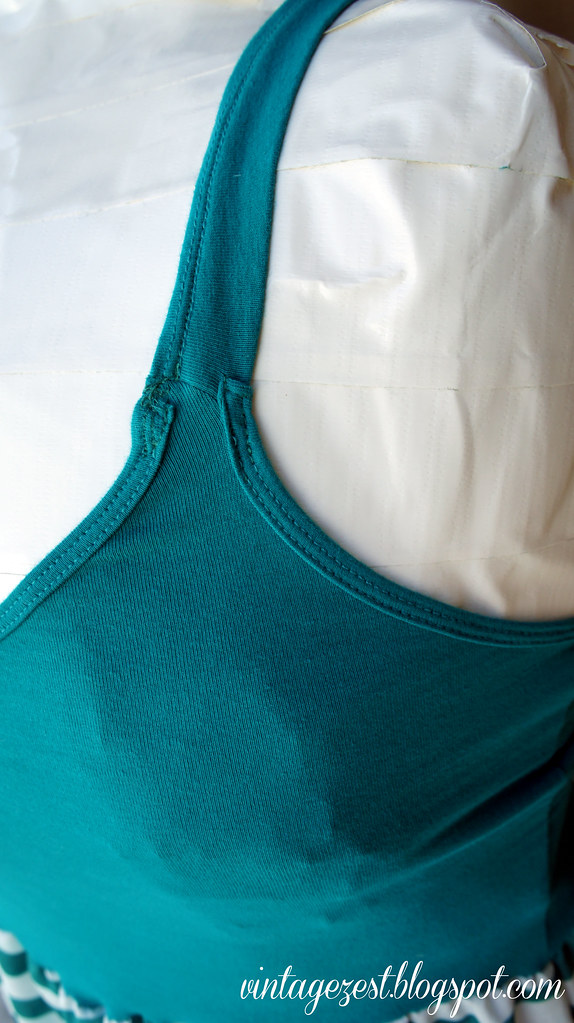
Remember, I had a camisole that was too tight with a twisted strap, but I loved the color and didn't want to trash it. I also wanted to the camisole to have thicker straps so that I could wear a normal bra without showing off my underwear! Instead of using other fabric and having straps that didn't match, I figured out an easy way to make my own straps and a cute dress in the process!
Here's my tutorial on how to repair all of those broken straps and make your own maxi!

What You Will Need
- Camisole with (or without) broken straps
- Matching thread
- Measuring tape
- Chakoner or marking tool
- Maxi skirt (I have no specific pattern for you to use, but I will give a general explanation on how to make a complete maxi dress)

If you do not need to fix your straps, skip to step 18.
1. Measure the length of your normal strap. (Mine was 13.5")
2. Measure the width of your desired strap. (Mine was 1.75")
 |
| Steps 1 & 2 |
3. At the bottom of the shirt, measure your desired strap length plus 0.5" seam allowance and mark. Do this for both the front and the back, for the right and left straps. (Mine was 14" = 13.5" measured + 0.5" seam allowance. The shirt was exactly 14" across, so I had no need to mark it!)
4. Measure your desired width + 0.5" and make small marks across the entire length to ensure an even measurement. Repeat for the back. (Mine was 2.25" = 1.75" desired width + 0.5" seam allowance.)
5. Then, connect all of the small marks to create your cutting line. Repeat for the back.
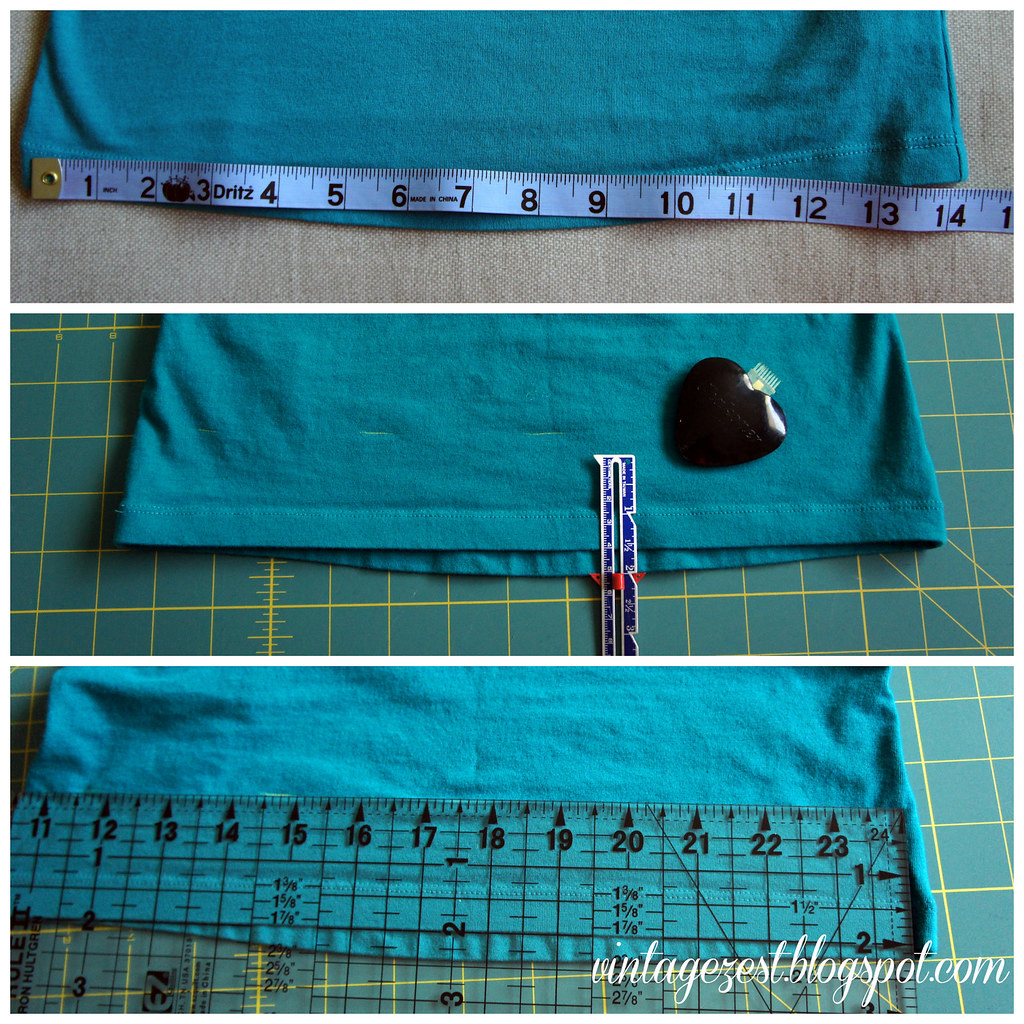 |
| Steps 3 - 5 |
6. Cut along the lines, taking care to cut through one layer of fabric at a time.
7. Remove the existing seams, as it will add bulk to the finished straps.
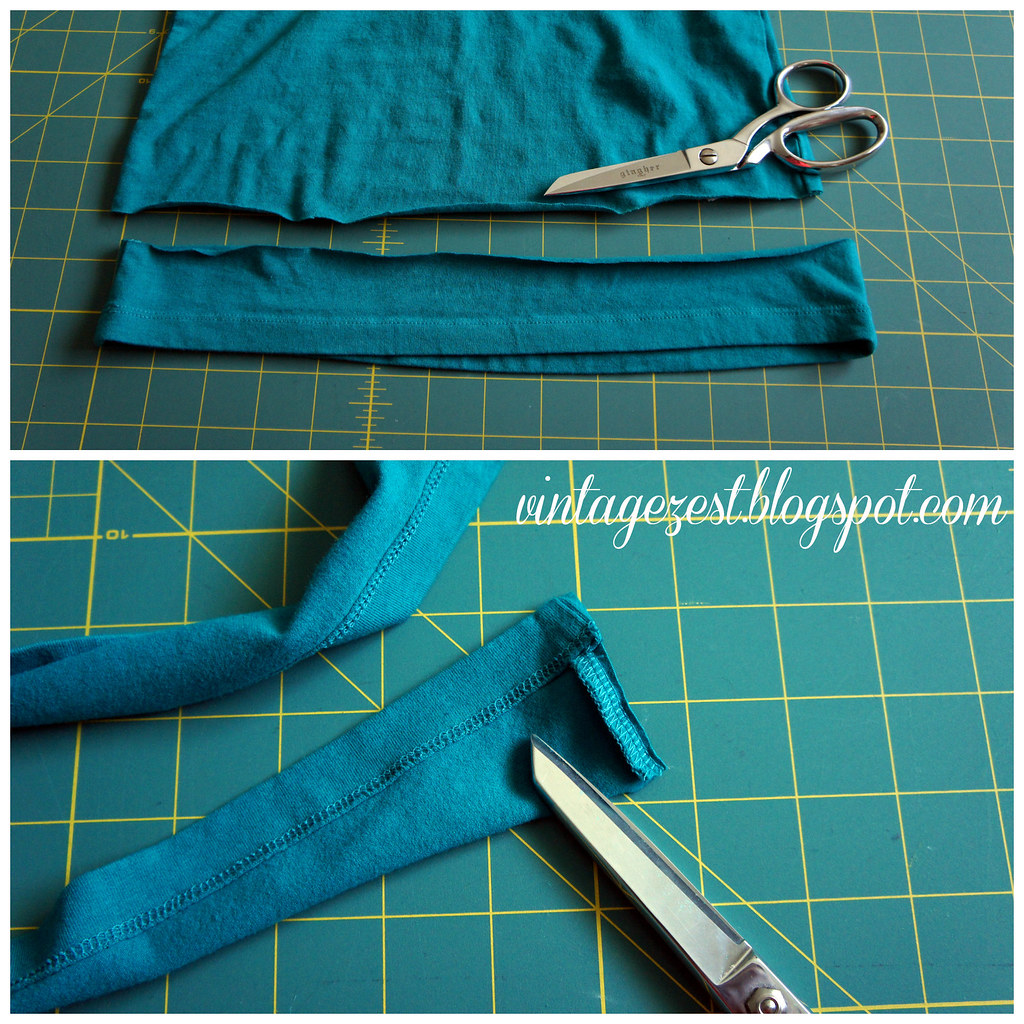 |
| Steps 6 & 7 |
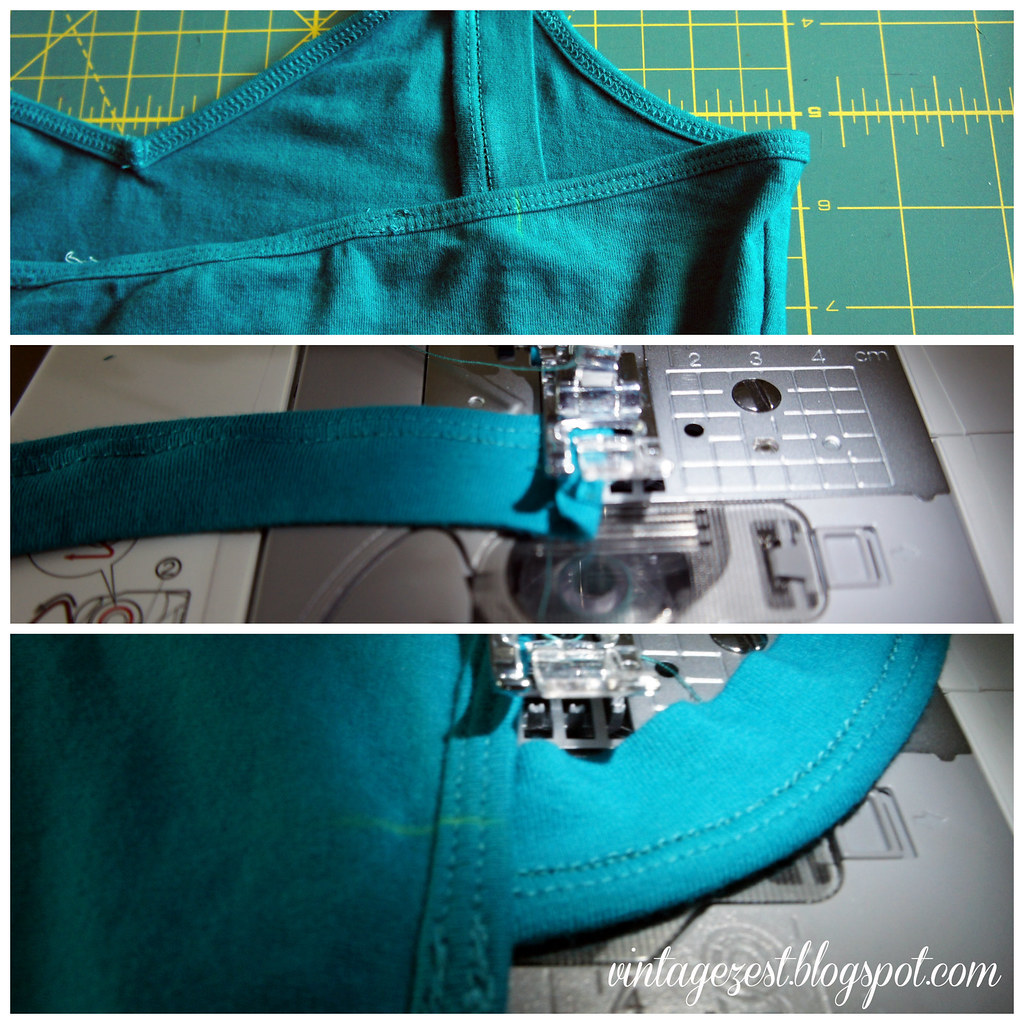
8. Create your straps by folding up 0.25", then pressing. Fold up 0.25" a second time, and press. (Thanks to my little buddy, who wanted to demonstrate this step for you guys!)
9. Sew along the existing stitching line to hide your stitches!
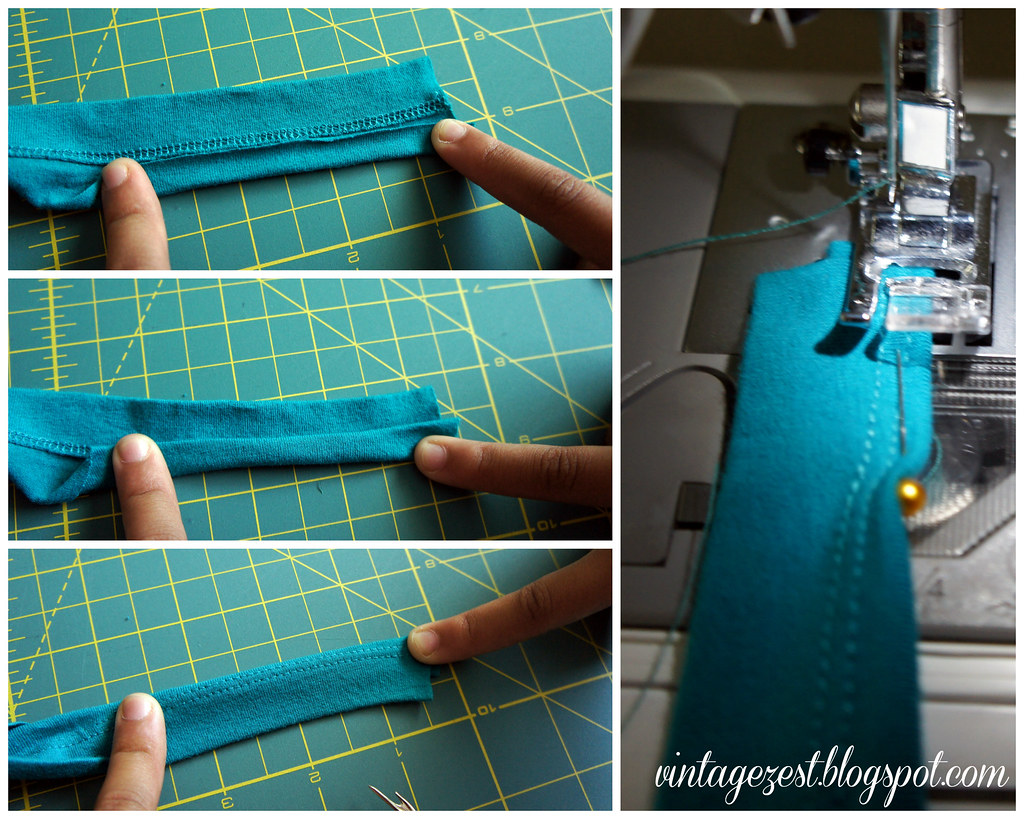 |
| Steps 8 & 9 |
10. Take your seam ripper and open up the binding. You will need to expose enough material to match up with your newly widened straps. (I opened up about 2".)
 |
| Step 10 |
11. Pin the right side of the strap to the right side of the camisole front. Make sure that the binding is pinned out of the way. (I chose for the stitching to be located towards the center of the shirt, see below for what I mean).
12. Sew together!
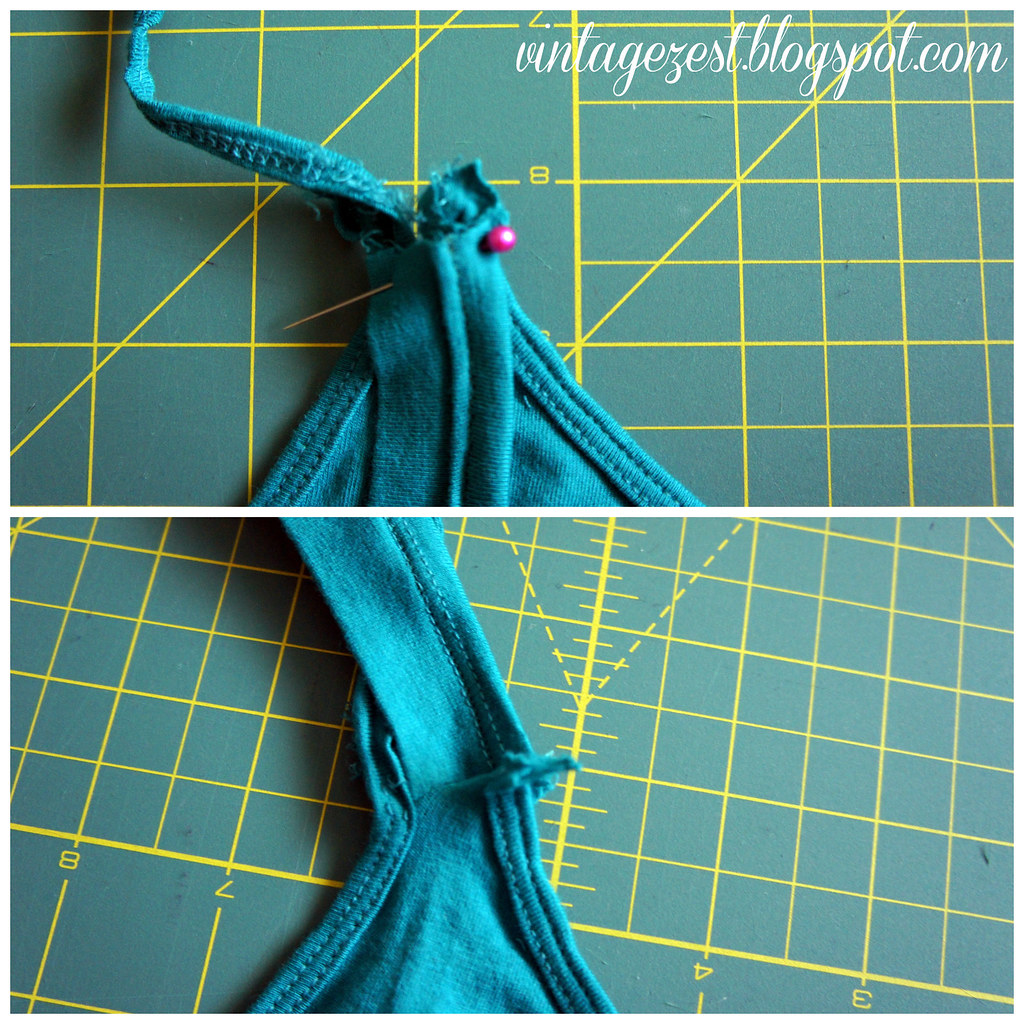 |
| Steps 11 & 12 |
13. Take the excess binding and sew to the side of your newly completed strap, trimming any excess away.
14. Remove the strap where it is attached on the back of the camisole, and remove as much excess stitching as possible.
 |
| Not perfect, but better! |
15. Try on your camisole and mark where you would like the straps to hit on the back. (You may be able to see that the chalk mark is to the right of where the existing strap used to be.)
16. Fold the end of the strap 0.25" with right sides together to create a small hem.
17. Center the strap along the chalk line and sew the strap in place, making sure to catch as much of the strap as possible.
 |
| Steps 15 - 17 |
*If you prefer to keep the shirt intact, simply hem it as you normally would, but it will definitely be shorter than it once was!
18. Make your skirt from whichever pattern you desire.
19. Mark the length on your camisole where you would like your skirt to hit with chalk. (You can cut it now, but I chose to wait until after I tried it on to make sure that it wasn't too short)
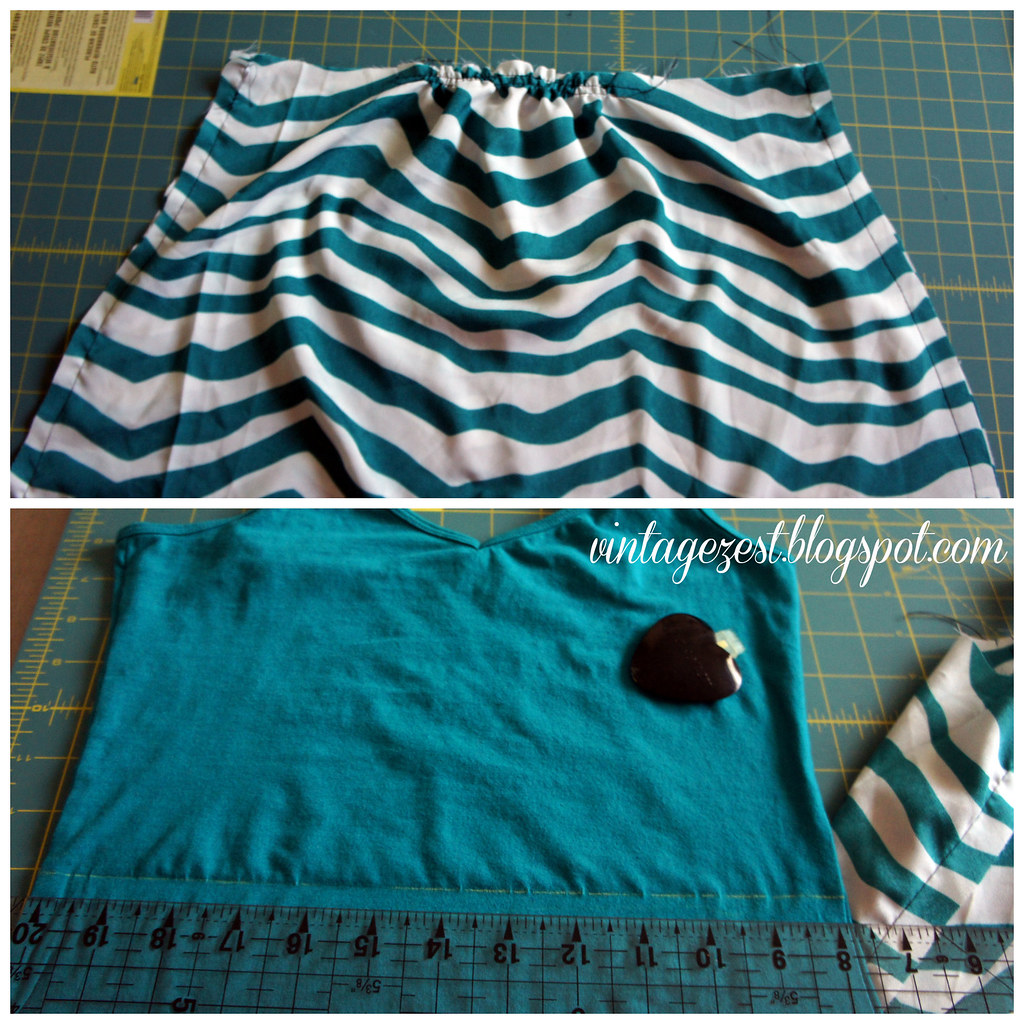 |
| Steps 18 & 19 |
20. With the skirt turned inside out and the shirt right side out (normal), slip the shirt inside the skirt.
21. Make sure you pin them together with side seams matching, etc. before you sew, gathering the skirt as needed.
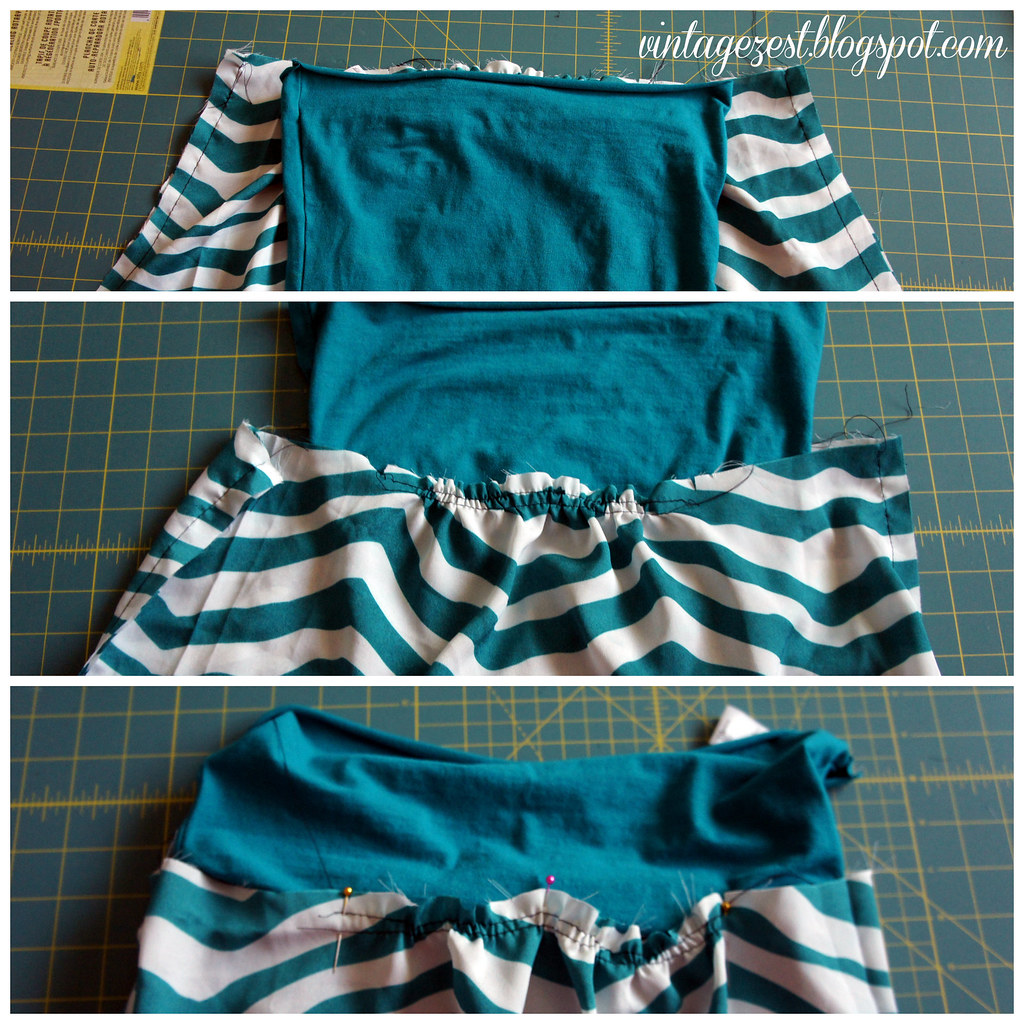
22. Turn inside out, press your seams, and finish them as desired.
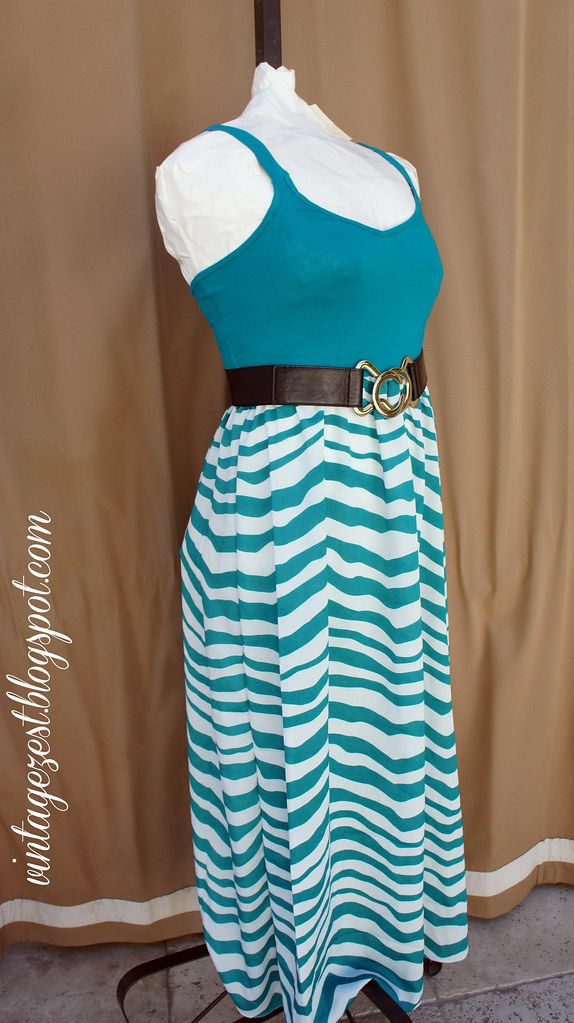
23. And you're done!
I actually can't wait to get started on another dress to upcycle my broken camisoles, but it will have to wait as you can tell by My Big Fat Sewing To Do List.
If you decide to follow this tutorial, let me know how it works out!


Hi - I just wanted to let you know that I love your blog and have nominated you for a Liebster Award. Head on over to my blog to accept.
ReplyDeleteSue
bebeandj.com
hello ,i really love anything vintage, and the stripe are so in.plus this is my fav. color!
ReplyDeletefound you on the blog hop!
Deanna at http://topkitchencosmetics.blogspot.com/
Love this! Great colour and so clever! Off to raid my drawers...
ReplyDeleteThat looks cool! Very creative. Found you via the thrivin on thursday blog hop and followed :)
ReplyDeletehttp://ameriaus.blogspot.com.au
It's beautiful Diane - can you make me one?
ReplyDeleteThank you for linking to Raising Imperfection.
Please come back Friday to see if you were featured. :)
¤´¨)
¸.•*´
(¸¤ Lanaya | xoxo
Raising-Reagan.com
Well that's super cute! We've started a new sewing only link party over at GoToSew.com. We'd love if you'd link up! It begins on Mondays. You can find today's party here: http://gotosew.com/2013/09/brand-new-link-party-isew/
ReplyDeleteHa! I would have to bump a few family members down the list, but hey, they'll still love me anyways, right? Thanks for the compliment!
ReplyDeleteSure! Thanks for the invitation!
ReplyDeleteLoooove this!!! Looks so simple (although we will see what kind of tune I'm singing after I attempt this for myself haha) and really cute! Stopping by from Hoyby Crafts.
ReplyDeleteCome back and share it if you give it a shot!
ReplyDelete