
If you're not familiar with my story, I had two goals when I started learning how to sew:
(1) Hem my pants so they look neat.
(2) Make a simple tank dress just like this!
Check and check!
Well, my mom went to a high school reunion recently and bought 4 new pairs of pants to pack for the flight. I inherited her small stature (we barely clear 5 feet), so she asked if I could hem them all for her. While hemming them, I figured that I would snap a few pictures to help anyone out there who needs to hem as much as I do!

What You Will Need
- Pants & the Pants owner
- Matching thread
- Chakoner or fabric marking pen
- Seam gauge
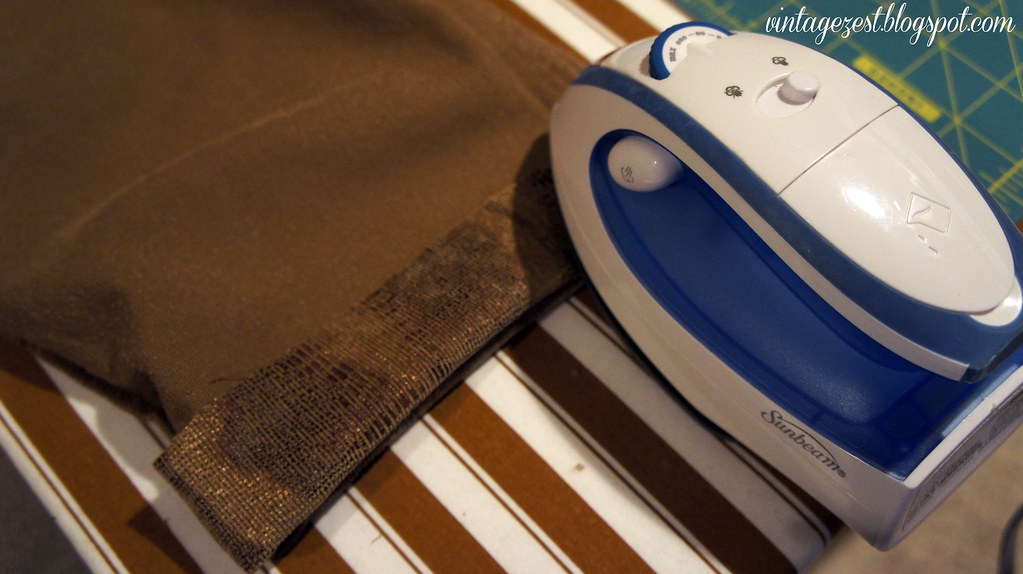
- Iron & ironing board
- Sewing machine or needle & thread
- Optional: Seam ripper
*By the way, I started photographing with one pair of pants, but noticed that other pairs photographed better for different shots. I hope you don't mind!*
Directions
1. Before starting, PLEASE make sure to wash, dry, and iron your garment how you normally would. My mom did not do this, and her pants shrunk more than an inch AFTER I hemmed them! Luckily, I was a smart daughter and made the cuff 0.75" and therefore had 1.5" extra to play with. Whew!
2. Make sure your matching thread really matches! Although these pants initially were sewn with a lighter color thread, the dark thread that I already owned matched much better!

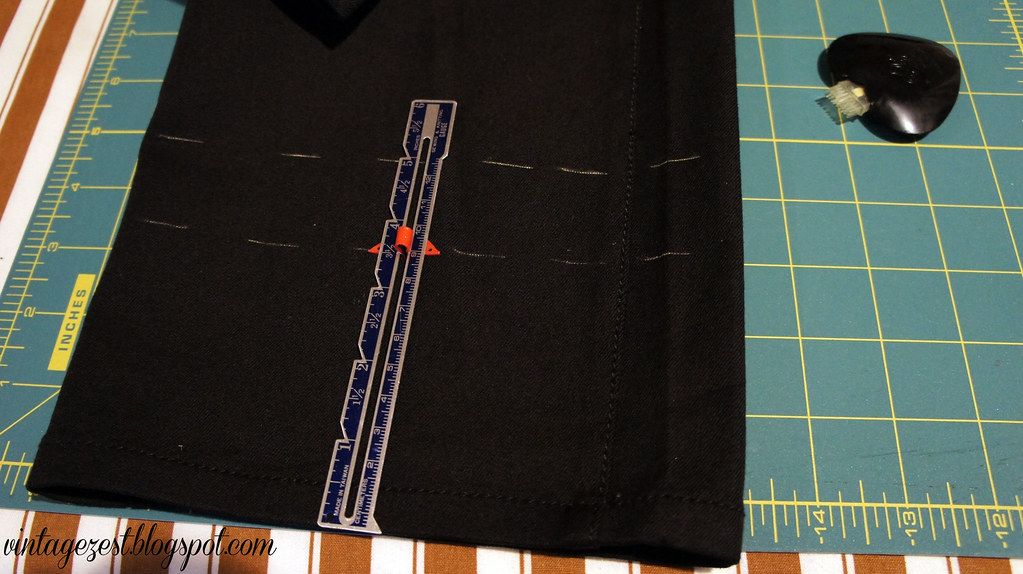
3. Have your Pants owner try on the pants wearing the shoes they will most likely wear with the pants. Fold up the pants and adjust as needed until a good length is found. Using the seam gauge, measure how long the excess length is. I like to measure both the front and the back in case there is a huge difference in the two measurements.
4. On the right side of the pants (the outside) you will need to make two sets of markings, but first we will need to do a bit of calculating...
- Marking line #1 (New length) = (The excess length of the pants)
- 5" in my case
- Marking line #2 (Cutting length) = (The excess length of the pants) - 2 x (Hem cuff length)
- 3.5" in my case, because I wanted a hem cuff of 0.75"
To explain further, the pants were too long by 5". That is marking line #1: at 5". I wanted the hem "cuff" to be 0.75" wide, but you could make it 0.5" or 1" depending on your style. Therefore, 5 - 0.75 - 0.75 = 3.5".
5. Measure from the edge of the existing hem and make small lines, following the hem of the pants. See, mine are marked at 3.5" and 5"!
6. Optional: You may need to rip your existing hem if it will get caught in the new hem, meaning the marking lines fall somewhere in the existing hem. You will NOT want a bulky hem, so out comes your friend, the seam rippers!
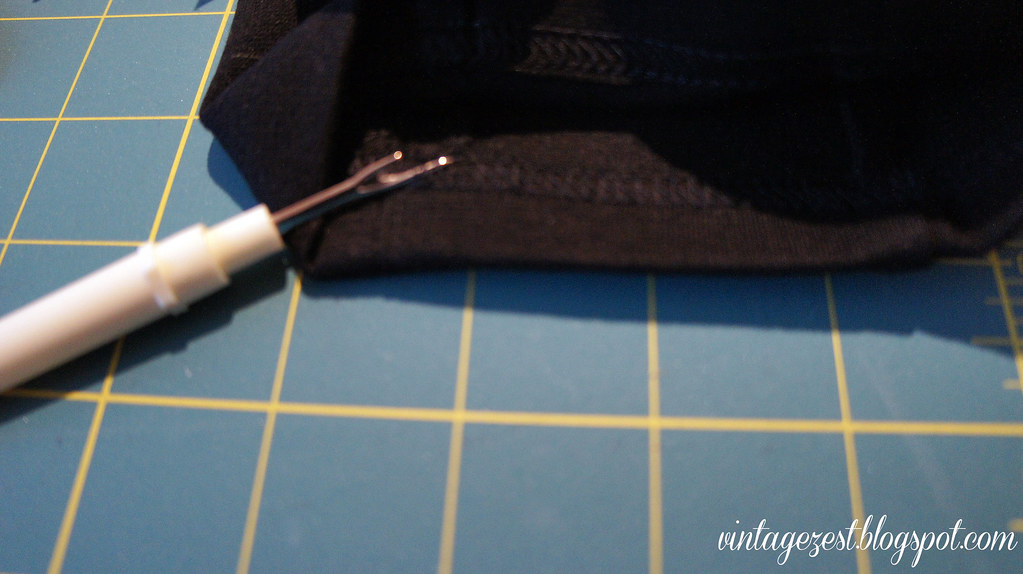 |
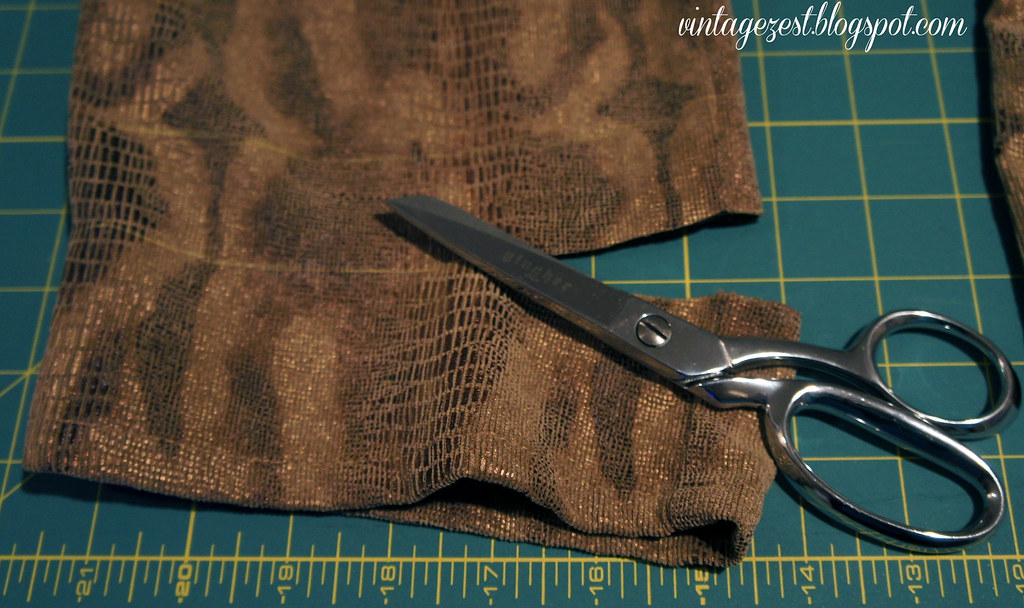
| These black pants needed to be ripped, but not the brown ones. :) |
6. Optional: Make sure to press out the hem that you unpicked so the fabric lays flat. Remark the fabric, if necessary.
7. Cut along marking line #2. This is always the scariest part of the job for me!
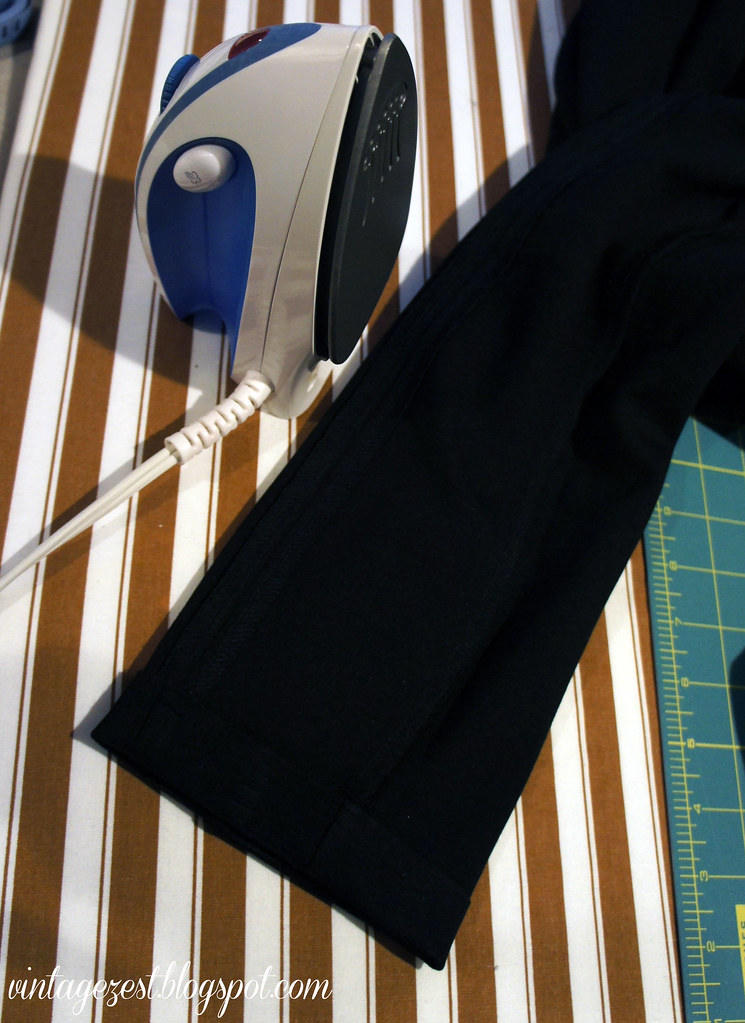
8. Next, turn the pants inside out. Fold and press the pants at marking line #1, which will be your new hem line!
9. Unfold the pressing you did. Next, fold up to line where you just pressed. You can see what I'm saying in the picture.
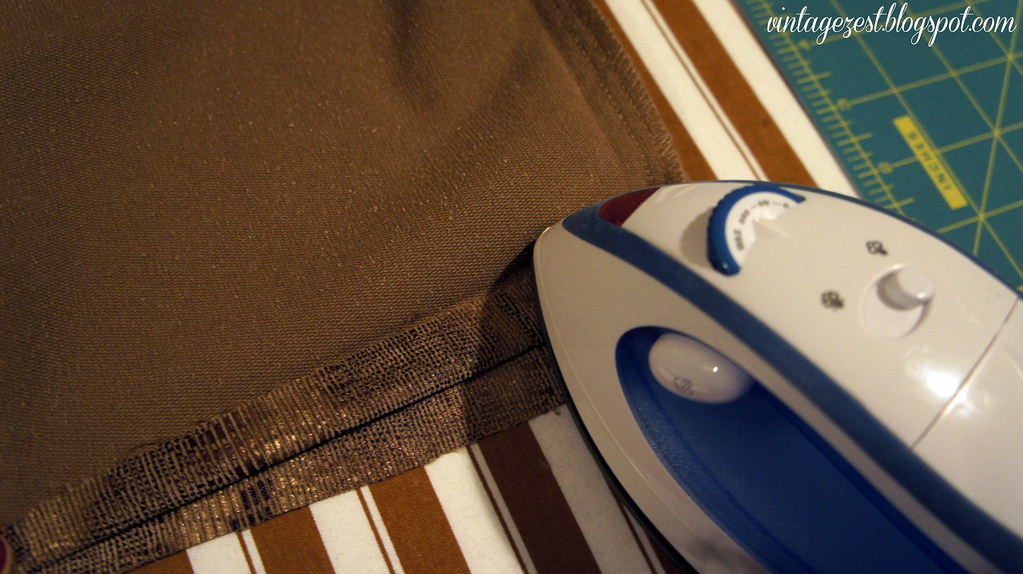
10. Press with both folds in place, then you will have a perfect hem to sew! Either use your sewing machine or needle and thread, near the edge of the hem cuff and you are done!
Since I did not initially intend for this to be a newbie tutorial, I did not to take a picture of the hem in my machine. Next time I need to hem, I will definitely put a picture here if you guys want one. :)
By the way, this is the way that I like to press my hems when sewing garments from scratch because it's much easier to do this than to folding up a thin hem twice. Fold up the entire hem length, press, unfold, fold to the existing press line, then press again. I always get much neater results that way.
I hope this helps some of you sewing newbies out there. :)
Happy hemming!


I really want to learn how to sew. It looks so intimidating. You make it look so easy though! Next time I need to hem some pants, I'll definitely come looking here. Thanks for participating in the meet and greet hop!
ReplyDeleteGreat! I hope it's helpful. :)
ReplyDeleteThis is great! I'm taking my first sewing class tomorrow so I can't wait to use this to practice! BTW, hi! I'm visiting from the Handy Man, Crafty Woman link party! ~Ali from Pies & Puggles
ReplyDeleteThanks, I so need this! I just bought a sewing machine and have tons of pants to hem because I'm so short. http://talenttoplay.blogspot.com
ReplyDeleteThanks for sharing this tutorial at the PPP!! So many people want to learn to sew, and tutorials like this help!! =) =) Have a great week!
ReplyDeleteDanielle
SewMuchCrafting.com
How fun! Definitely come back and update how it was, and if my little tutorial helped. :)
ReplyDeleteI totally relate!
ReplyDeleteThanks! I really hope that it helps out any newbie sewists out there, even though I'm still a beginner myself!
ReplyDeletePinned! Great tutorial! Especially for a newlywed like me. Pretty please share on my link party tonight! Xo
ReplyDeleteI will! Thanks!
ReplyDeleteThank you! Glad it is helpful for you. :)
ReplyDeleteI'm so glad you shared. I really need to learn how to do this. I'd love if you'd link up to The DIY'ers! http://homecomingmn.blogspot.com/2013/09/the-diyers-31.html
ReplyDeleteThis is a great tutorial. TFS!! Stopping by from Lovely Ladies Linky party. Here is what I shared this week: http://craftybrooklynarmywife.blogspot.com/2013/08/nautical-tote-bag.html I also blogged about a few other new projects I did recently. Stop by my blog when you have a moment.
ReplyDeleteThanks! I hope it helps you for your next hemming job. :)
ReplyDeleteYou're welcome and thanks for the compliment! I didn't take Home Ec actually, since I didn't think I would ever be interested in it. Silly me!
ReplyDelete